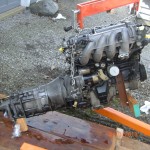
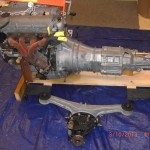
Rebuilding Miata front calipers

Begin rebuild of calipers

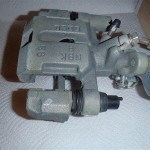
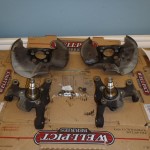
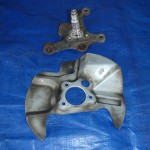
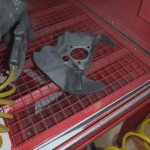
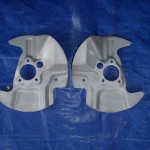
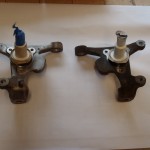
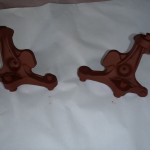
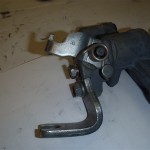
We now move on to rebuilding the brake calipers. See before donor pics.
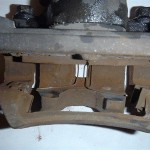
Donor Caliper before
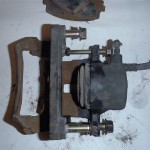
In retrospect I did not do this process in the best order. This is also the first time I used the product Evapo-Rust rust remover.

Evapo-Rust is a chemical method to remove rust and I was not sure what to expect, nor was I certain that the product may not cause harm to the caliper piston bores. So this is why I decided to just leave the Caliper pistons with seals in the caliper and submerge the fully assembled calipers into the evapo-rust product. I purchase a 5 gal can of evapo-rust from Northern Tool. But this amount is more than you need. I used plastic  food container just large enough to completely submerge the front and rear brake calipers into. I did one at a time.
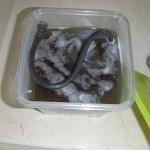
soaking in Evaporust

soaking in Evaporust


I put the first front caliper into the solution and I was concerned that possible my evapo-rust was expired! I did buy it about 4 months ago, I do not know what I was expecting but I was expecting to see some sort of chemical reaction as I looked into the container,  but nothing looked like it was happening. My plan was to do 1 caliper a day, so I could let soak 24 hours before removal. So that is what I did. The next day I removed the caliper and I was still not impressed, but per instructions you are to spray with clean water after removal, so I hosed off the caliper and using a tooth brush I scrubbed the caliper while in a clean bucket of water. The result is well like magic. The calipers now look like new, at least on the outside! The cleaned parts upon removal from solution have a slight black film residue, I believe this is do to the rust conversion process and once you wash this off this film  the metal underneath looks amazing.
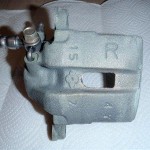
Magic of chemical rust removal
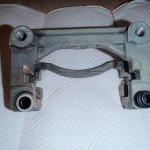
more magic

I am now sold on this product and will recommend it’s use. I also cleaned the pins and hardware, and machined surfaces look like new with no signs of chemical etching, so I believe this product would be perfectly safe if I had used evapo-rust to clean the hubs or front axles as opposed to media cleaning. The instruction also say after chemical cleaning the parts will not begin to flash rust for several days, so you have some time before you will have to paint or primer. This is a benefit of time you do not have when doing media cleaning in cabinet. See after pics. I used the same solution and container to clean all 4 rotors and I did allow each caliper to soak for 24 hours. I started on Sunday as I have plans to leave Friday and would be out of town for a week, So I decided I should just go ahead and primer the calipers with high temp KBS primer
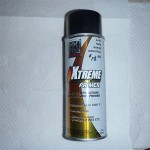
high temp primer

Thursday before I leave and finish the rebuilding them  when I return. But of course if I remove the pistons and find a caliper with pitting I am just wasted my time and some primer. So I masked off the parts I did not want painted and I used foam ear plugs to keep the paint out of the threads. This worked out really well.

See primed caliper pictures below.
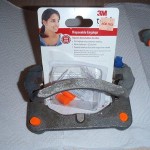
ear plugs keep paint off threads
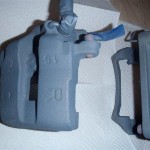
FRONT CALIPER PRIMED

Now begin the  disasemble and rebuid of calipers  so they are as good on the inside as they appear to look from the outside. If I were to do over would be my frst step would be to disasemble and verify calipers are satisfactory for rebuilding and then I would submerge the cleaned and disasembled caliper cores into the Evap0-Rust and remove clean with dawn and then clean again with brake clean.

I now begin the rebuild of the front calipers.

For the procedure I will refer you once again to the enthusiast work shop manual page 9:10 section 13 for the step by step instructions.

Here I will supplement the manual with pictures and some comments. Not much in tools are required air compressor to remove pistons a  5/16” line wrench and 12 mm socket. Use 12mm wrench to remove caliber bracket, and banjo bolt securing the flex line, we will not use the donor flex line as the VortX kit includes quality braided flex lines.
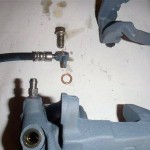
remove banjo nut to use air to remove piston
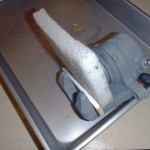
protect piston


Keep the banjo bolt and it is best to use new copper washer or heat the old and anneal. Next pic is removing the pistons from the caliber. I placed some wood material and an old wax pad to prevent any potential damage to piston during removal, you may be surprised.
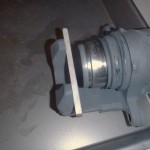
extracted piston ready for hand removal

I used compressed air, I tried 20 Lb but needed about 35 to get the piston to start moving slowing then the all of a sudden it pops out and is restraint by my wood blocking. Make sure you keep your fingers out the way during this procedure.
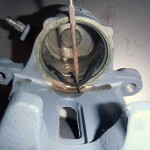
using pick lift out the square piston seal
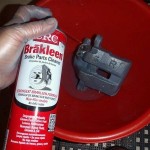
 

Remove and save the bleeder screw.

Inspect piston and caliper for rust and pitting. This could be the end game for your caliper if pitting exists. Next use a pick to help get the square piston seal from its groove. Next using a brake cleaner product thoroughly clean the piston and caliper and blow out the passages. I used a tooth brush to clean the piston seal and piston boot grooves in caliper. I used some 2000 wet paper to polish the piston. I also wrapped some the 2000 grit paper around my cylinder hone to polish the bore of the caliper, worked good.
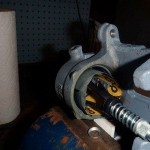
polished bore with 2000 grit
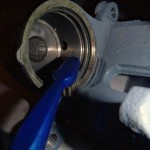
used tooth brush to clean grooves
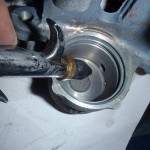
blow with compressed air
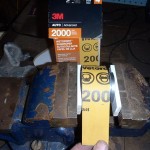


polishing piston with 2000
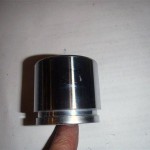
polished

I used Mazda OEM caliper rebuild kit part # NAY5-33-26Z this Mazda Kit is $45.00 and about half if you decide to use an aftermarket parts store kit. There may not be any disavantage to use an aftermarket caliper seal kit but I decided to go OEM as Miata brakes have an excellent reputation for durability and thought using the factory parts will maintain their performance.
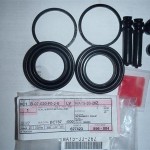
new OEM caliper rebuild parts

lubricate replacement seals in DOT 4
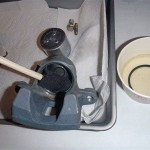
lubricate cylinder bore with DOT 4

Of course after caliper and piston are polished once again clean with brake cleaner, don’t forget to clean the banjo bolt and bleeder screw.

I used a foam brush to lube the caliper bore and paint the piston with DOT 4 brake fluid. I used pentosin super Dot 4 brake fluid. I do not recommend using the DOT 5 Silicon. Before installation of piston and boot cover I dunk in a cup of brake fluid.
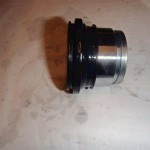
piston boot positioned to install in caliper
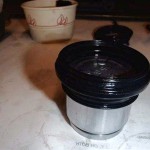
ready to install in caliper

Position the boot dust seal as shown onto piston. Then insert the piston into the caliper.  Be careful to make sure the piston is square to the caliper as you apply force to insert.
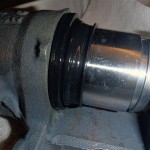
fully engage outer boot seal in groove
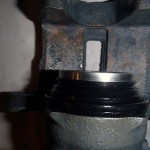
verify boots inner seal fully seated in piston groove

You will feel a bit of resistance as the piston skirt engages the square seal, but as long as you are square keep applying force , you will be able to tell when the piston is passed the seal as the piston will now more easily slide into the bore. Next make sure the boots outer seal is fully seated in its groove in the piston skirt. Now is a good time to verify the boots outer seal is fully seated in the caliper groove, if so now fully compress the piston into the caliper.
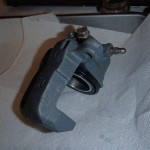
piston with new seals fully depressed in caliper
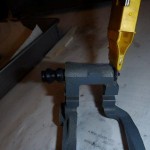
Install bleeder and banjo bolt with new copper washer and the caliper is now rebuilt. See pic. I do plan to paint but that is for another day after all four caliper are rebuilt. Now we need to replace the piston pin rubber guide in the caliper bracket.  I used a razor blade to cut rubber guide to help assist in removing it from the bracket. See pic.
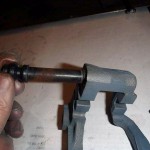
almost out

used 3m cloth to polish bushing bores

I cleaned up both caliper bracket bores using some 3M polishing pad material, see pic.

I used some Permatex ultra disk brake caliper lube to lube the pin bushings for install. I will use the same grease to lubricate the caliper pins.
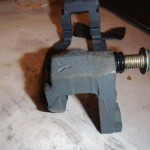
lube bushing with permatex ulta and used pin as install took
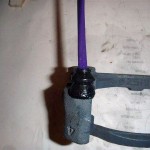
 

Finally I install the the remaing boot, I needed some assist using a clay modeling tool, see pic. These can be handy tools for this type of work; they do not have sharp edges that can slice a seal. I think I will leave this off the other caliper until after I paint them.
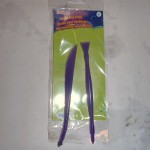
clay tools helpful with seal work

Now all that is left is to polish the pins with the 2000 grit and paint, not a bad job at all. I actually took longer to write this blog than to rebuild the calipers. So I recommend removing your pistons and inspecting for pitting and if all is well rebuild them and the money saved can be used in the build elsewhere.

Next we will rebuild the rears, which are a bit more involved.


Repacking Miata Front Hubs

Repacking Miata front hubs

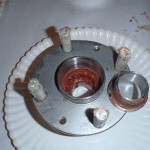
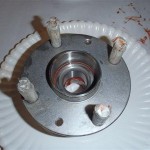
Here we are disassembling and cleaning the front hubs in preparation to repack with grease.

The manual says the front hubs are not serviceable. This is partially true but I did learn on the Mazda racer spec Miata community forum that most all serious Mazda racers repack even brand new hubs as normal race prep. This forum   http://mazdaracers.com/forum/100-spec-miata/    is excellent to learn about these techniques and other Miata set up items.

As to whether we should do this will be a topic for discussion at a later date. But suffice I decided to do the hub repack as I wanted the experience of how to do this procedure.

My post here is only to supplement this very excellent article I believe was originally posted by Karl Zimmerman on the Mazda racers forum. Please click Repacking front Hubs for the full text of how this is done step by step. The photos and text are excellent.

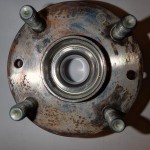
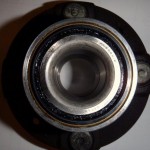
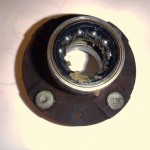
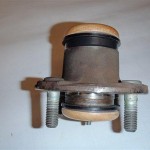
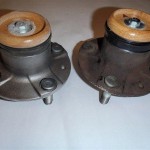
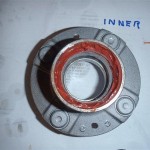
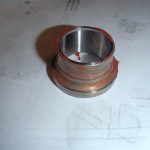
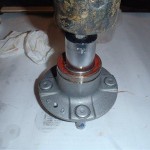
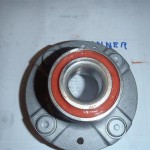
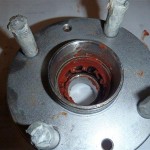
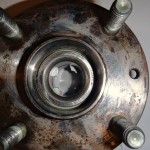
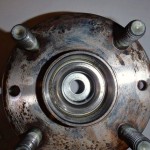
As we noted during the parts Harvest my donor hubs had an almost nil amount of play and being quality NTN hubs I decide I will repack for use in the VortX. Grease is cheap. See pics of front and back donor hubs.

Front of NTM donor hub

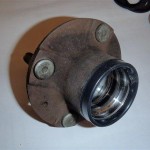
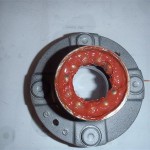
Rear of donor NTM hub

rear of donor NTM hub


Label each hub for reassembly. Example DS for Drivers Side, I used A and B, put if doing again would rather classify as DS or PS (passenger

flat washers in position

flat washer in postion

side).  I recommend using the 4 washer method as in article. As you can see I had a fender washer at hand and cut in 4 pieces to do the same job. I did supplement the 4 washer method by placing another larger washer on top of the 4 individual washers; my thought was this will allow the socket a more level surface to press against for removal of race. It did not take much force to tap out the race.

20 mm socket in positon

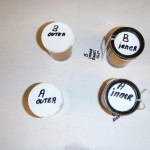
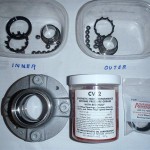
Round up some baby food containers or prescription bottles or some type of suitable containers to keep the removed bearing races, holders and bearings separate. So you will have Hub PS  and separate container for Hub PS inner and Hub PS outer races, holder and bearings.  You will also have same for the DS hub. See pic of how I organized the parts.

all race& bearings are labeled

But before I repack the bearing I decide if I want to clean and repaint the hubs now is the time. The cleaning is a necessary step but the prep and paint is for cosmetic only.

It  is important not to get these parts mixed up or premature failure is almost certainly to result so be careful.

FYI you can use a 1 1/8″ in socket in place of 29mm as called out in instructions.


remove bearings from holder

Please click Repacking front Hubs for the full text of how on this proceedure. My pictures are only to supplement.The dissembled hubs are solvent cleaned in the parts washer and then washed in dawn dish soap, applied some WD40 to bearing surfaces to prevent any flash rust to machined races. I decided I would clean hubs exterior surface rust in the blast cabinet in preparation for paint.


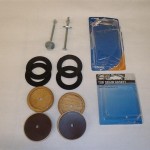
home made hub seat kit


If I would do again I would use the chemical method I used to clean the calipers for rebuild. I will describe in the Caliper rebuild. As you can see I went to great lengths to prevent and media and later paint from entering hubs and getting on race surface. I used black electrical tape to cover the inner circumference edge of hub. I was as the home depot and I found some bathtub drain gaskets and round furniture sliders with Teflon face that I would use to make seals for the open ends of the hubs. Bought some 3/16” bolts nuts and washers to compress the gaskets and sliders against the hub ends, I even went so far as to use silicon applied to the washers to further seal out media. See pic.

the seal parts in order

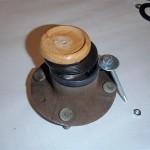
hub sandwich


This actually only took a few minutes to prepare for use. as I only had to drill 3/16” holes in the center of the sliders and then screw together with the hubs as the middle of this sandwich. It did work great. See pics of hub sandwich. I media cleaned, air blasted and then washed the hub sandwich in dawn soap to prepare for paint.

media cleaned on left

Preped ready to repack

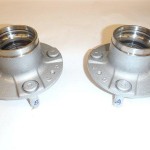
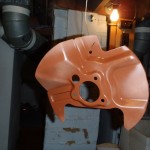
I painted the Hubs with KBS silver rustseal coating. While I had the spray equipment out I also painted the spindles and brake covers with Bill Hirsh aluminum engine enamel. Bill Hirsh offers several quality paints at www.hirschauto.com As you remember I had previously primed the spindles. The KBS rustseal coating I used for the hubs is applied to the bare unprimed media cleaned surface as no primer is recommended for rust prevention. If the parts are to see direct sunlight this KBS rustseal coating will need top colored top coat. but the hubs are not in sunlight and besides hubs are maintenance items anyway. I then applied to all painted parts KBS diamond finish clear coat. This needs to be applied within 45 minutes of top coat or you will have to do additional surface prep so plan your paint work in advance to save time. After the paint was dry I removed the bolt and the Teflon surface made separating the sliders easy. I wish I could take credit and say I planned it that way, but actually I was going to use plain wood when I saw the sliders for sale on the way to the check out counter and they were the correct diameter  and  did not require any effort for me to cut any wood to size. So now we have cleaned, blasted and, painted hubs.

painted and looking good

I also learned from the Spec Miata forum that Red line Synthetic grease is the most recommended go to grease for this job. I thought I would have to wait and order this grease but after going to redline web site I found out there is a redline distributor only 1 mile from my shop I did not know about! Most hub packers re-use the old seals but I purchased new seals. These are not available from Mazda, but  Dave Wheeler of Advanced autosports  www.advanced-autosports.com has went to the effort to have replacement hub seals manufactured for the hubs and are available at Dave’s website for racers to purchase. Dave has also authored a book I recommend title the Spec Miata Constructors Manual and is worth the read. I did not damage my seals during removal and could have reused, but decided to use seals the new seals.


Hub, cleaned parts ready to pack

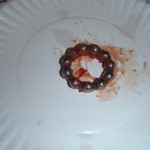
Here is one hub. I have allready cleaned the hub races thoroughly with WD40 and also all bearings, inner races and holder are cleaned and put in labeled sanitary container ready to be repacked.
So with Red line grease in hand and my new seals and the above file on display on my computer screen it is time to get on with the repack.

I start by repacking the hub’s rear race first. This is the easy side to do. I applied Red Line synthetic grease to holder and installed the ball bearings. Pay attention to how the bearings fit into the holder. Notice you are pushing them in from the outside or downward as you are viewing from above. If you try it put bearings in center of circle and then try pushing from the center of the circle to outside of the circle they will not go into place and too much force may break the holder. Make note of this as this technique

will come in handy when you install the front side holder and bearing.

Next I applied a liberal amount of grease to the inner hub race and then dropped the holder with bearings into the bed of grease.   I applied some grease to outer inner race and with aid of socket I tapped into position see pic. Then clean up the extra grease and take picture.

grease applied to rear race


apply some grease to rear race

Tapping race into position

So far so easy. Now we turn the hub over to repack the front race. This is a bit more difficult. First I applied some grease to holder and work into position. This is the scary part as if you break the holder you can only get the holder when you buy a new hub! I found holding the holder about 60 degree angle from horizontal worked best for me. You will have to compress the holder slightly to get into position. You may not want to do this in cold temperature, not sure but winter temp may affect the pliability of holder. Once the holder is in place it is time for our next dexterity test. It was so easy to install the bearings when they are on the work bench; I thought this would go fast too. It took me a few times to find the best technique. Like the article says, installing the bearings 180 to each other in sequence does help. But the trick is to hold the retainer in position with the index finger of one hand and push the bearing with the index finger of the other hand, Like you are trying to hold the bearing between the tips of your pointed index fingers, remember the bearing go into place from above easy when we did the holder on the bench, Same here. Once this is done you are home free. After bearings are in place apply a liberal amount of grease and coat the front inner race with grease and tap into position.

front holder in place

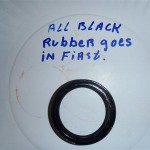
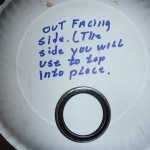
Next tap in the front inner race and all I have left to do is to install the inner seal. See pics for orientation.


Orientation of grease seal

Just start the seal square , I was able to push on by hand and then used a socket and lightly tapped to verify fully seated. I was able to repack the other hub in half the time. Overall repacking the hubs is nothing to be afraid of . If your donor has quality hubs with play within spec, why not repack and reuse?  On the other hand if your donor has low quality hubs and you plan to take to take your VortX to the track you may as well just bite the bullet and buy new hubs now.
Looks like the front brakes are missing,

So the next post will be rebuilding the Calipers.

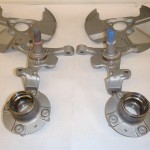
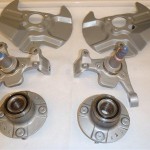
Before and after pics here.

degreased spindles

VortX Ready


Refurbishing Miata front axle parts

Starting at the front.

I am going to refurbish the donor parts starting from the front axle and working toward the rear axle. I start with refurbishing the front end parts, the spindles, hubs, and brakes. All other front end parts furnished in the VortX kit are new! Actually if you want you could just install the parts as removed from the Miata provided they were in good working order, but I do want a pleasing and sanitary car so I will spend some extra time and effort and some of the budget in this area to clean, coat the parts and rebuild the calipers.

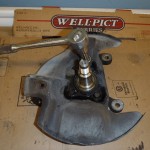
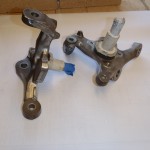
I start by removing the dust covers from the front spindles, us a 12 mm socket to remove the 3 dust cover bolts. Next stop is trip to the parts washer. Which in itself is worthy of some comment.

remove dust shield

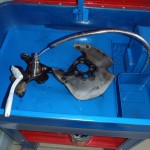
What to use for solvent? I did a lot of searching around. The solvent cleaner must be aluminum safe. The leaves out such readily available cleaners like purple power and such. In fact most all cleaners are caustic to aluminum it seems. I purchased Crown PSC 1000 in a 5 gal can. You can usually walk into a Tractor supply pay them $41.99 and take it home so there is not any shipping expense. Besides the price the reason I selected it is this solvent is this product is a medium aliphatic Naphtha solvent and is a recommended solvent by Boeing aircraft to use in degreasing of aluminum and is not caustic to aluminum. It is flammable and should be used in ventilated flame free area and of course wear gloves when using. I located my parts washer on an enclosed patio next to my shop. So this works out great for me.

cleaning in washer

Since I bought the Red Devil and on occasion I rent a 2 seat Symphony 160 on occasion to fly, I investigated what I could use to clean these bare alcad aluminum airplanes. I found something I should already have known about. This is Extreme Simple green. This is not the same simple green you buy in Wal-Mart. In fact you will probably have to order it and have shipped. I found prices on Amazon for as low as $79.00 including shipping for 5 gal pail. You can buy from www.skygeek.com. It is made to clean aluminum.

degreased spindles

cleaned

This product is water based so it is not flammable. But the big plus for this product is that it meets Boeing spec D6-17487 and Pratt Whitney spec PWA3609. So it is safe for all metals! Degreases and offers corrosion protection too, does not harm paint, plastics, coatings, low odor, can be used in parts washers without need for heating. Sounds like great stuff. I have not tried it yet but I plan to order some soon.  The same material is also marketed as motor sports cleaner and is sold in some race shops. You can put this in a bucket with water and wash your monocoque aluminum chassis and painted body and just hose it off. So this is just a FYI about an alternative cleaner you can use in your parts washer or to wash your car or airplane. I’ll update when I give it a try.


media cleaning dust covers


blasted ready for primer


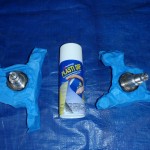
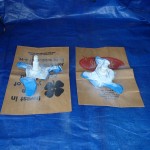
Back to task at hand. After cleaning spindles in the parts washers I wanted to prepare for paint. I washed the parts with dawn dish soap. I have a bead blast cabinet and wanted to use it to remove all surface oxidation. The medium I am using is glass purchased from www.tptools.com. I wanted to make sure I do not damage any machined surface. So I had an idea, hmmm. How bout if I paint all the machined surfaces with plastic coat? You can buy this stuff at any craft store. My nephew uses this stuff to stencil race numbers on his car for track days, does not harm to the paint and peels off easily and this is a common practice, so this is where the idea comes from. So I give it a try and coated the spindle surface with the plastic coats. See pic. Next spindles are bead blasted.

media cleaned on left

grinding off cast flash

Looking good but I notice some casting flashing that could be a stress riser. So I get out the dremel and grinding stone and do a bit of clean up smoothing our any crevices. For this process it does not hurt to use a little extra caution to protect the spindle, in case of a slip of hand and dremel. The cardboard tubes from empty paper towel rolls came in handy. See cleaned up pic. If I was building a “show car” the process would be to spend many, many hours to remove metal to such an extent to have a smooth almost polish surface. My goal is to use the Miata parts with minimal cosmetic time and effort. In fact this step is not necessary, but since the VortX RT suspension is more visible I decided to clean up the bigger gobs of casing flash since it is now or never.

used plastic coat to protect machined surfaces

plastic coat applied

Of course immediately after clean media blast you want to apply coating. Prior to paint I used more corks to prevent paint from getting into the tie rod and upper and lower ball joint holes. I painted using my old faithful and very low cost Rust 0leum heavy rusted metal primer. I will top coat.

spindles ready for paint

Since I primed these parts I have become aware of a product called RustSeal made by KBS coatings. Can be applied direct to blasted parts. I used this product to repaint the aluminum heel scuff guards on the floorboards of the airplane. This is some tough paint. Other paints always have worn off quickly. I tested this paint and it is fuel proof. Only issue is KBS web site says the color is not stable in sunlight and would need a top coat when exposed to direct sun, but  this coating is extremly chip and excellent as rust prevention. So this is probably a tougher more chip resistant primer than the Rust Oleum. But not inexpensive at about $15.00 a half pint. All we need to do now is finish paint the spindles and brake dust covers. I will top coat later along with the cleaned and repacked front hubs. Which is a good place to start the next post.


Prepping for degreasing

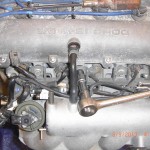
remove ignition harness


We recently finished the disassembly and this post begins the next phase which is to refurbish the donor parts for the build. The first step is to clean the parts and I start by preparing the engine for degreasing. I thought best to remove the all electrics from the engine so I can degrease. Unfortunately I am writing this 5 months after I did this work using my notes I took at the time, and some of the details are a bit lacking. My resolution is to write this blog within 48 hours any procedure which is about the length of my memory these days. With the engine sitting on the mobile stand I made we have 100% complete access. I uncharacteristically just jumped right in and did not read the manual in advance, Now would be a good time to take several picture of the assembled engine including all the fuel injection harness, alternator, remaining electrics, hoses etc to reference for reassembly.  I wish I took a few more. You always think at the time you will never forget where this hose or that connector goes, famous last words. I am consulting the manual as write the blog to give some reference to my disassembly.  I started by removing the fuel rail. Use a 12 mm socket to remove the 3 securing bolts and collars which will come loose when bolts are withdrawn. I was not able to remove rail until I used 10 mm socket to temporarily remove solenoid bracket to allow removal of rail. I thought I could remove the rail with injectors and harness as a complete assembly.

12 mm to remove bolts

removing fuel rail bolts

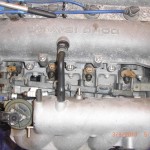
fuel rail now free

This plan was not working out well and I would have known that if I reviewed the manual 5:20 P 19:  Per the manual, remove PCV hose from cam cover (obvious) and disconnect any hoses that are in the way. Next you will need to release the main electrical connector of the fuel injection rail harness. The harness is also attached to the rail with cable ties, cut the ties. Next you will need to remove the individual injector electrical connectors.

harness disconected remove injectors

Use a small screwdriver to apply pressure (but not too much, use care) to push the locking release tab. Now you can remove the rail harness. I labeled the connectors and removed the injection rail harness. Remove rail and pull to release injectors. Of course all these parts are labeled and put in donor pile for safe keeping. Review the pics.

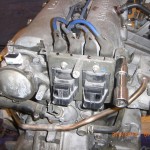
Next I turned my attention to the coil pack. Refer to 5:27, P 27B in manual. Use a 12 mm socket to remove 3 coil support bracket retaining bolts.  Remove coil and ignition wires, put in donor pile.

remove coil bracket


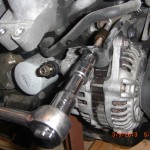
Next up remove alternator, remove the adjustment strap inner bolt and the adjuster bolt you need to remove the pivot bolt,.


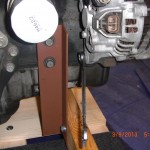
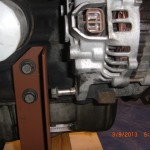
OOPS

Then I have an OOPS moment. The engine stand 2×2 angle did not allow the removal of pivot bolt. So I had to remove the angle to free the alternator. Next I removed the exhaust header shield. Use 10 mm socket to remove 7 bolts and 3 nuts.

So If you are reading ahead, remove the alternator prior, if you are using this low buck angle engine dolly.

remove heat shield


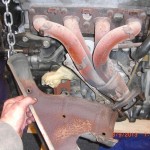
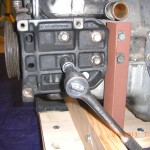
I put the shield in the maybe pile. Next remove the AC compressor mounting bracket from block. Use 14 mm socket to remove 4 bolts and use 12 mm socket to remove 1 long bolt from front. Put this very Heavy bracket in the scrap pile where it belongs.

remove AC bracket


AC bracket front bolt removal


We are almost ready to degrease. So I went to the craft store and bought an assortment of corks and plugged any and all openings we would not want to get wet.

seal opening from debris, water

I moved the engine and diff outside for degreasing. Used Engine solvent and several stiff brushes and with the aid of the power washer and repeated the process for areas that needed additional cleaning , now the engine and differential are looking good enough to transplant, but I believe they will be in for some additional surgery before they are VortX ready, but it is always nice have clean sanitary parts to work with.


degreaing diff


Next we continue refurbisment. I want my car to have a good clean appearance and will be conditioning the parts, painting and detailing as such. But I should note that I do not have any attention to make a show car from my kit. I  will be using my VortX as a track day car so it will be seeing hard use and no need for elaborate paint and finish, but still want an VorX RT with asthetic appeal and my goal is to do the parts prep at reasonable expense. That is what is to follow.