Since last post I removed a few items for the e-bay pile. I removed the heater core, brake master cylinder with booster, wiper motor, hand brake handle and all it’s cables.The VortX kit comes with a new handbrake assemble and cables so we can put these in the e-bay pile
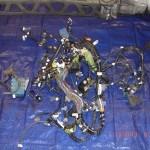
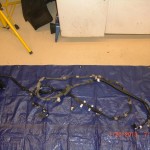
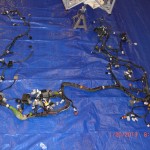
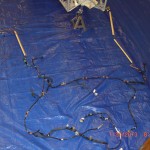
I also removed the clutch master cylinder and throttle cable and placed these items in the donor keeper pile. All of the above items were easy and rather self explanatory to remove, I did not consult the manual but if you need further instruction please refer to the appropriate section in the manual. As I was removing these parts I was scratching my head on how to proceed with the harness removal.Should I remove the wires inside the car through the firewall to the engine compartment or should all the wires in the engine compartment be pulled into the interior. At first with all the wires hanging in the engine compartment I considered the first option thinking this would be path of least resistance, but as it turns this is not the case as there is only one way to remove the harness or harnesses. I am getting a little ahead of myself but I think it would be helpful now to explain what we are removing. There are are actually 4 harness. I do not know what the proper names are but this is what I will call them. The first harness I call the power supply harness. This harness is the one that runs along the PPF( remember removing all those clips) and runs under the car and up through a grommet to access the trunk and connects to the battery at one end and at the opposite end it is hard wired to main fuse box located on the passenger side fender. The next harness I will call the central harness, this is the biggest harness. This central harness is located inside the car up against the firewall and has many circuits that pass through grommets located on the firewall. Along the drivers side foot well this central harness connects to what the the manual refers to as fuse block No. 1. The next harness I call the rear harness. It connect to the main harness along the passenger foot well and supplies items like the fuel pump, seat belts and rear lighting. The fourth and shortest harness is the ECU harness. This one runs along the passenger door sill and connects to the ECU located behind passenger seat and connects to the Central harness at the passenger foot well area. The central harness is the main harness, It contains the wiring to the front lighting, all the engine sensors, airbags system, instrument panel, dash, interior lighting, actually everything since the other 3 harness all connect to this main central harness. So that is the general layout. But how to remove?. There are two rubber grommets, one rather large about 3″ diameter near the passenger side foot well in the firewall and another not as large grommet hole below the master cylinder assembly drivers side. Since fuse block No. 1 is too large to pass through the hole on the drivers side it becomes obvious all under hood wiring attached to fuse block No. 1 must pass through hole into the passenger compartment. Also after inspection of the main fuse box, You can see that there are several connectors that are are part of the central harness that plug into the main fuse box and supply harness. It is now obvious that the main fuse box will and supply harness will be not be passing through the 3″ firewall hole. So basically all the wires in the engine compartment and there are a bunch of them are going to have to pass through the firewall grommet holes into the interior. The supply harness will be removed from beneath the car after it is unplugged from the central harness at the main fuse block.
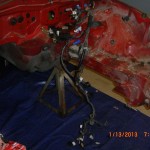
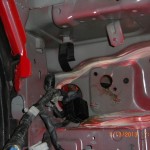
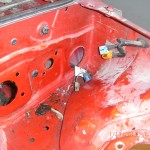
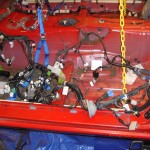
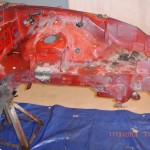
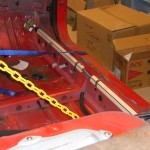
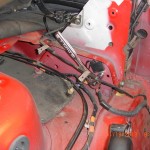
To make easier for this blog writer I will include a progressive picture gallery at end of this post.
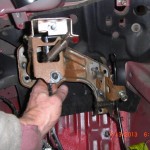
So this is the plan of attack.I started from the drivers side and work my way to the passenger side by removing all the interior harness restraints, hold downs, wire ties and plastic clips. Of course I am marking and label all connectors as I disconnect. I remove flasher relay, the clutch pedal release sensor, brake switch. Eventually the harness is completely free. I then remove the blue( I believe this is an ECU for the airbag system). Next I used a 12 mm socket to remove 1 bolt and plastic speed nut that retains the clutch pedal and box and used a 10 mm socket to remove clutch pedal depression switch from the pedal box. Do not discard this does switch as it does send a signal to the ECU. we may need it. Next I removed the hood release cable and put in e-bay pile along with clutch pedal box. Next up I removed the throttle and brake pedal box using a 10 mm socket to remove 2 bolts and put in the e-bay pile, this will probably end up being scrap.Next I removed the white plastic speed nuts that help to retain the firewall sound deadening blanket and put this blanket in scrap pile. Now the central harness is completely accessible in the passenger compartment so I set my attention part of the central harness that has connections along the drivers side inner fender.
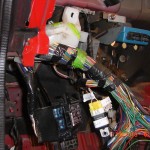
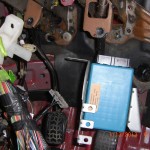
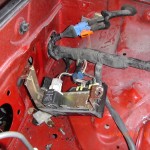
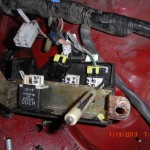
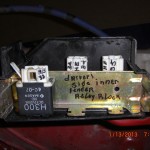
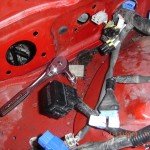
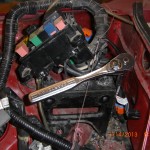
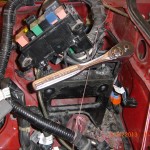
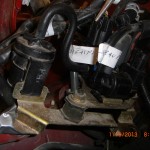
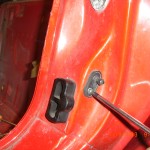
First from the engine compartment I release the drives side rubber firewall grommet by pushing to the inside of the firewall.Next up I release the black diagnostic connector from it’s bracket. Then with 10 mm socket I remove nuts holding the relay box to the inner fender. Disconnect the blue/ orange air bag harness. I then number the central harness connectors at the relay box, see picture. There is a central harness ground bolt that I almost forgot to remove,see pic.Now all the drivers side harness engine compartment wires are free and we can pull the harness through the grommet hole to inside passenger compartment. I do this by standing by the window pillar and using 1 hand inside pulling and 1 hand in the engine compartment carefully guiding the wires through the grommet hole.
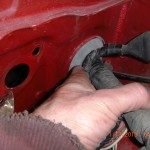
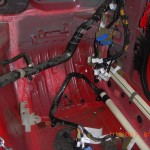
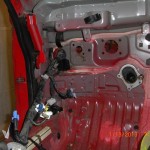
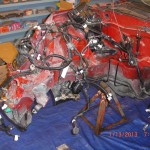
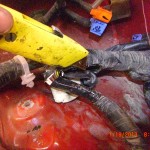
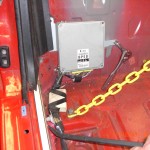
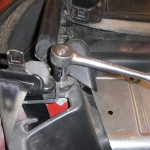
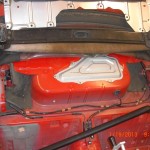
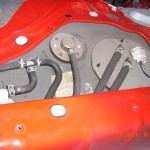
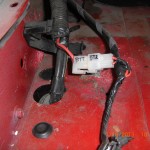
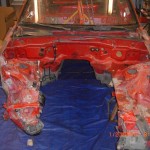
One fender down and one to go. The passenger side inner fender does retain the majority of the engine compartment central harness as this part of the harness has the majority of the engine management sensors and it looks a mess and I wondered how all that will pass through the grommet. Use a 10 mm socket to remove 3 bolts that retain the main fuse box bracket. I needed to remove an orange and blue airbag connector to get access to the one of the retaining bolts.I then labeled all the connectors at the main fuse box.The photographer must have been on break as I did not take a pick of the labled main fuse box, but it was labled similar to relay box pictured. Next using 10 mm socket remove fasteners retaining the EGR selonids bracket located on passenger side fender,Label and disconet solenoid connectors.Of course at this time we are saving the EGR solenoids, relays and all wire harness items for the donor pile. Deletion of wires and circuit will be for anther day. I look over the harness and I do not see any relay or part of harness that appears to large to pass thorough the grommet, which we now release this grommet at firewall in similar fashion as we did for drivers side by pushing into the interiour from the engine compartment. Not hard just be carefull not to pinch wires. I seem to have forgot my duties of photographer, as I quickly got involved in carefully passing the wire through the firewall. I found on my car a part of my harness was folded over and taped with black electrical tape making passage difficult. See pic.I carefully removed the electrical tape making it easier to pass harness. Actually it was not difficult and soon the entire harness was inside of the passenger compartment and the engine compartment now looks naked. Next I used a 10 mm socket to remove 3 bolts that retain the ECU which is located rear of passenger seat. Remove any clips along passenger door sill area that retain harness and remove harness and ECU. If doing this again I would probably remove the ECU and harness first as it only takes 10 just to get out of harms way.At this time you can also pick the the central harness up off the drivers compartment floor and put in safe place.I put each of the 4 harness in thier own cardboard box for safe keeping. At this point I had a feeling of victory but we are not done yet, we still have the rear harness and supply harness to remove but this is much easier and faster to remove that the central. First you need to remove the rear cross support, this is about a 1.5 inch black bar behind the seat headrest area. Use a 17 mm socket to remove 1 bolt at each end. Remove rear black plastic trim directly below the cross bar support to allow access to bolts retaining the unpainted alloy rear harness cover. Using a 10 mm socket remove the 16 bolts that retain this cover, remove cover and the majority of rear harness is now accessible. For this next step I actually had to put the top up temporarily to access the fuel tank cover bolts.Use 10 mm socket to remove the 6 bolts that hold down the fuel tank sending unit unpainted cover. Next using No 2 Phillips remove door dome light switches. Next I removed rear harness grounding bolt with a 10 mm socket which is located near drivers side real lap belt retaining bolt. Next I labeled the fuel pump/sending unit connector and disconnected and removed rubber grommet and pulled connector though grommet hole. Next using 10 mm socket I removed the fuel tank check valve and using a Phillips screwdriver removed 4 screws retaining the fuel tank vapor valve and rubber gasket. I put these in the maybe pile even though the VortX does come with it’s own vent valve. I removed any all all clips and ties retaining the harness in the area of the car.
Next I had to remove the passenger side inner fender splash guard using 10 mm socket to remove 4 bolts.This will give you access to remove 1 bolt using same 10 mm socket the retains the power delivery harness. From passenger side of car push the rubber grommet to ward underside of car where the delivery harness enters the trunk. Feed the battery end of the harness through the grommet hole. Make sure all harness plastic retainers are free, This harness should now be laying on the garage floor underneath the car, I had mine tied up with some twine after removing from PPF, So all I had to to was cut twine and go to front of car at the main fuse box end pull harness from under car and put in storage box. Now just double check all clips of the rear harness are removed , there are several in the trunk area. Carefully feed this harness from the trunk area to the passenger compartment and remove harness from passenger compartment, of course this is a donor part put in box for safe keeping. Well now is time for the victory dance, instead I think I have cold one and write this blog. Looking over at the donor car. There is not much still connected to the body. So how do you remove a wire harness? Strip her till she is naked, until all that is left is the harness, but you can leave her top on.
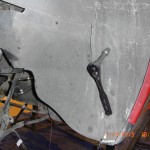
remove rear passenger side splash guard
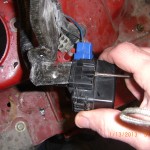
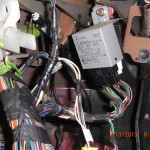
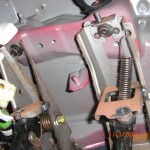
Thank you so much. This is by far the best procedure I have seen for removing wire harness. I am removing harness in order to prepare it for a track car.
Fantastic Work!