Begin rebuild of calipers
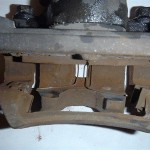
We now move on to rebuilding the brake calipers. See before donor pics.
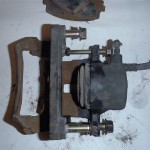
In retrospect I did not do this process in the best order. This is also the first time I used the product Evapo-Rust rust remover.
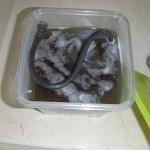
Evapo-Rust is a chemical method to remove rust and I was not sure what to expect, nor was I certain that the product may not cause harm to the caliper piston bores. So this is why I decided to just leave the Caliper pistons with seals in the caliper and submerge the fully assembled calipers into the evapo-rust product. I purchase a 5 gal can of evapo-rust from Northern Tool. But this amount is more than you need. I used plastic food container just large enough to completely submerge the front and rear brake calipers into. I did one at a time.
I put the first front caliper into the solution and I was concerned that possible my evapo-rust was expired! I did buy it about 4 months ago, I do not know what I was expecting but I was expecting to see some sort of chemical reaction as I looked into the container, but nothing looked like it was happening. My plan was to do 1 caliper a day, so I could let soak 24 hours before removal. So that is what I did. The next day I removed the caliper and I was still not impressed, but per instructions you are to spray with clean water after removal, so I hosed off the caliper and using a tooth brush I scrubbed the caliper while in a clean bucket of water. The result is well like magic. The calipers now look like new, at least on the outside! The cleaned parts upon removal from solution have a slight black film residue, I believe this is do to the rust conversion process and once you wash this off this film the metal underneath looks amazing.
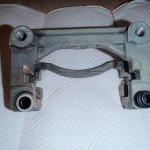
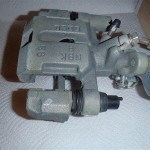
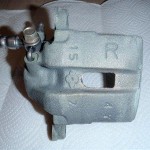
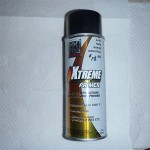
I am now sold on this product and will recommend it’s use. I also cleaned the pins and hardware, and machined surfaces look like new with no signs of chemical etching, so I believe this product would be perfectly safe if I had used evapo-rust to clean the hubs or front axles as opposed to media cleaning. The instruction also say after chemical cleaning the parts will not begin to flash rust for several days, so you have some time before you will have to paint or primer. This is a benefit of time you do not have when doing media cleaning in cabinet. See after pics. I used the same solution and container to clean all 4 rotors and I did allow each caliper to soak for 24 hours. I started on Sunday as I have plans to leave Friday and would be out of town for a week, So I decided I should just go ahead and primer the calipers with high temp KBS primer
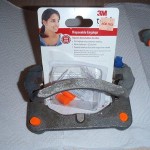
Thursday before I leave and finish the rebuilding them when I return. But of course if I remove the pistons and find a caliper with pitting I am just wasted my time and some primer. So I masked off the parts I did not want painted and I used foam ear plugs to keep the paint out of the threads. This worked out really well.
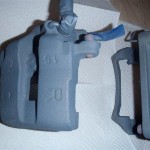
See primed caliper pictures below.
Now begin the disasemble and rebuid of calipers so they are as good on the inside as they appear to look from the outside. If I were to do over would be my frst step would be to disasemble and verify calipers are satisfactory for rebuilding and then I would submerge the cleaned and disasembled caliper cores into the Evap0-Rust and remove clean with dawn and then clean again with brake clean.
I now begin the rebuild of the front calipers.
For the procedure I will refer you once again to the enthusiast work shop manual page 9:10 section 13 for the step by step instructions.
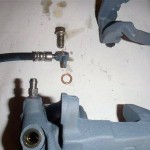
Here I will supplement the manual with pictures and some comments. Not much in tools are required air compressor to remove pistons a 5/16” line wrench and 12 mm socket. Use 12mm wrench to remove caliber bracket, and banjo bolt securing the flex line, we will not use the donor flex line as the VortX kit includes quality braided flex lines.
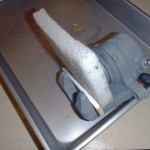
Keep the banjo bolt and it is best to use new copper washer or heat the old and anneal. Next pic is removing the pistons from the caliber. I placed some wood material and an old wax pad to prevent any potential damage to piston during removal, you may be surprised.
I used compressed air, I tried 20 Lb but needed about 35 to get the piston to start moving slowing then the all of a sudden it pops out and is restraint by my wood blocking. Make sure you keep your fingers out the way during this procedure.
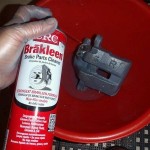
Remove and save the bleeder screw.
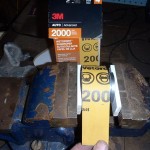
Inspect piston and caliper for rust and pitting. This could be the end game for your caliper if pitting exists. Next use a pick to help get the square piston seal from its groove. Next using a brake cleaner product thoroughly clean the piston and caliper and blow out the passages. I used a tooth brush to clean the piston seal and piston boot grooves in caliper. I used some 2000 wet paper to polish the piston. I also wrapped some the 2000 grit paper around my cylinder hone to polish the bore of the caliper, worked good.
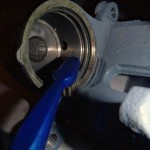
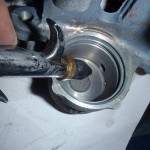
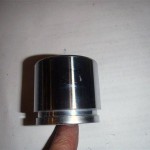
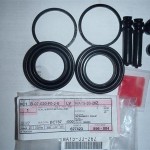
I used Mazda OEM caliper rebuild kit part # NAY5-33-26Z this Mazda Kit is $45.00 and about half if you decide to use an aftermarket parts store kit. There may not be any disavantage to use an aftermarket caliper seal kit but I decided to go OEM as Miata brakes have an excellent reputation for durability and thought using the factory parts will maintain their performance.
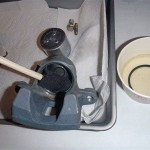
Of course after caliper and piston are polished once again clean with brake cleaner, don’t forget to clean the banjo bolt and bleeder screw.
I used a foam brush to lube the caliper bore and paint the piston with DOT 4 brake fluid. I used pentosin super Dot 4 brake fluid. I do not recommend using the DOT 5 Silicon. Before installation of piston and boot cover I dunk in a cup of brake fluid.
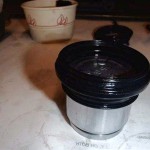
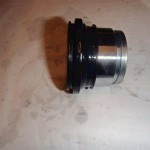
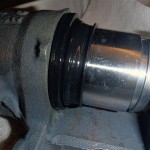
Position the boot dust seal as shown onto piston. Then insert the piston into the caliper. Be careful to make sure the piston is square to the caliper as you apply force to insert.
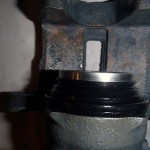
You will feel a bit of resistance as the piston skirt engages the square seal, but as long as you are square keep applying force , you will be able to tell when the piston is passed the seal as the piston will now more easily slide into the bore. Next make sure the boots outer seal is fully seated in its groove in the piston skirt. Now is a good time to verify the boots outer seal is fully seated in the caliper groove, if so now fully compress the piston into the caliper.
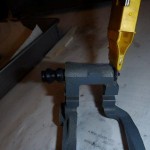
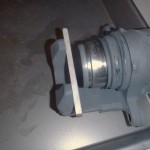
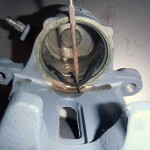
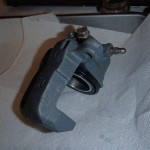
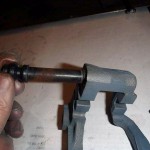
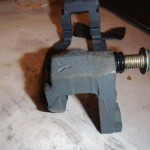
Install bleeder and banjo bolt with new copper washer and the caliper is now rebuilt. See pic. I do plan to paint but that is for another day after all four caliper are rebuilt. Now we need to replace the piston pin rubber guide in the caliper bracket. I used a razor blade to cut rubber guide to help assist in removing it from the bracket. See pic.

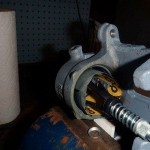
I cleaned up both caliper bracket bores using some 3M polishing pad material, see pic.
I used some Permatex ultra disk brake caliper lube to lube the pin bushings for install. I will use the same grease to lubricate the caliper pins.
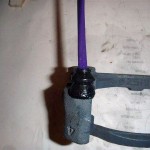
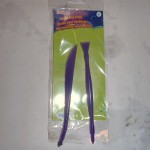
Finally I install the the remaing boot, I needed some assist using a clay modeling tool, see pic. These can be handy tools for this type of work; they do not have sharp edges that can slice a seal. I think I will leave this off the other caliper until after I paint them.
Now all that is left is to polish the pins with the 2000 grit and paint, not a bad job at all. I actually took longer to write this blog than to rebuild the calipers. So I recommend removing your pistons and inspecting for pitting and if all is well rebuild them and the money saved can be used in the build elsewhere.
Next we will rebuild the rears, which are a bit more involved.


