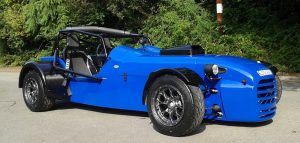
Removing Miata Donor Parts 9 of 9, Engine Removed And We Make An Engine Dolly
It is too long since last post. I really need to make it a rule to write the post within 48 hours of doing the job task. This is easier

It is too long since last post. I really need to make it a rule to write the post within 48 hours of doing the job task. This is easier
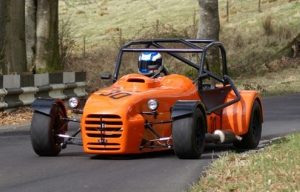
Since last post I gave a thought , that maybe the next step should be to remove the engine from the sub-frame, but decide I may need this mass to
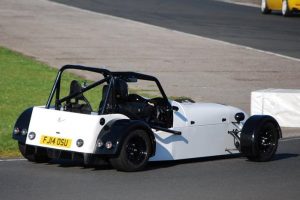
Before moving to the front calipers as I mentioned on my last post. I decide first to disconnect the rear prop flange from the rear differential flange. Refer to page
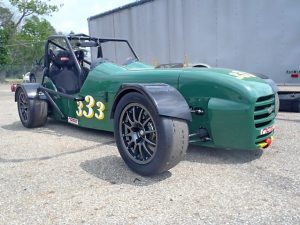
I was not too pleased with my last post regarding grouping the pictures toward the end of the post and will return to mixing the pictures within the commentary. Besides
Since last post I removed a few items for the e-bay pile. I removed the heater core, brake master cylinder with booster, wiper motor, hand brake handle and all it’s cables.The
As I mentioned in my last post I now am turning attention to removal of engine and transmission unit. I have decided to do this by separating the body from
I decided now is a good time to shift focus to the exterior. What I want to do is salvage the wiring harness from the crash damaged area. The portion
10-27-2012 Continuing where we left off. The plan is to strip the fire wall to gain full access to the wiring harness in front of the firewall. To do so
Getting started . My first thought is where do I start? Most build blogs I reviewed do not chronicle the disassembly process in much detail, and why should they as this part
Pictured is the 1994 First Generation Miata ,Fastcraft motorsport is using for this Build. This car was purchased for a winning bid of $900.00 from the Copart on line auction

The question is Where the hell did you go? Actually a couple readers did ask that exact question, at least someone is reading my ramblings. I was attending the other
We recently finished the disassembly and this post begins the next phase which is to refurbish the donor parts for the build. The first step is to clean the parts

Starting at the front. I am going to refurbish the donor parts starting from the front axle and working toward the rear axle. I start with refurbishing the front end

Repacking Miata front hubs Here we are disassembling and cleaning the front hubs in preparation to repack with grease. The manual says the front hubs are not serviceable. This is
Begin rebuild of calipers We now move on to rebuilding the brake calipers. See before donor pics. In retrospect I did not do this process in the best order. This is also the

I now turn my attention to rebuilding the rear calipers. Since rebuilt rear calipers typically cost from $70.00 to $120.00 or more there is much savings(incentive) to rebuild your own
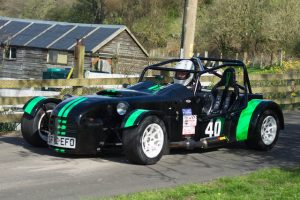
I still have a few donor parts to refurbish but I am anxious to start building and want to take a break from the mechanical refurbishment tasks. So time to
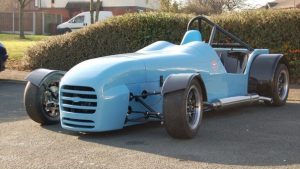
VortX RT Miata Pedal Box Install This installment of the build is to supplement chapter 3 of the MNR build manual. Picture gallery to follow at end of this article.