
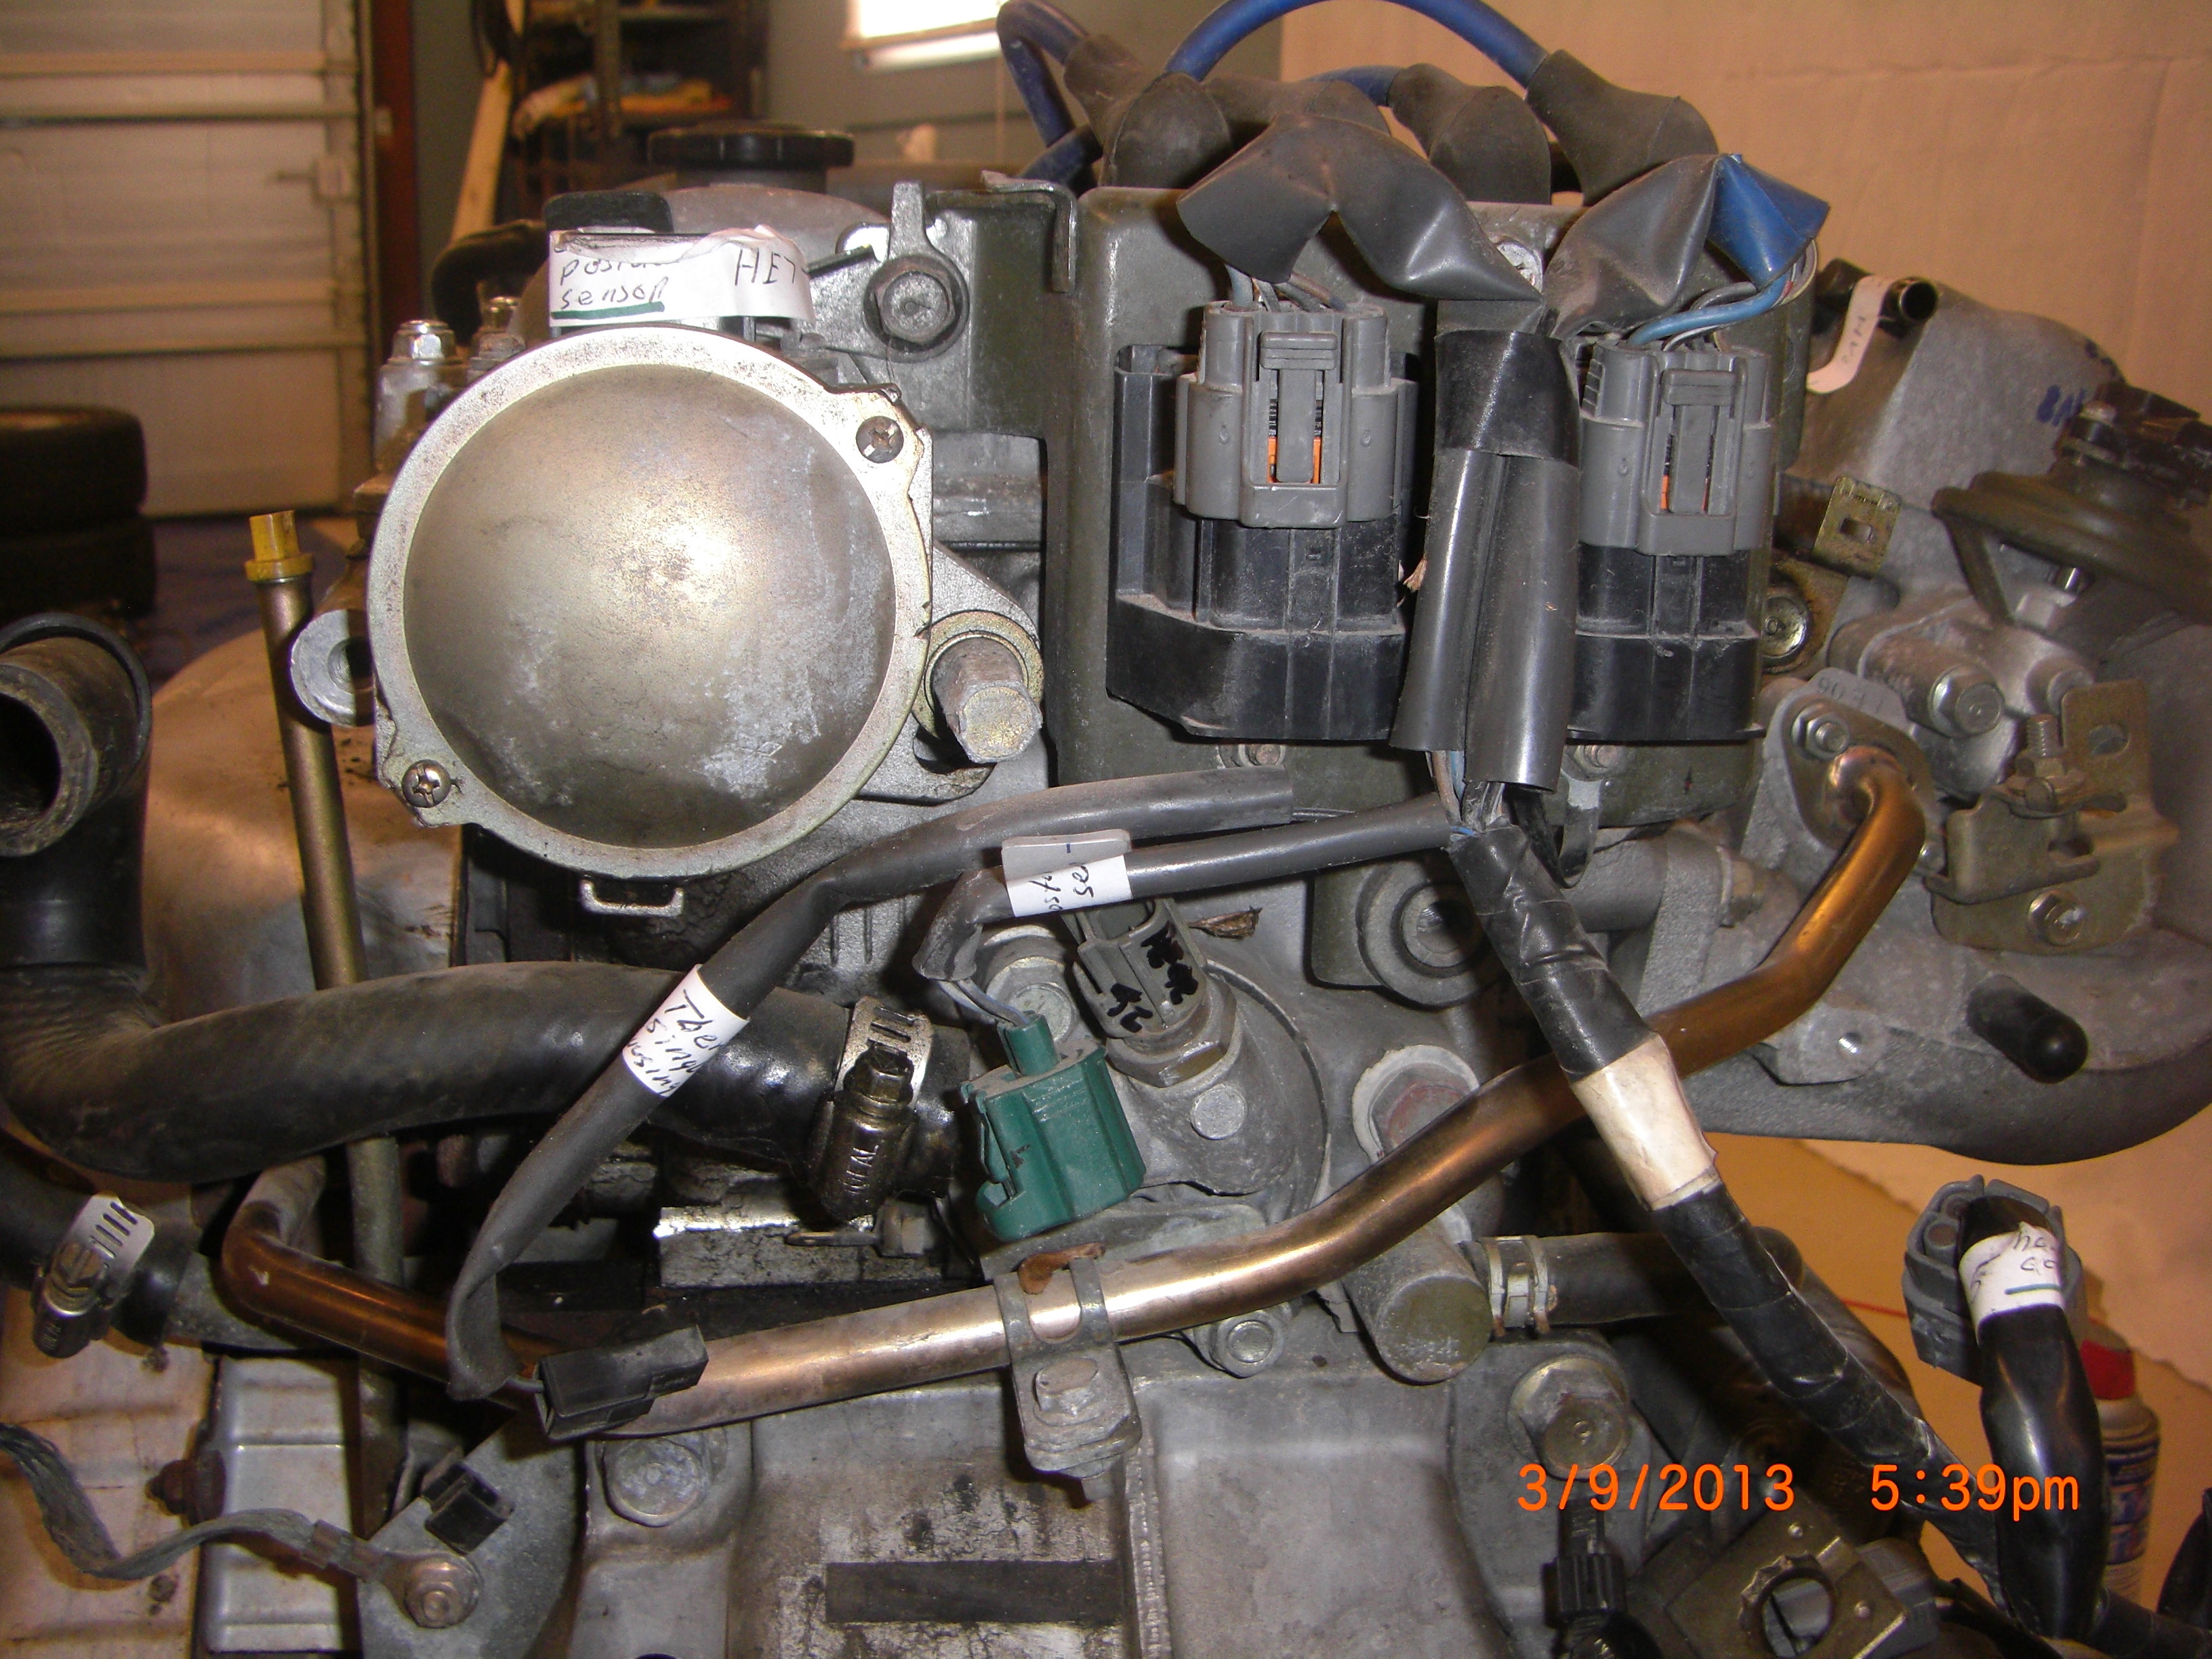
We recently finished the disassembly and this post begins the next phase which is to refurbish the donor parts for the build. The first step is to clean the parts and I start by preparing the engine for degreasing. I thought best to remove the all electrics from the engine so I can degrease. Unfortunately I am writing this 5 months after I did this work using my notes I took at the time, and some of the details are a bit lacking. My resolution is to write this blog within 48 hours any procedure which is about the length of my memory these days. With the engine sitting on the mobile stand I made we have 100% complete access. I uncharacteristically just jumped right in and did not read the manual in advance, Now would be a good time to take several picture of the assembled engine including all the fuel injection harness, alternator, remaining electrics, hoses etc to reference for reassembly. I wish I took a few more. You always think at the time you will never forget where this hose or that connector goes, famous last words. I am consulting the manual as write the blog to give some reference to my disassembly. I started by removing the fuel rail. Use a 12 mm socket to remove the 3 securing bolts and collars which will come loose when bolts are withdrawn. I was not able to remove rail until I used 10 mm socket to temporarily remove solenoid bracket to allow removal of rail. I thought I could remove the rail with injectors and harness as a complete assembly.
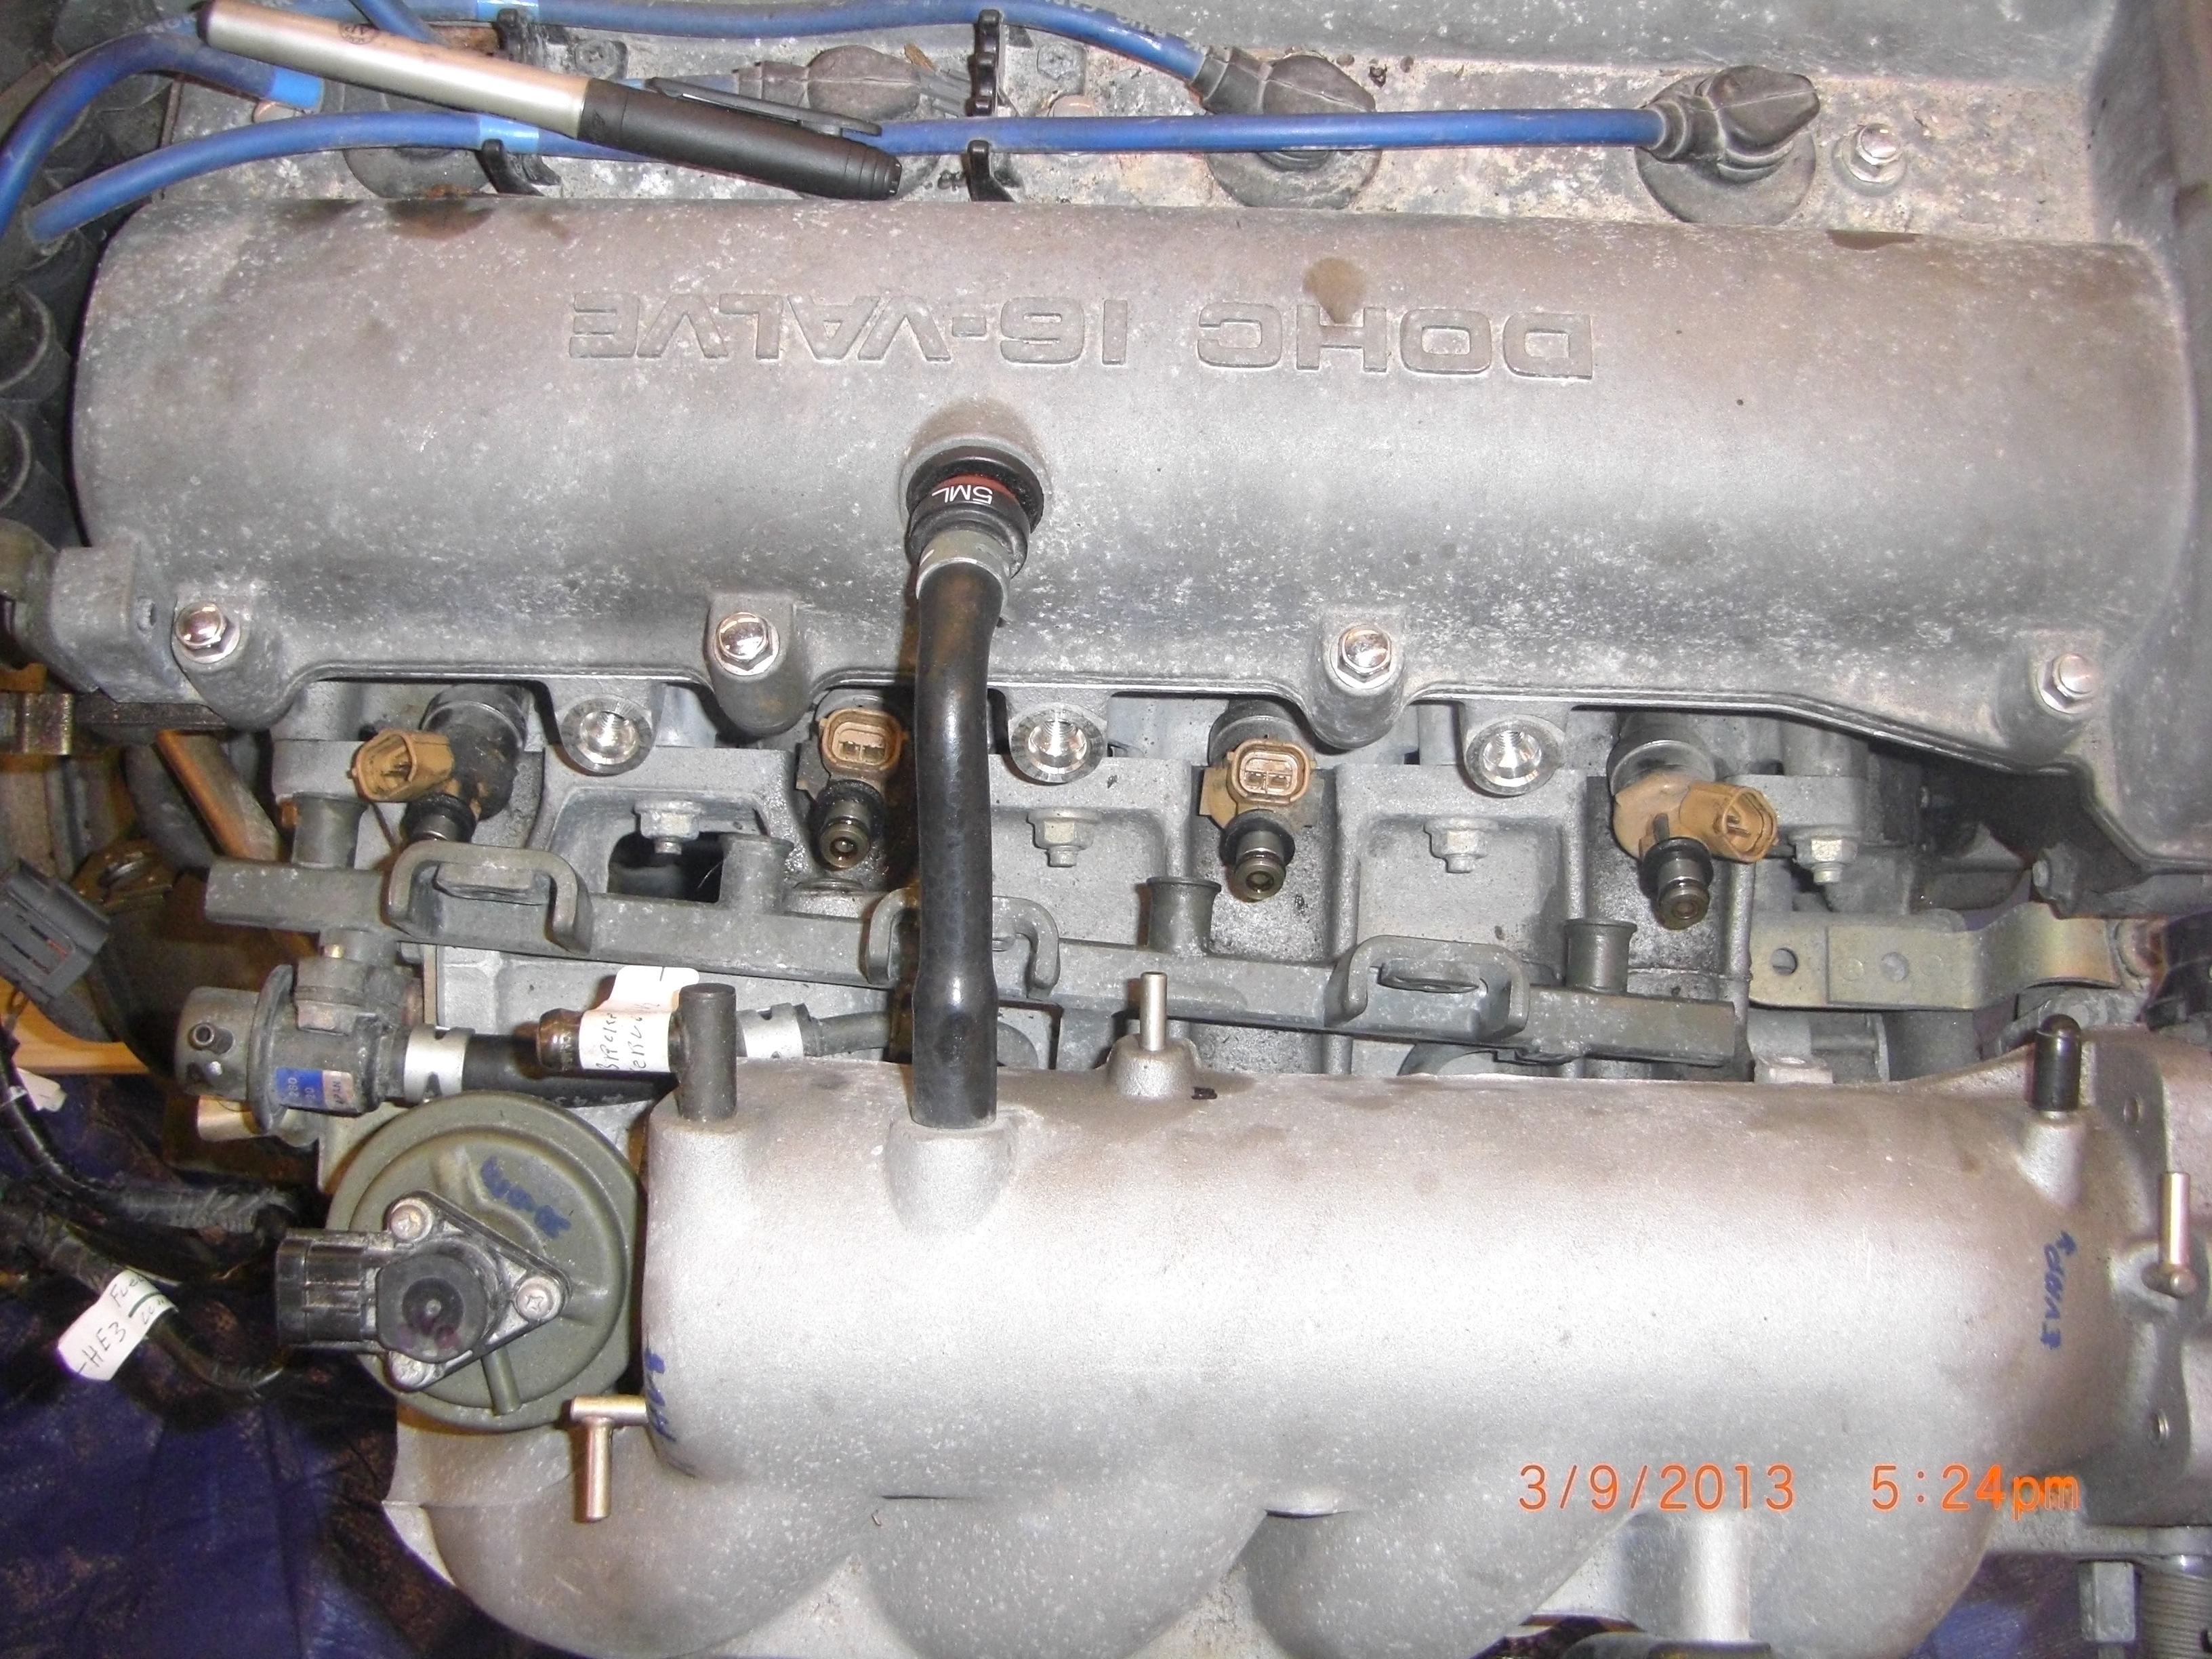
This plan was not working out well and I would have known that if I reviewed the manual 5:20 P 19: Per the manual, remove PCV hose from cam cover (obvious) and disconnect any hoses that are in the way. Next you will need to release the main electrical connector of the fuel injection rail harness. The harness is also attached to the rail with cable ties, cut the ties. Next you will need to remove the individual injector electrical connectors.
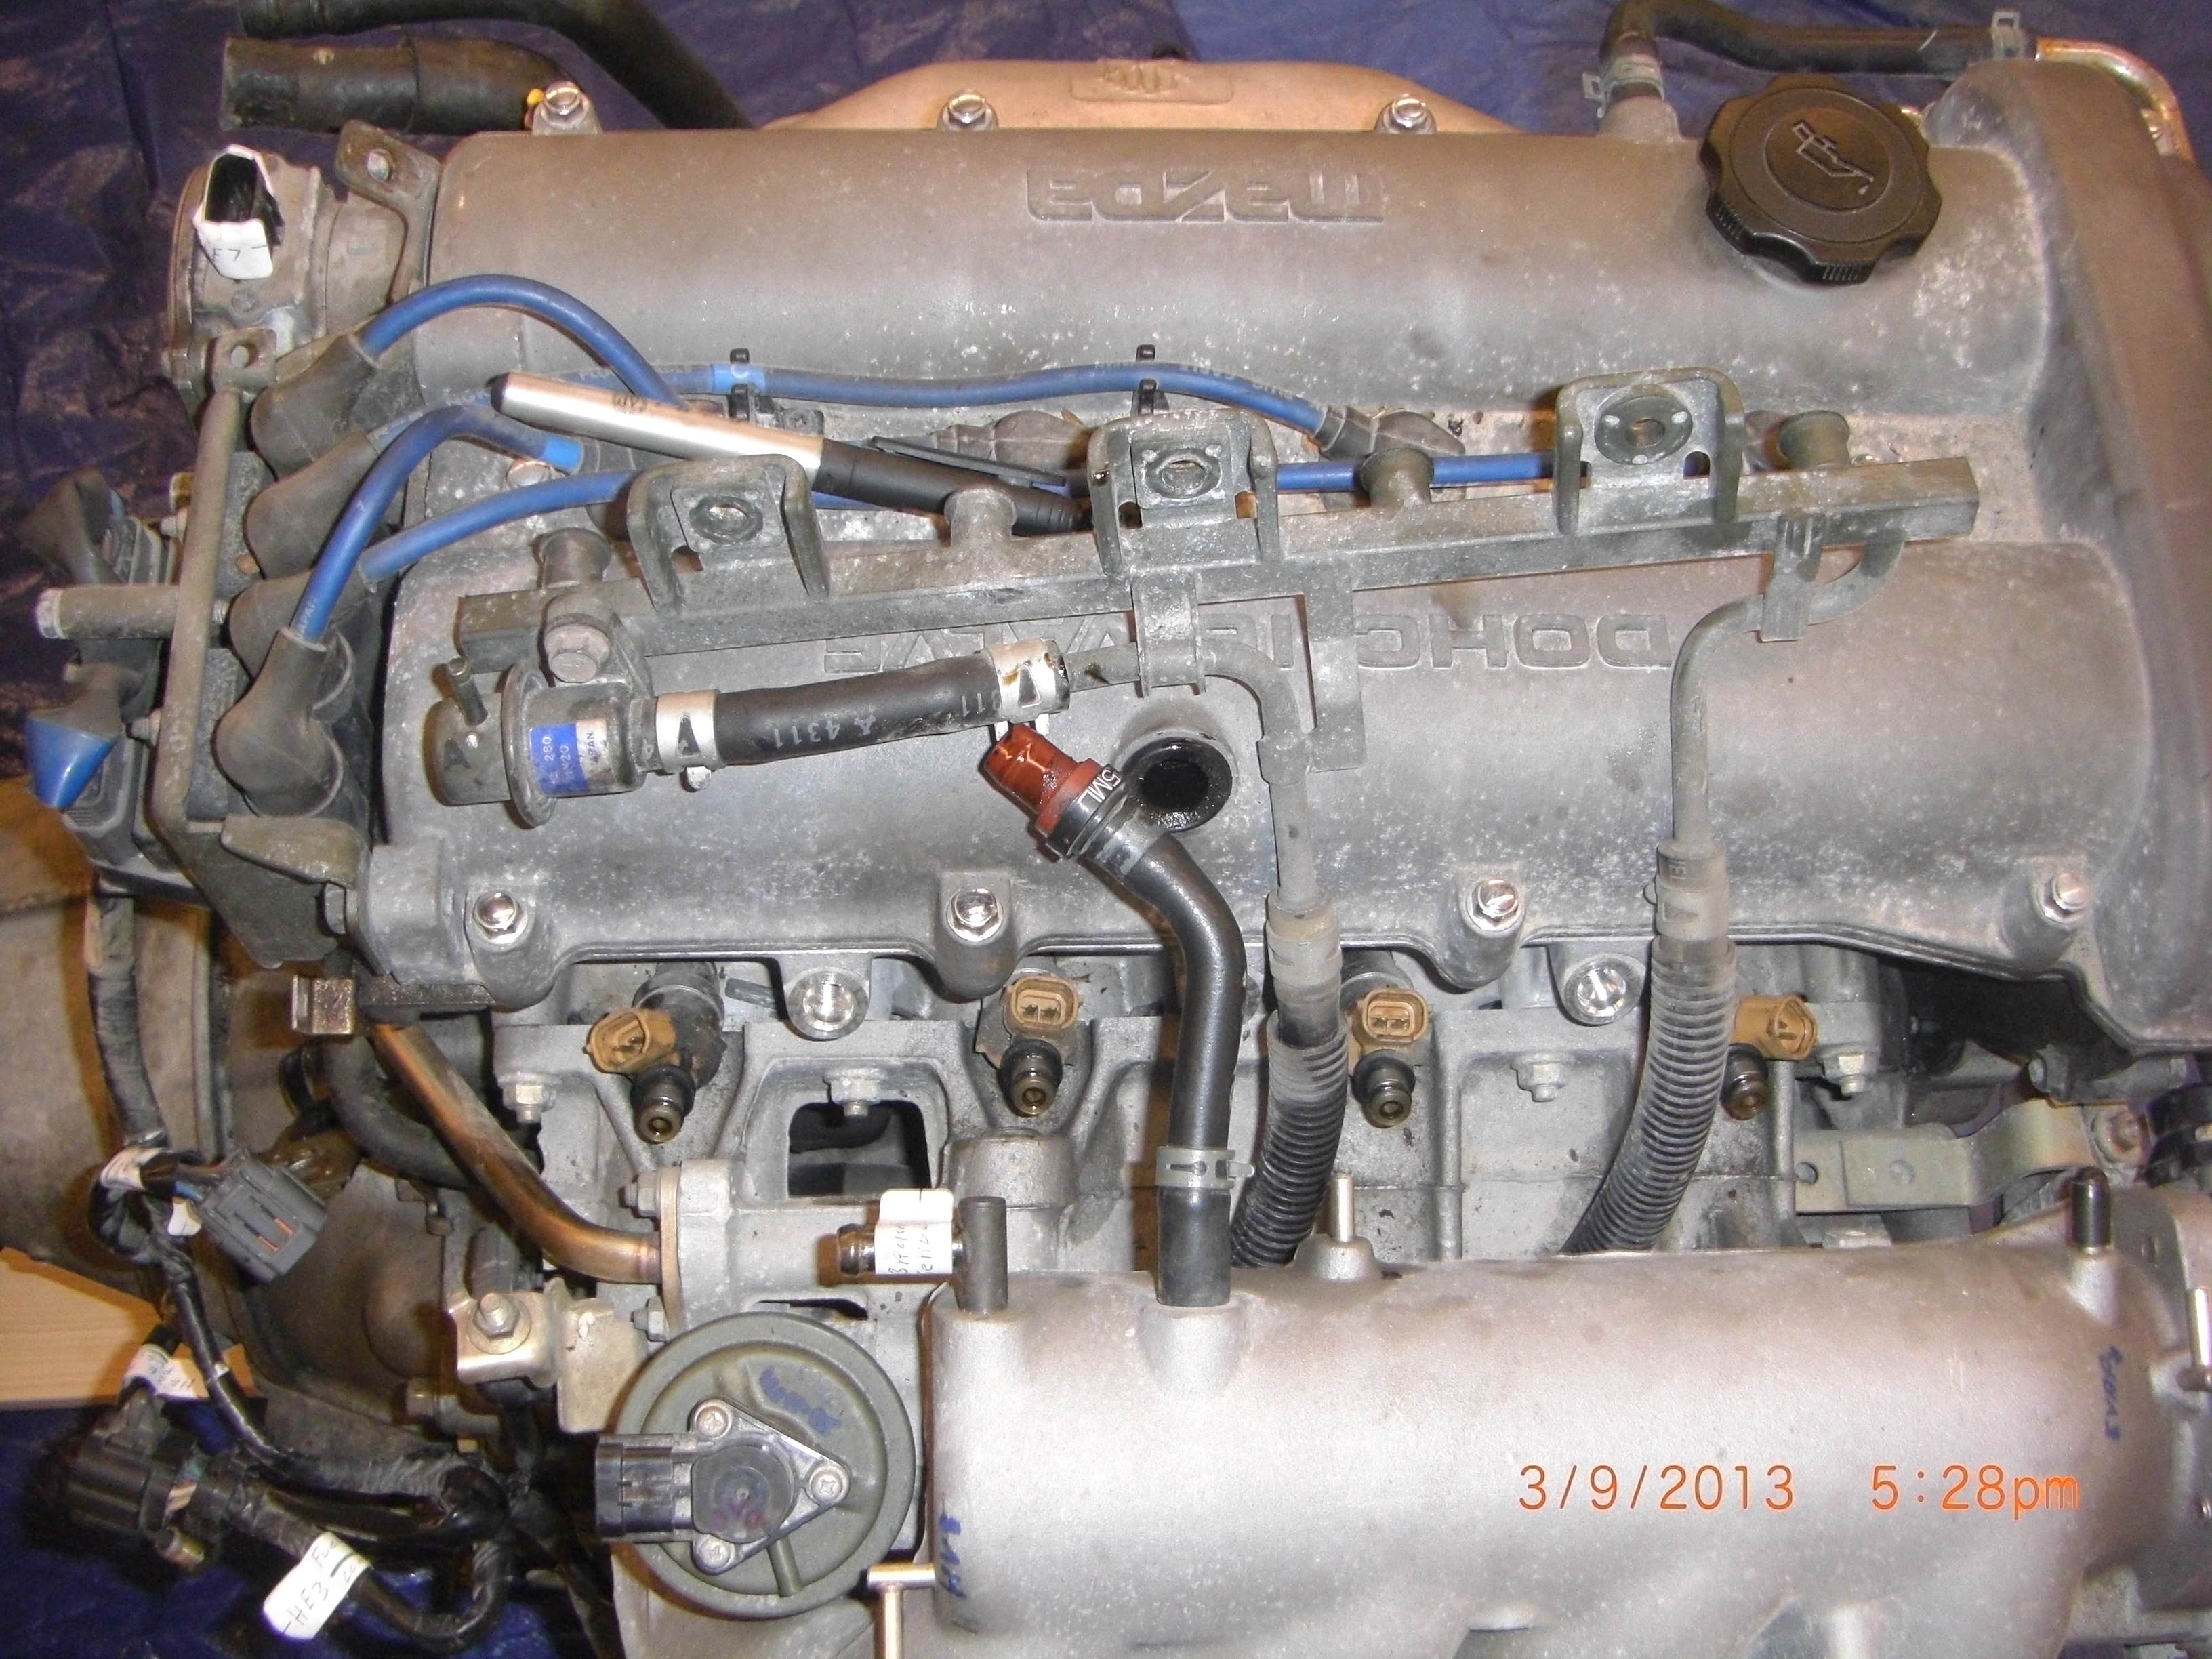
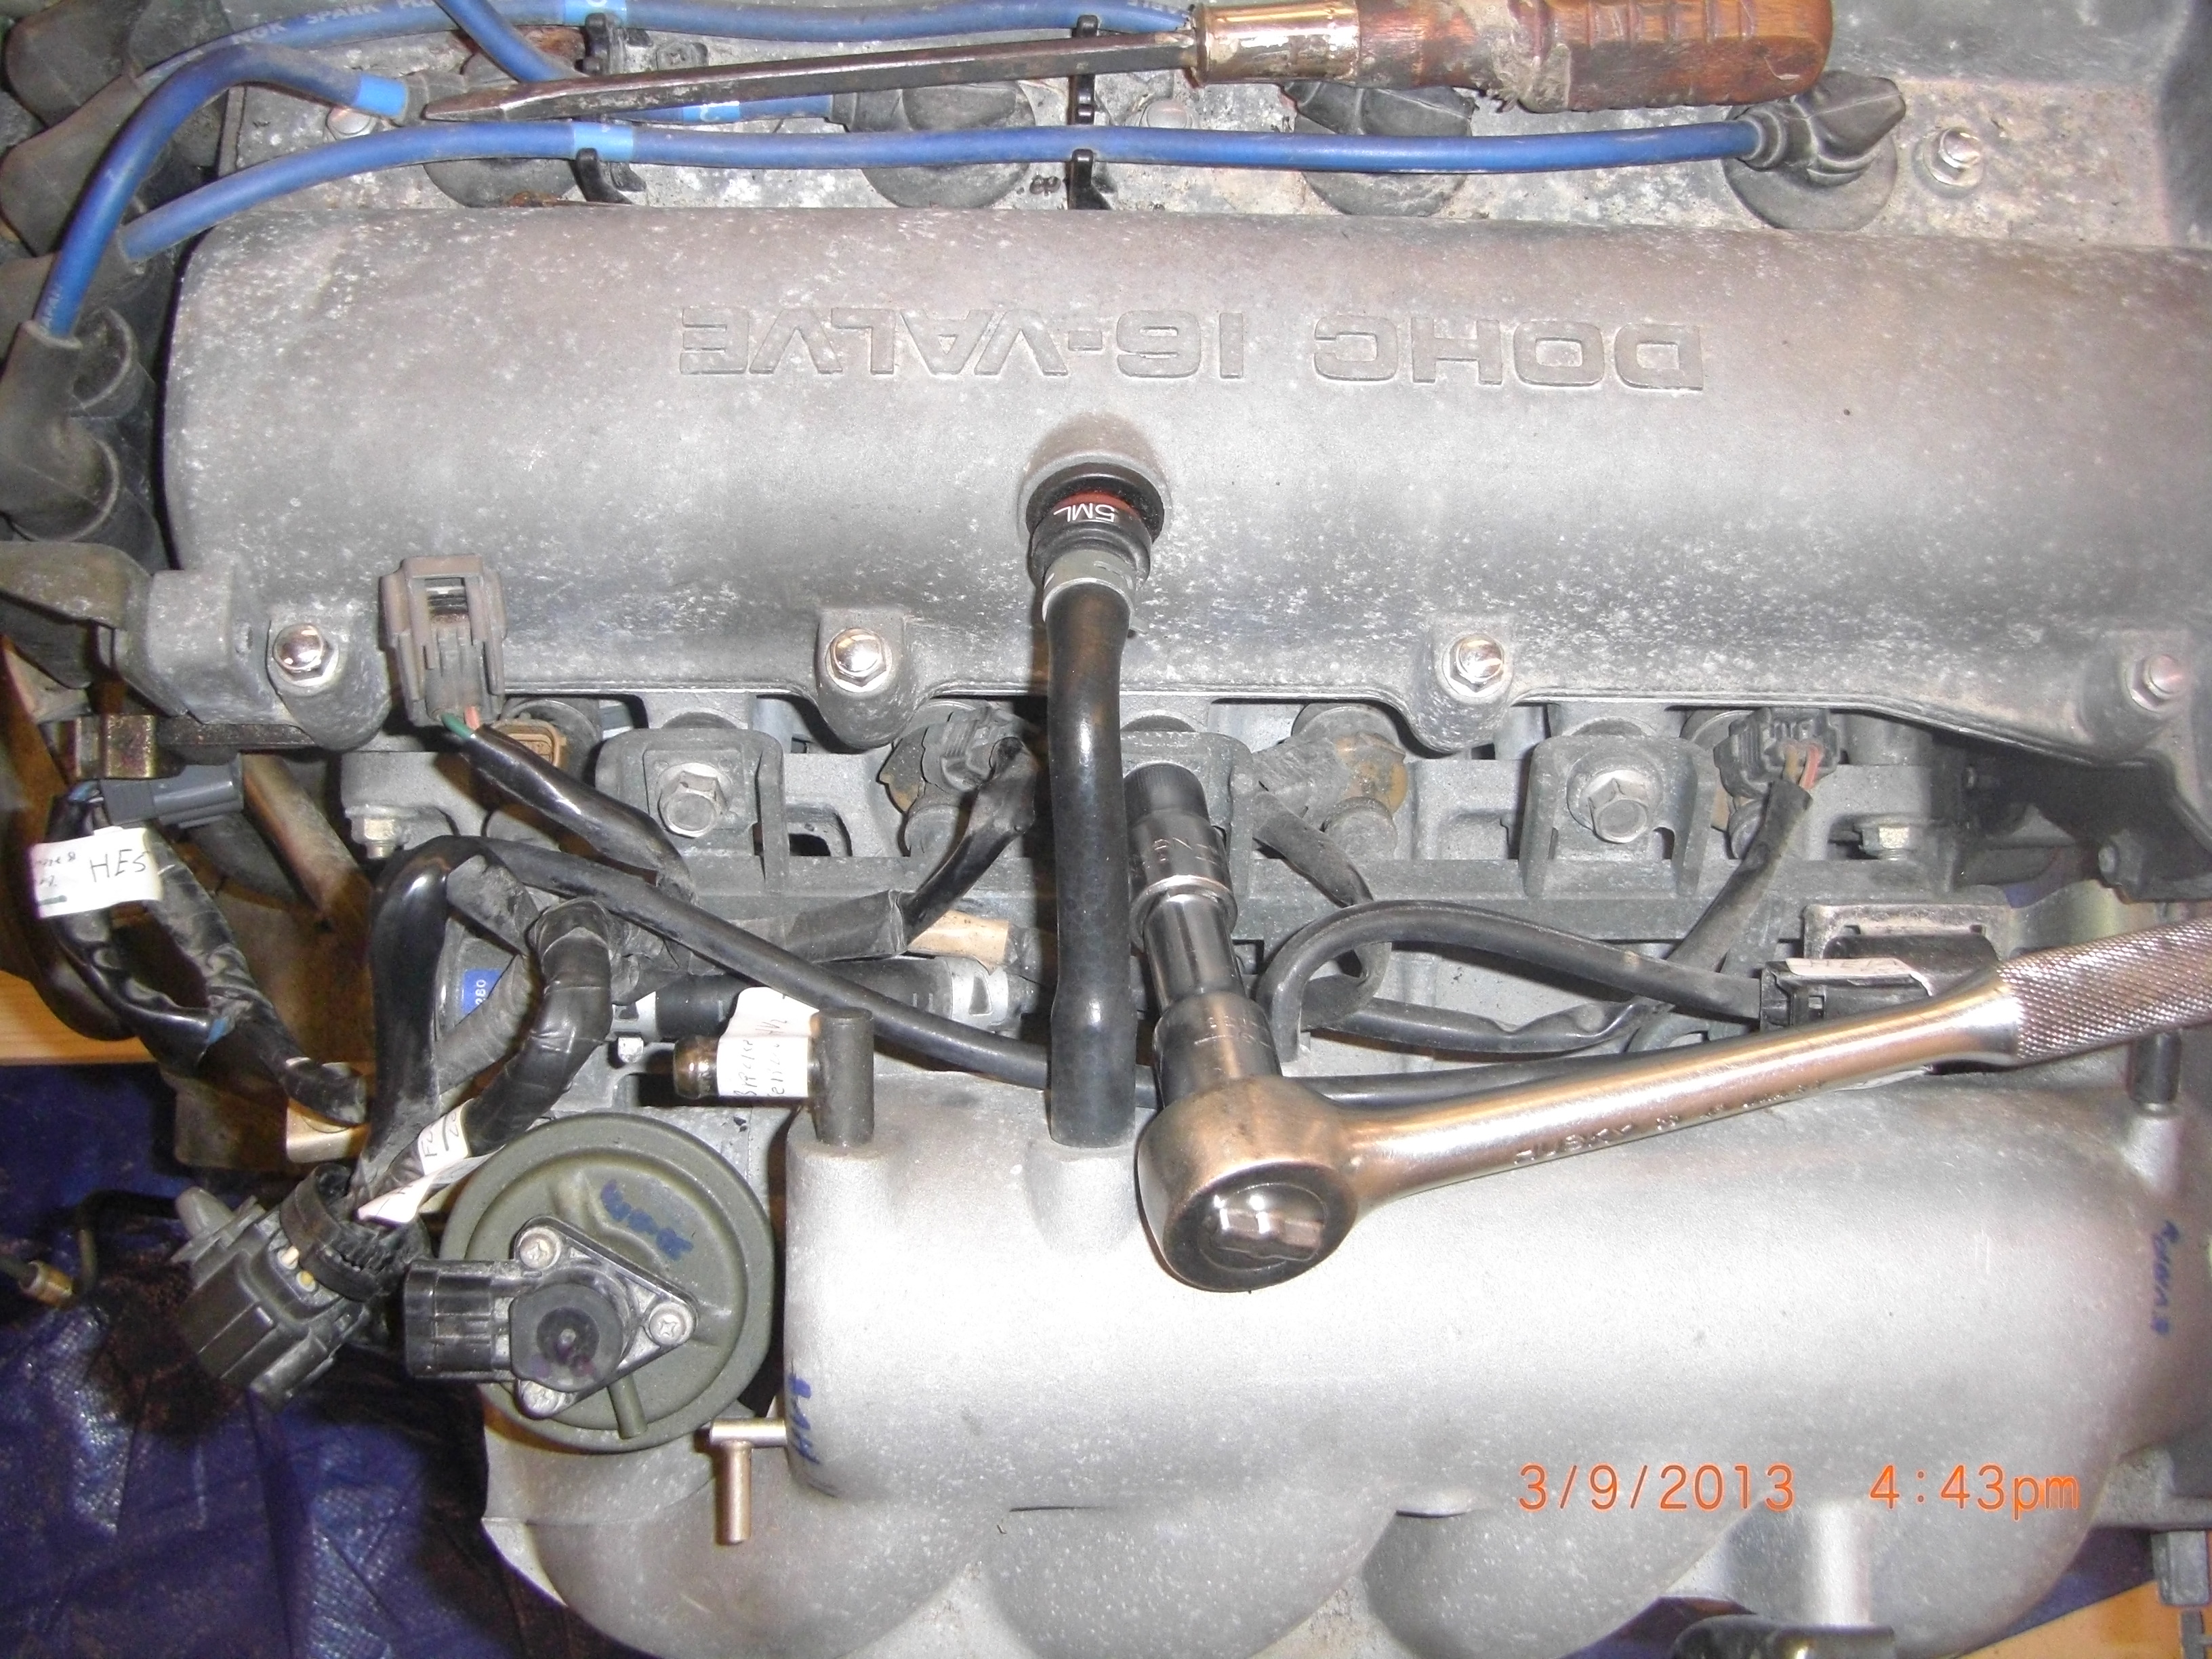
Use a small screwdriver to apply pressure (but not too much, use care) to push the locking release tab. Now you can remove the rail harness. I labeled the connectors and removed the injection rail harness. Remove rail and pull to release injectors. Of course all these parts are labeled and put in donor pile for safe keeping. Review the pics.
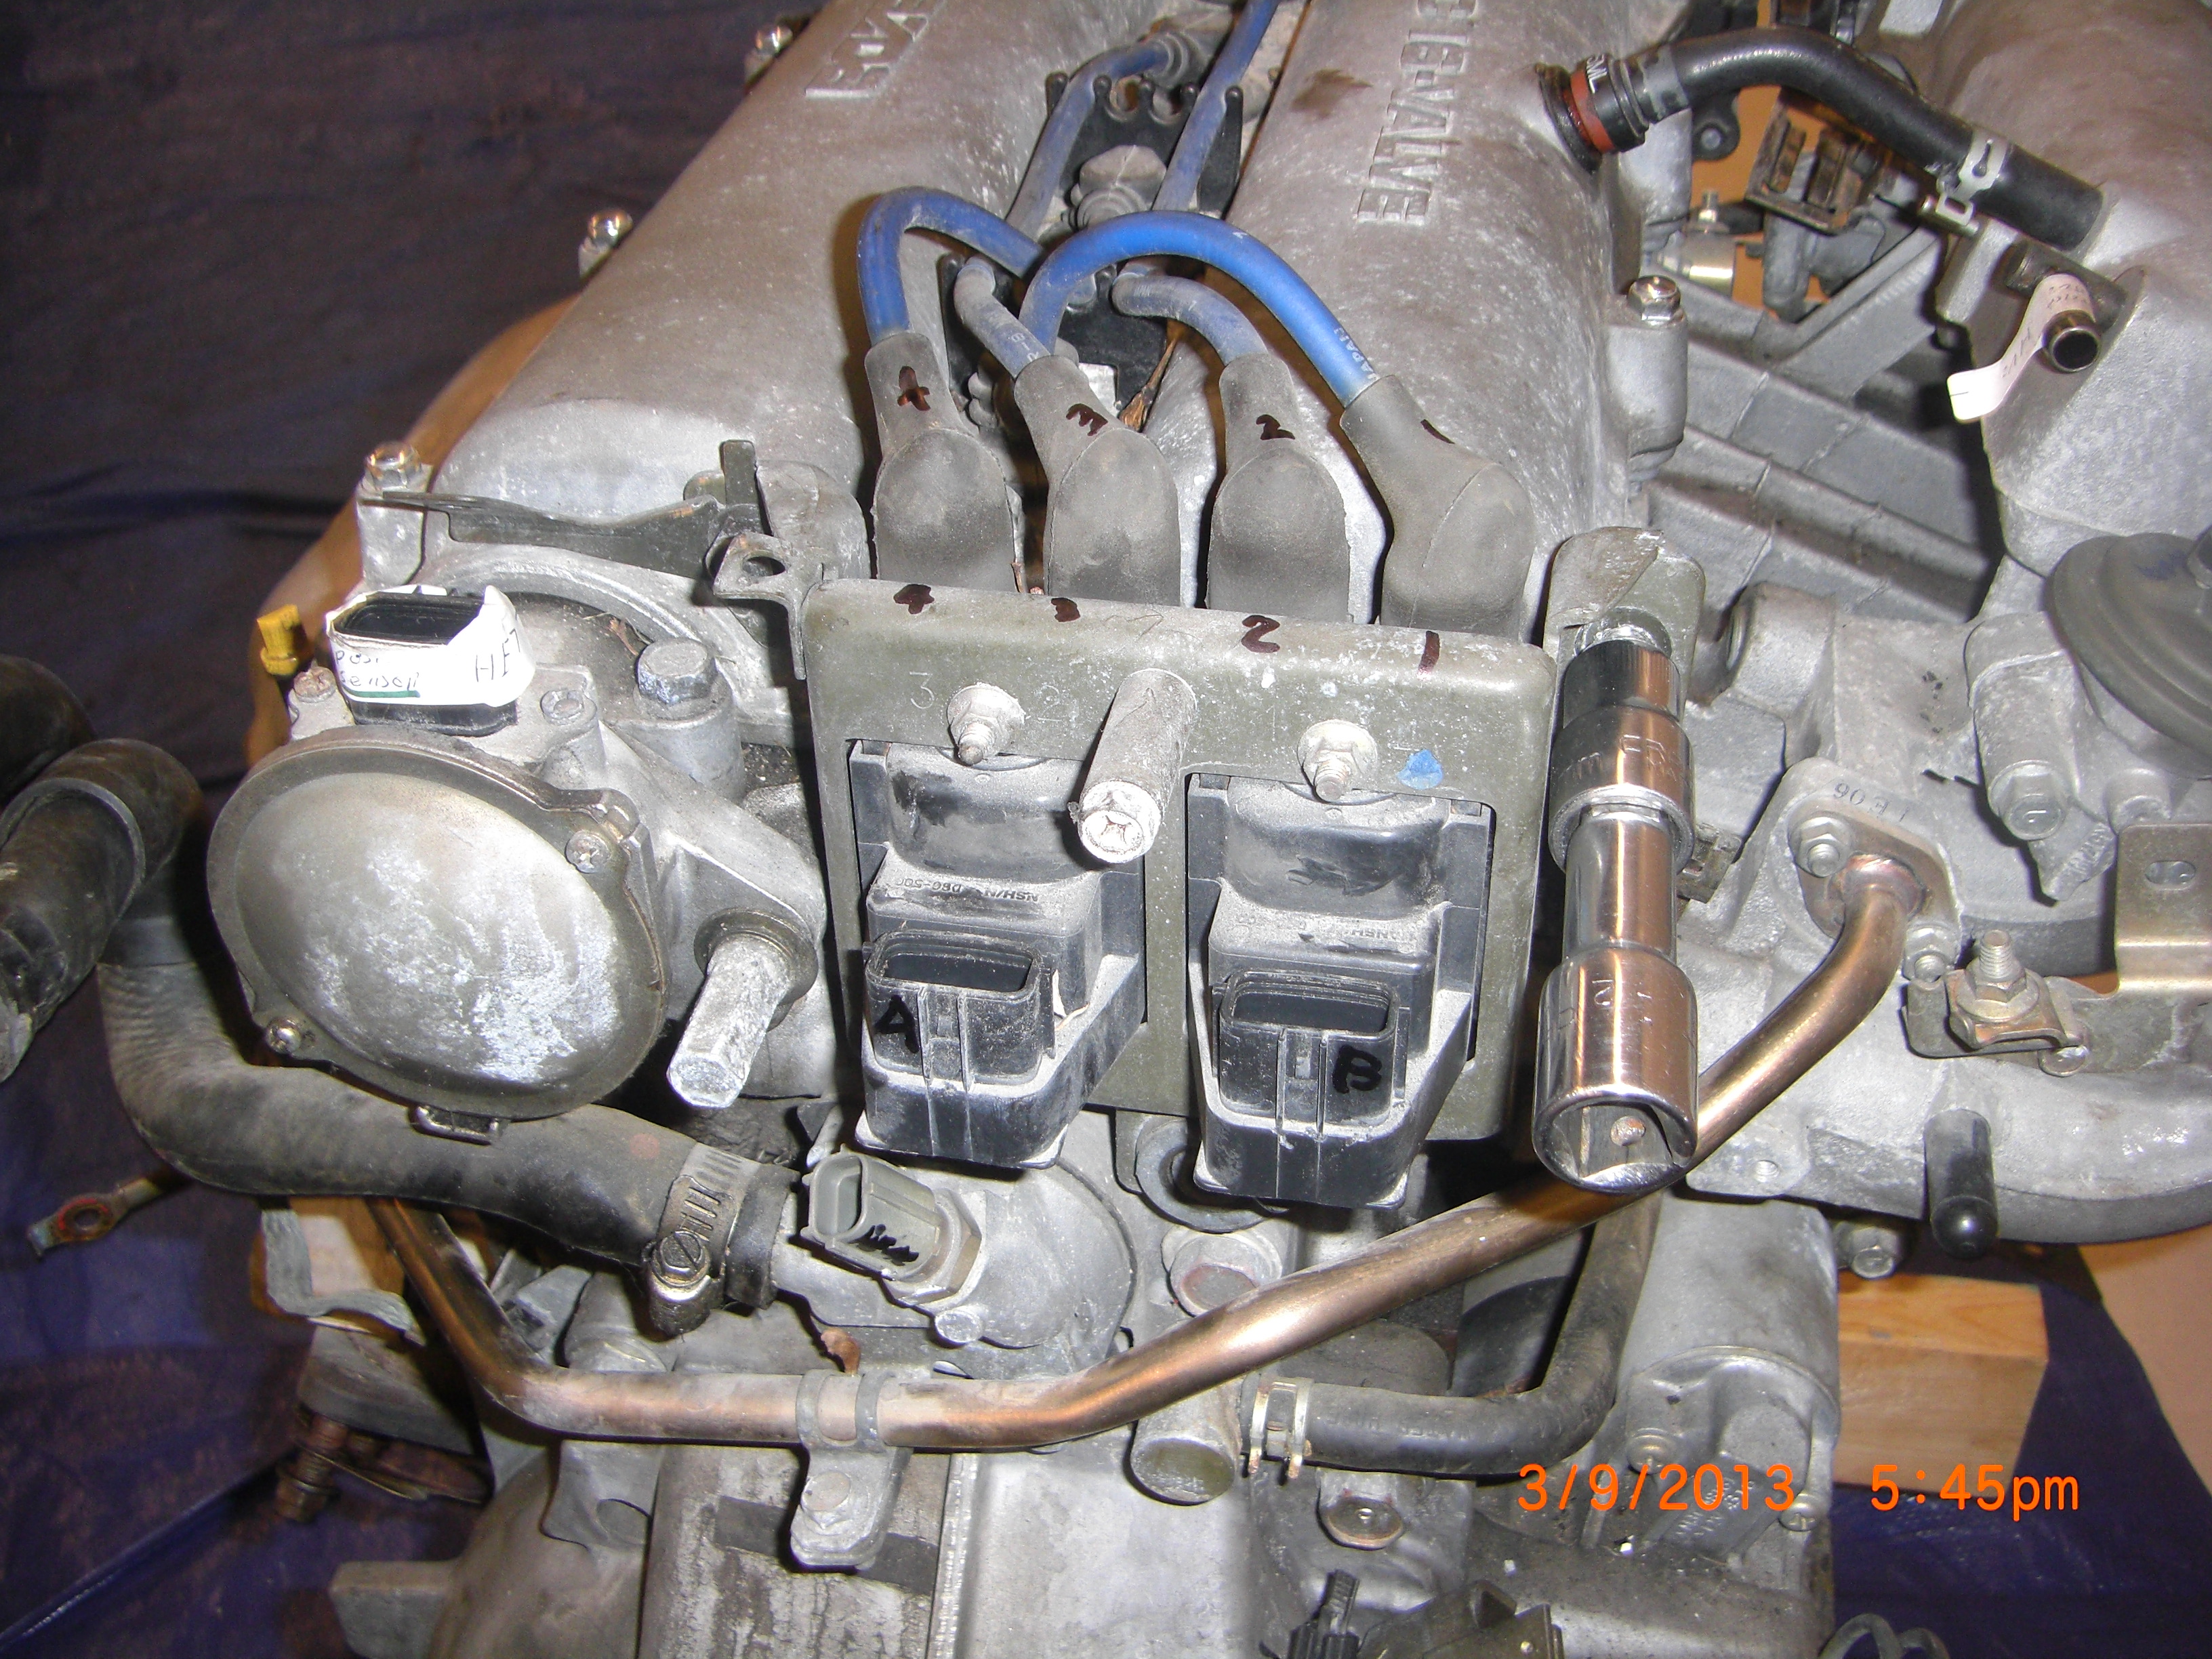
Next I turned my attention to the coil pack. Refer to 5:27, P 27B in manual. Use a 12 mm socket to remove 3 coil support bracket retaining bolts. Remove coil and ignition wires, put in donor pile.
Next up remove alternator, remove the adjustment strap inner bolt and the adjuster bolt you need to remove the pivot bolt,.


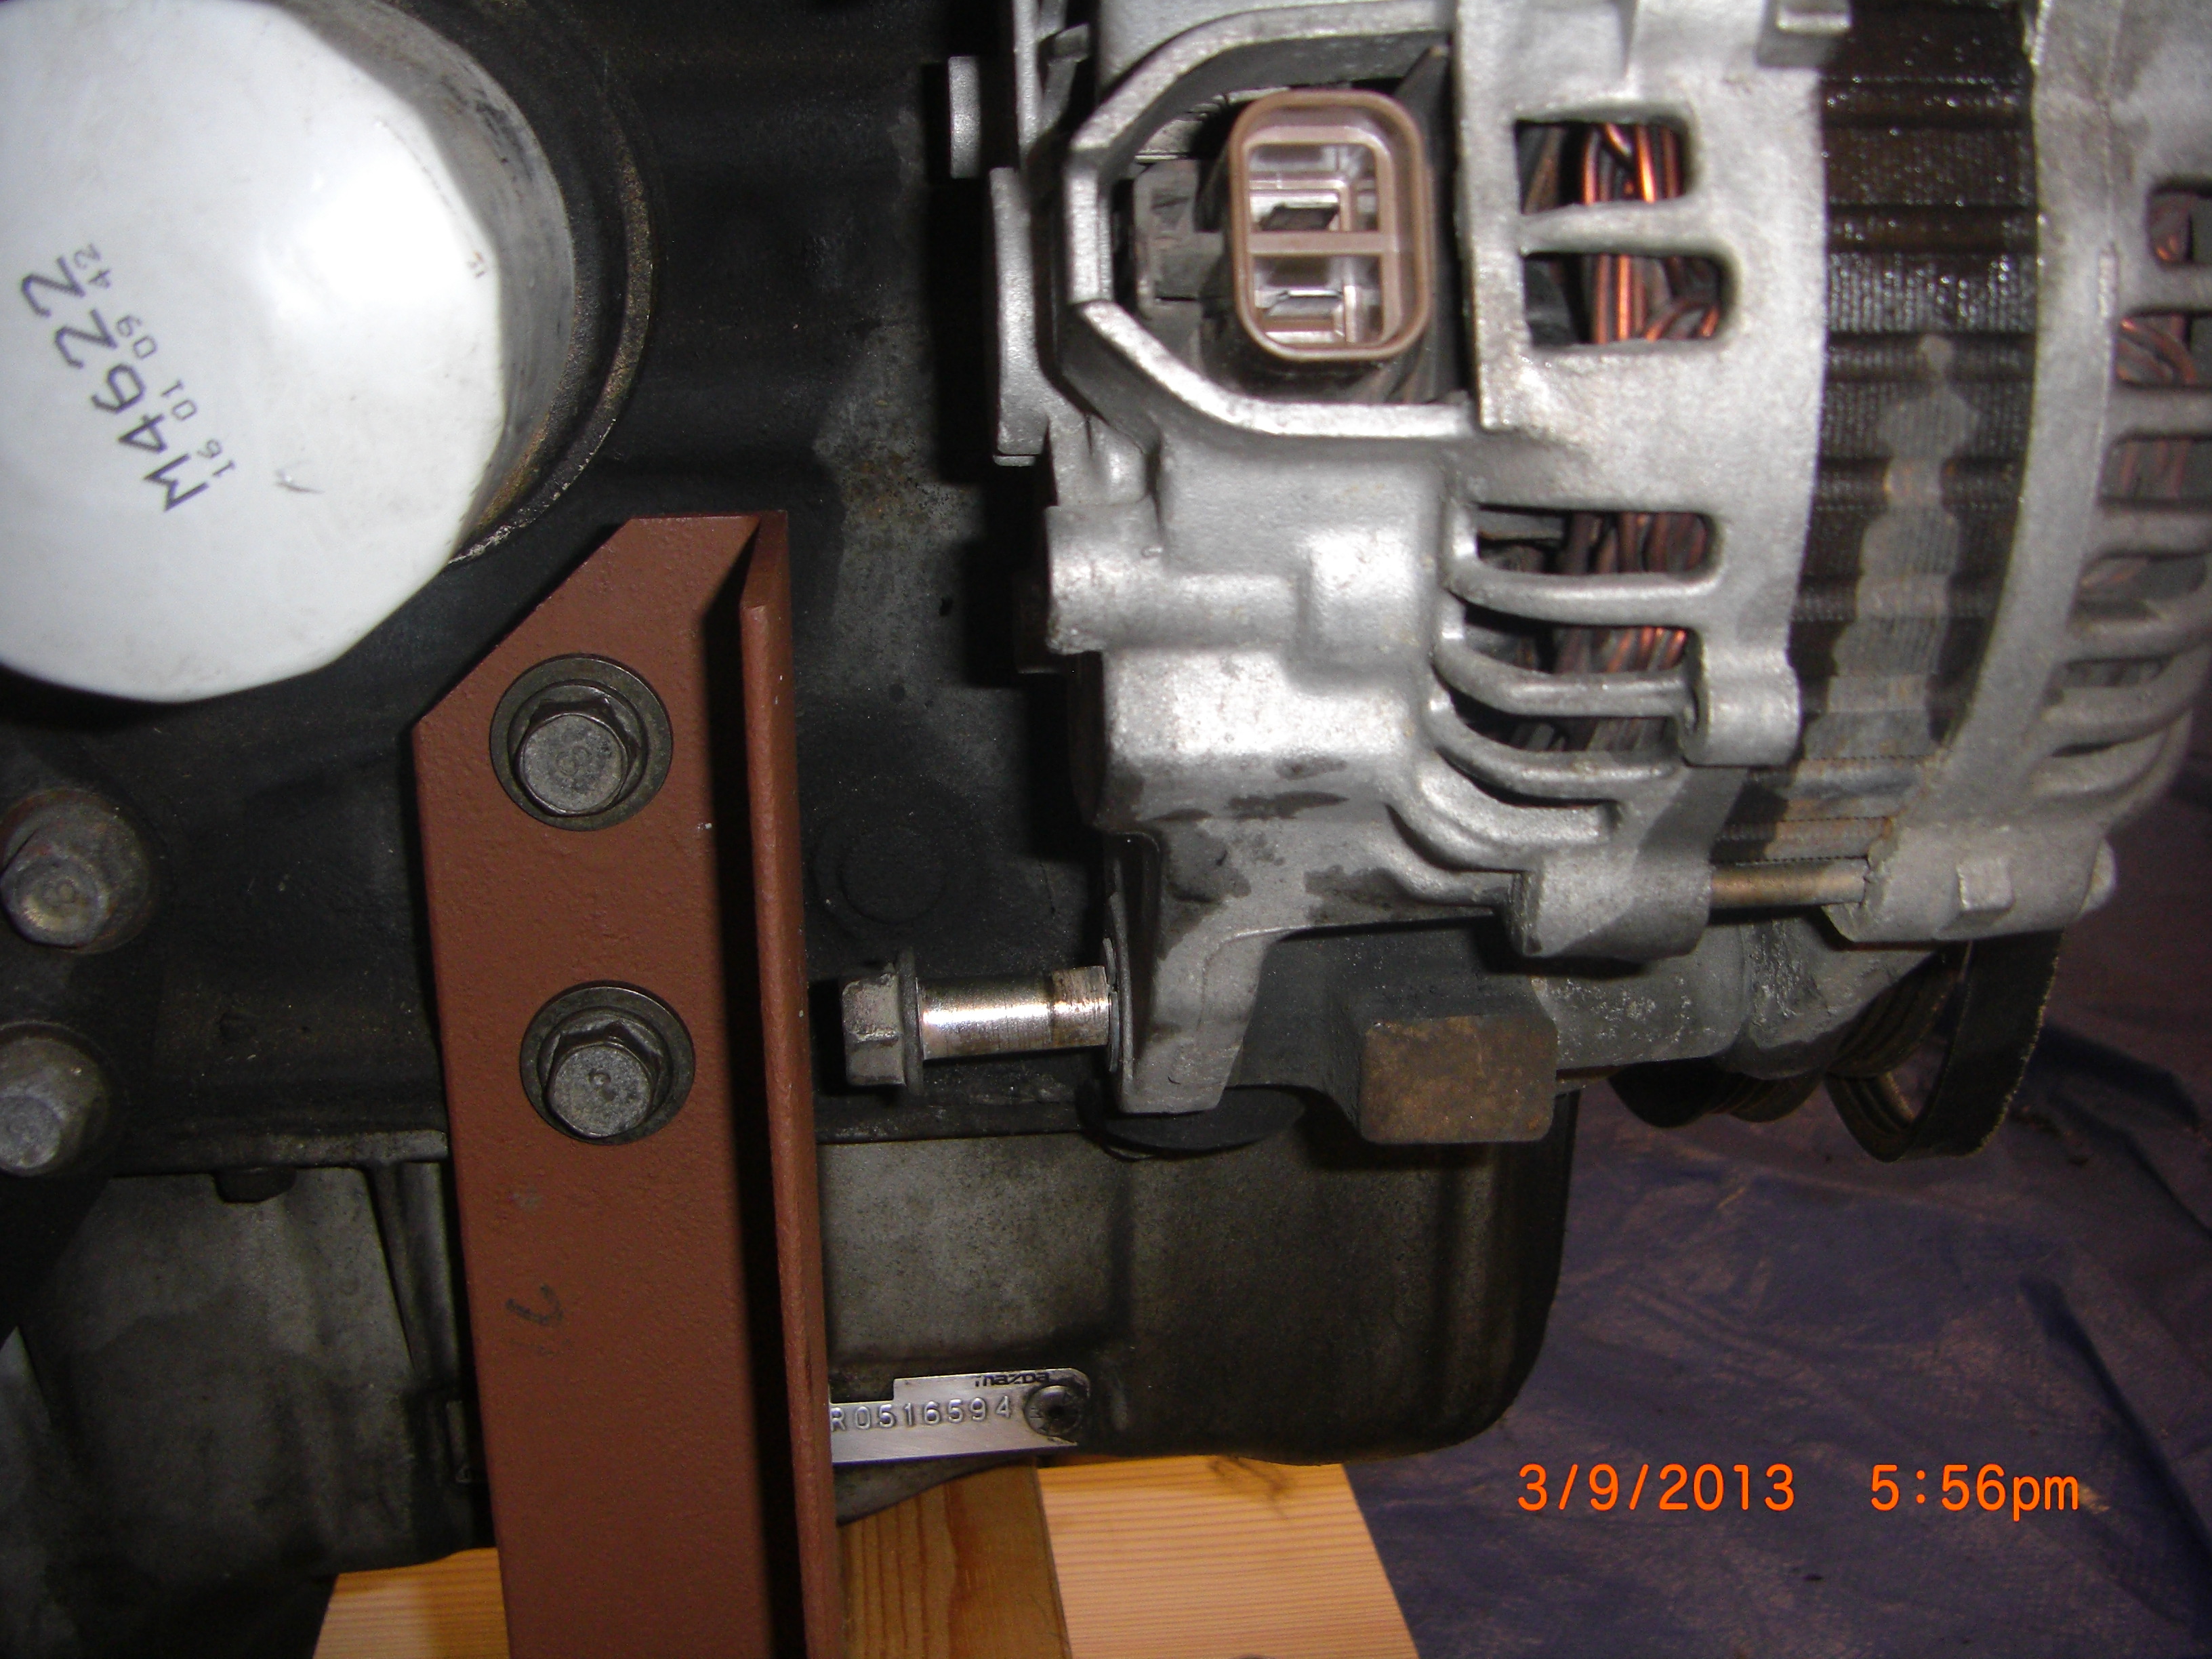
Then I have an OOPS moment. The engine stand 2×2 angle did not allow the removal of pivot bolt. So I had to remove the angle to free the alternator. Next I removed the exhaust header shield. Use 10 mm socket to remove 7 bolts and 3 nuts.
So If you are reading ahead, remove the alternator prior, if you are using this low buck angle engine dolly.

I put the shield in the maybe pile. Next remove the AC compressor mounting bracket from block. Use 14 mm socket to remove 4 bolts and use 12 mm socket to remove 1 long bolt from front. Put this very Heavy bracket in the scrap pile where it belongs.


We are almost ready to degrease. So I went to the craft store and bought an assortment of corks and plugged any and all openings we would not want to get wet.


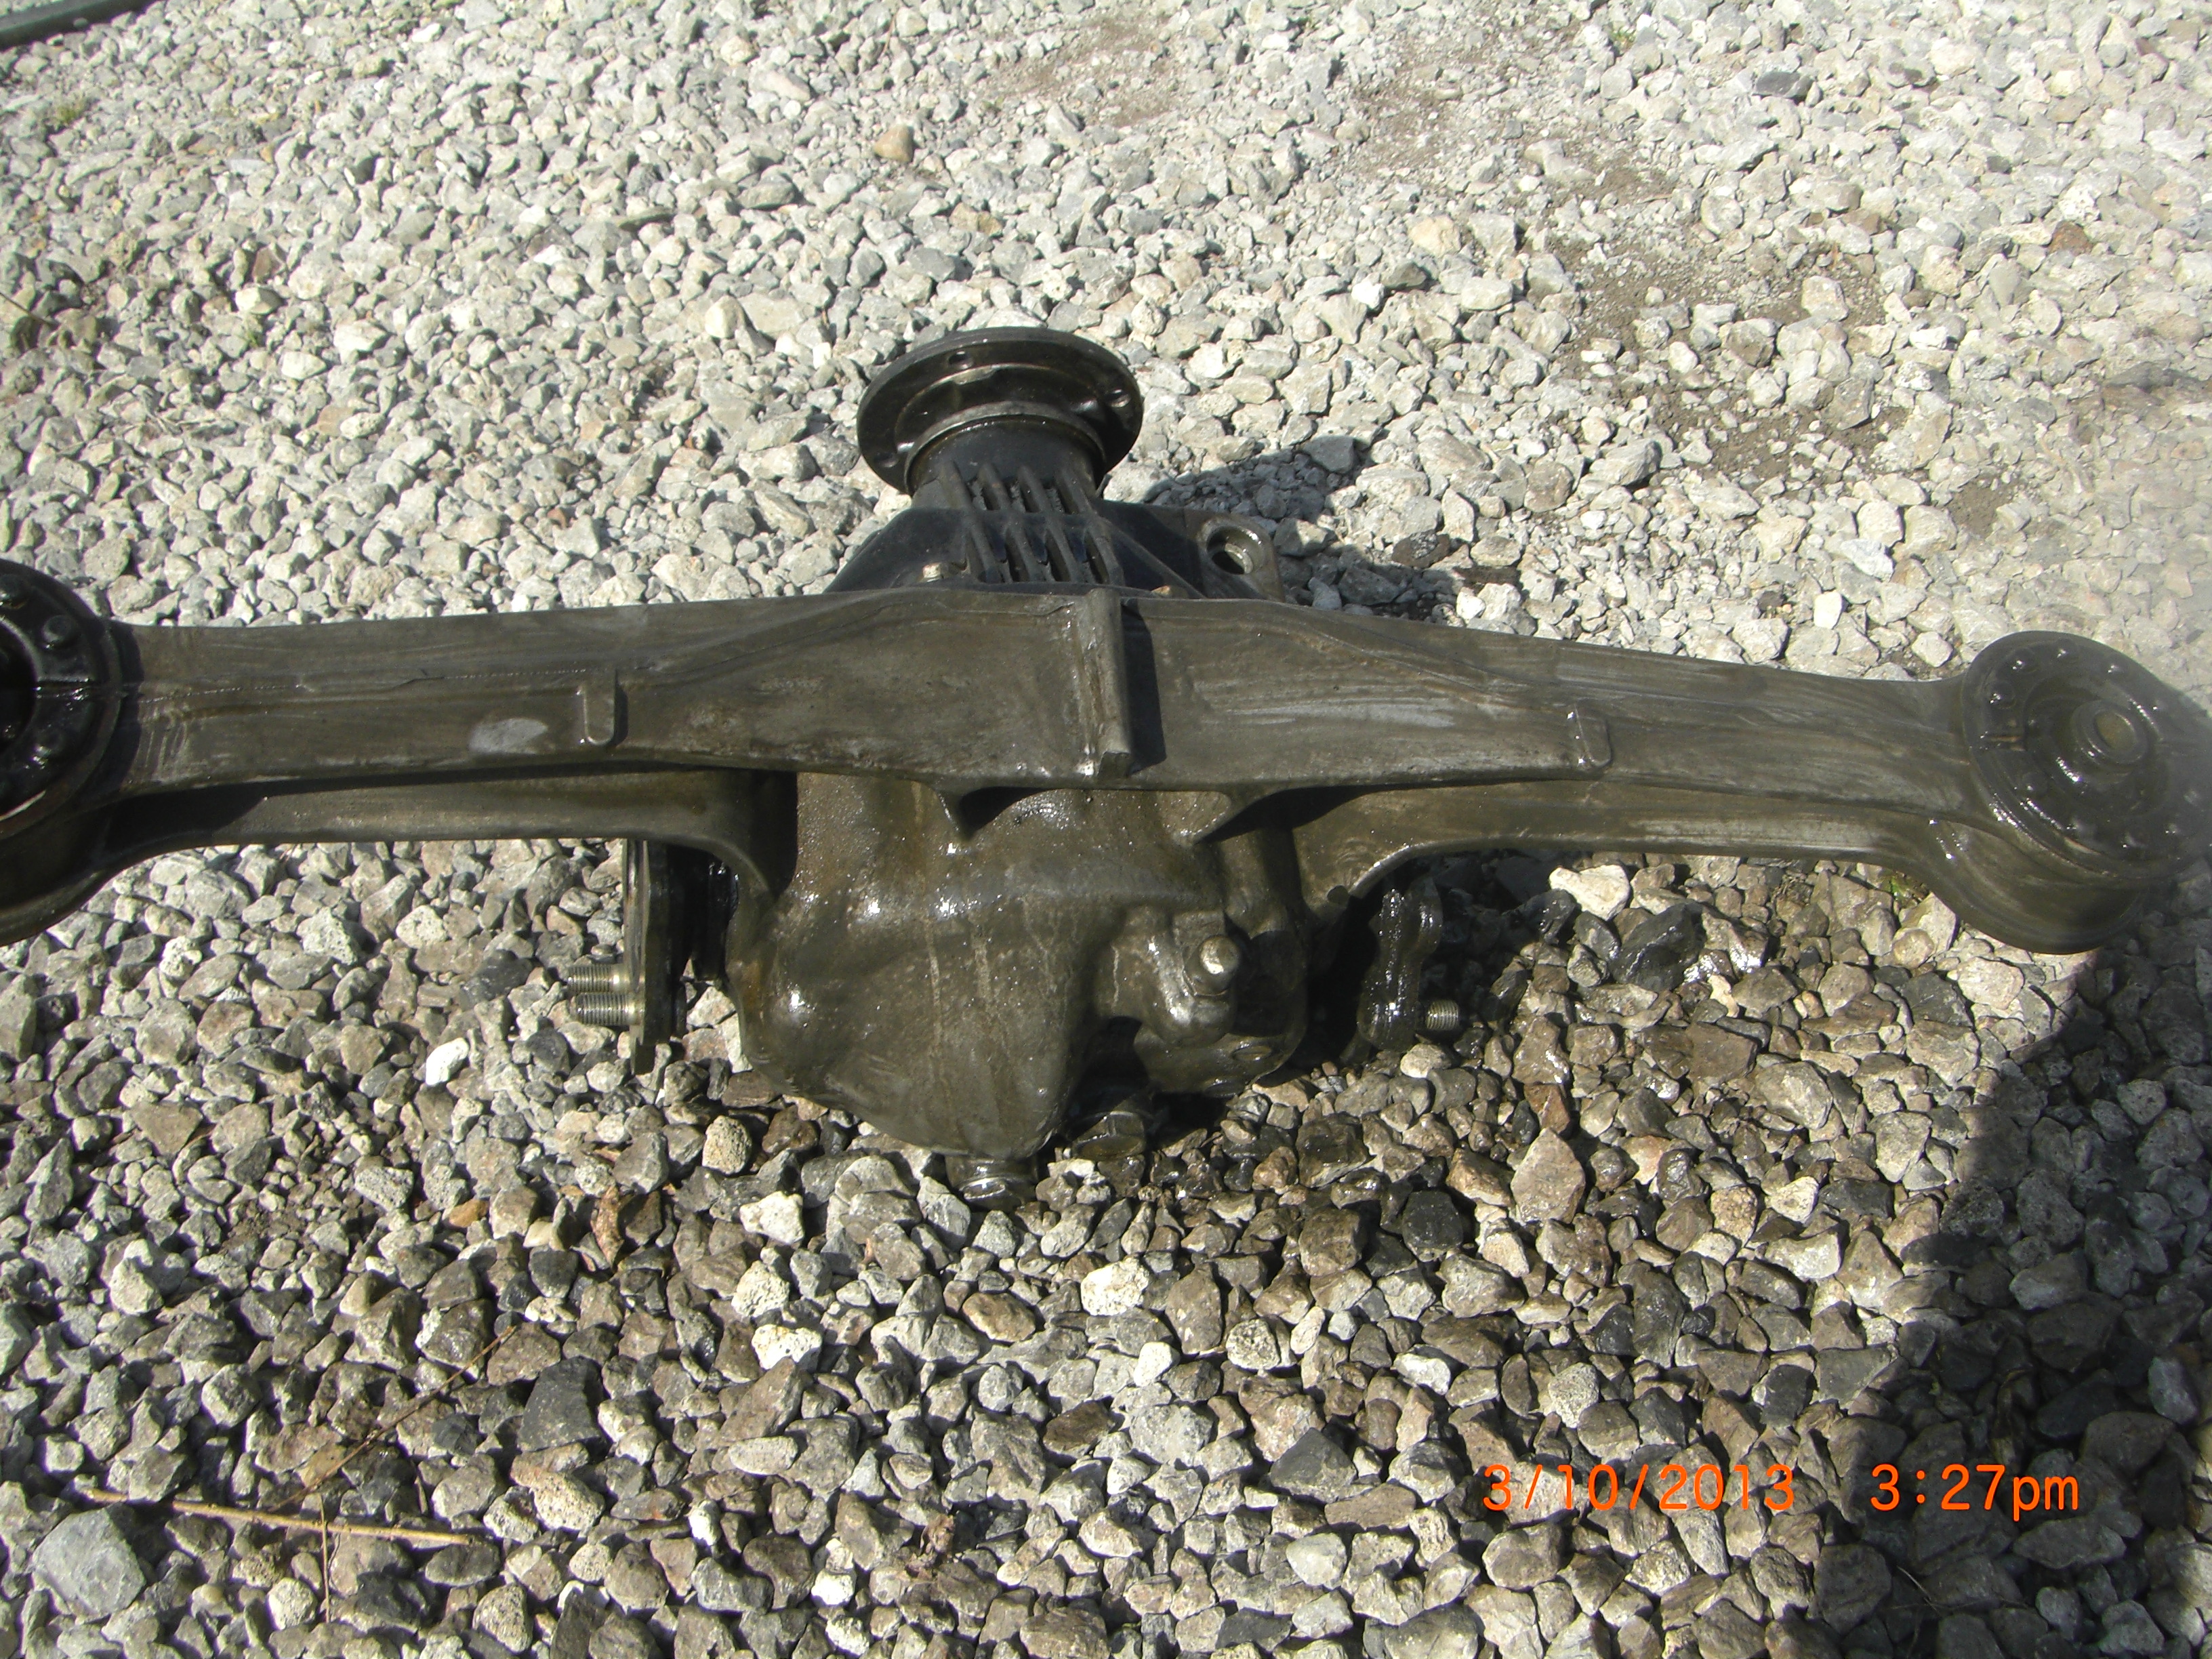
I moved the engine and diff outside for degreasing. Used Engine solvent and several stiff brushes and with the aid of the power washer and repeated the process for areas that needed additional cleaning , now the engine and differential are looking good enough to transplant, but I believe they will be in for some additional surgery before they are VortX ready, but it is always nice have clean sanitary parts to work with.

Next we continue refurbishment. I want my car to have a good clean appearance and will be conditioning the parts, painting and detailing as such. But I should note that I do not have any attention to make a show car from my kit. I will be using my VortX as a track day car so it will be seeing hard use and no need for elaborate paint and finish, but still want an VorX RT with asthetic appeal and my goal is to do the parts prep at reasonable expense. That is what is to follow.