
10-27-2012
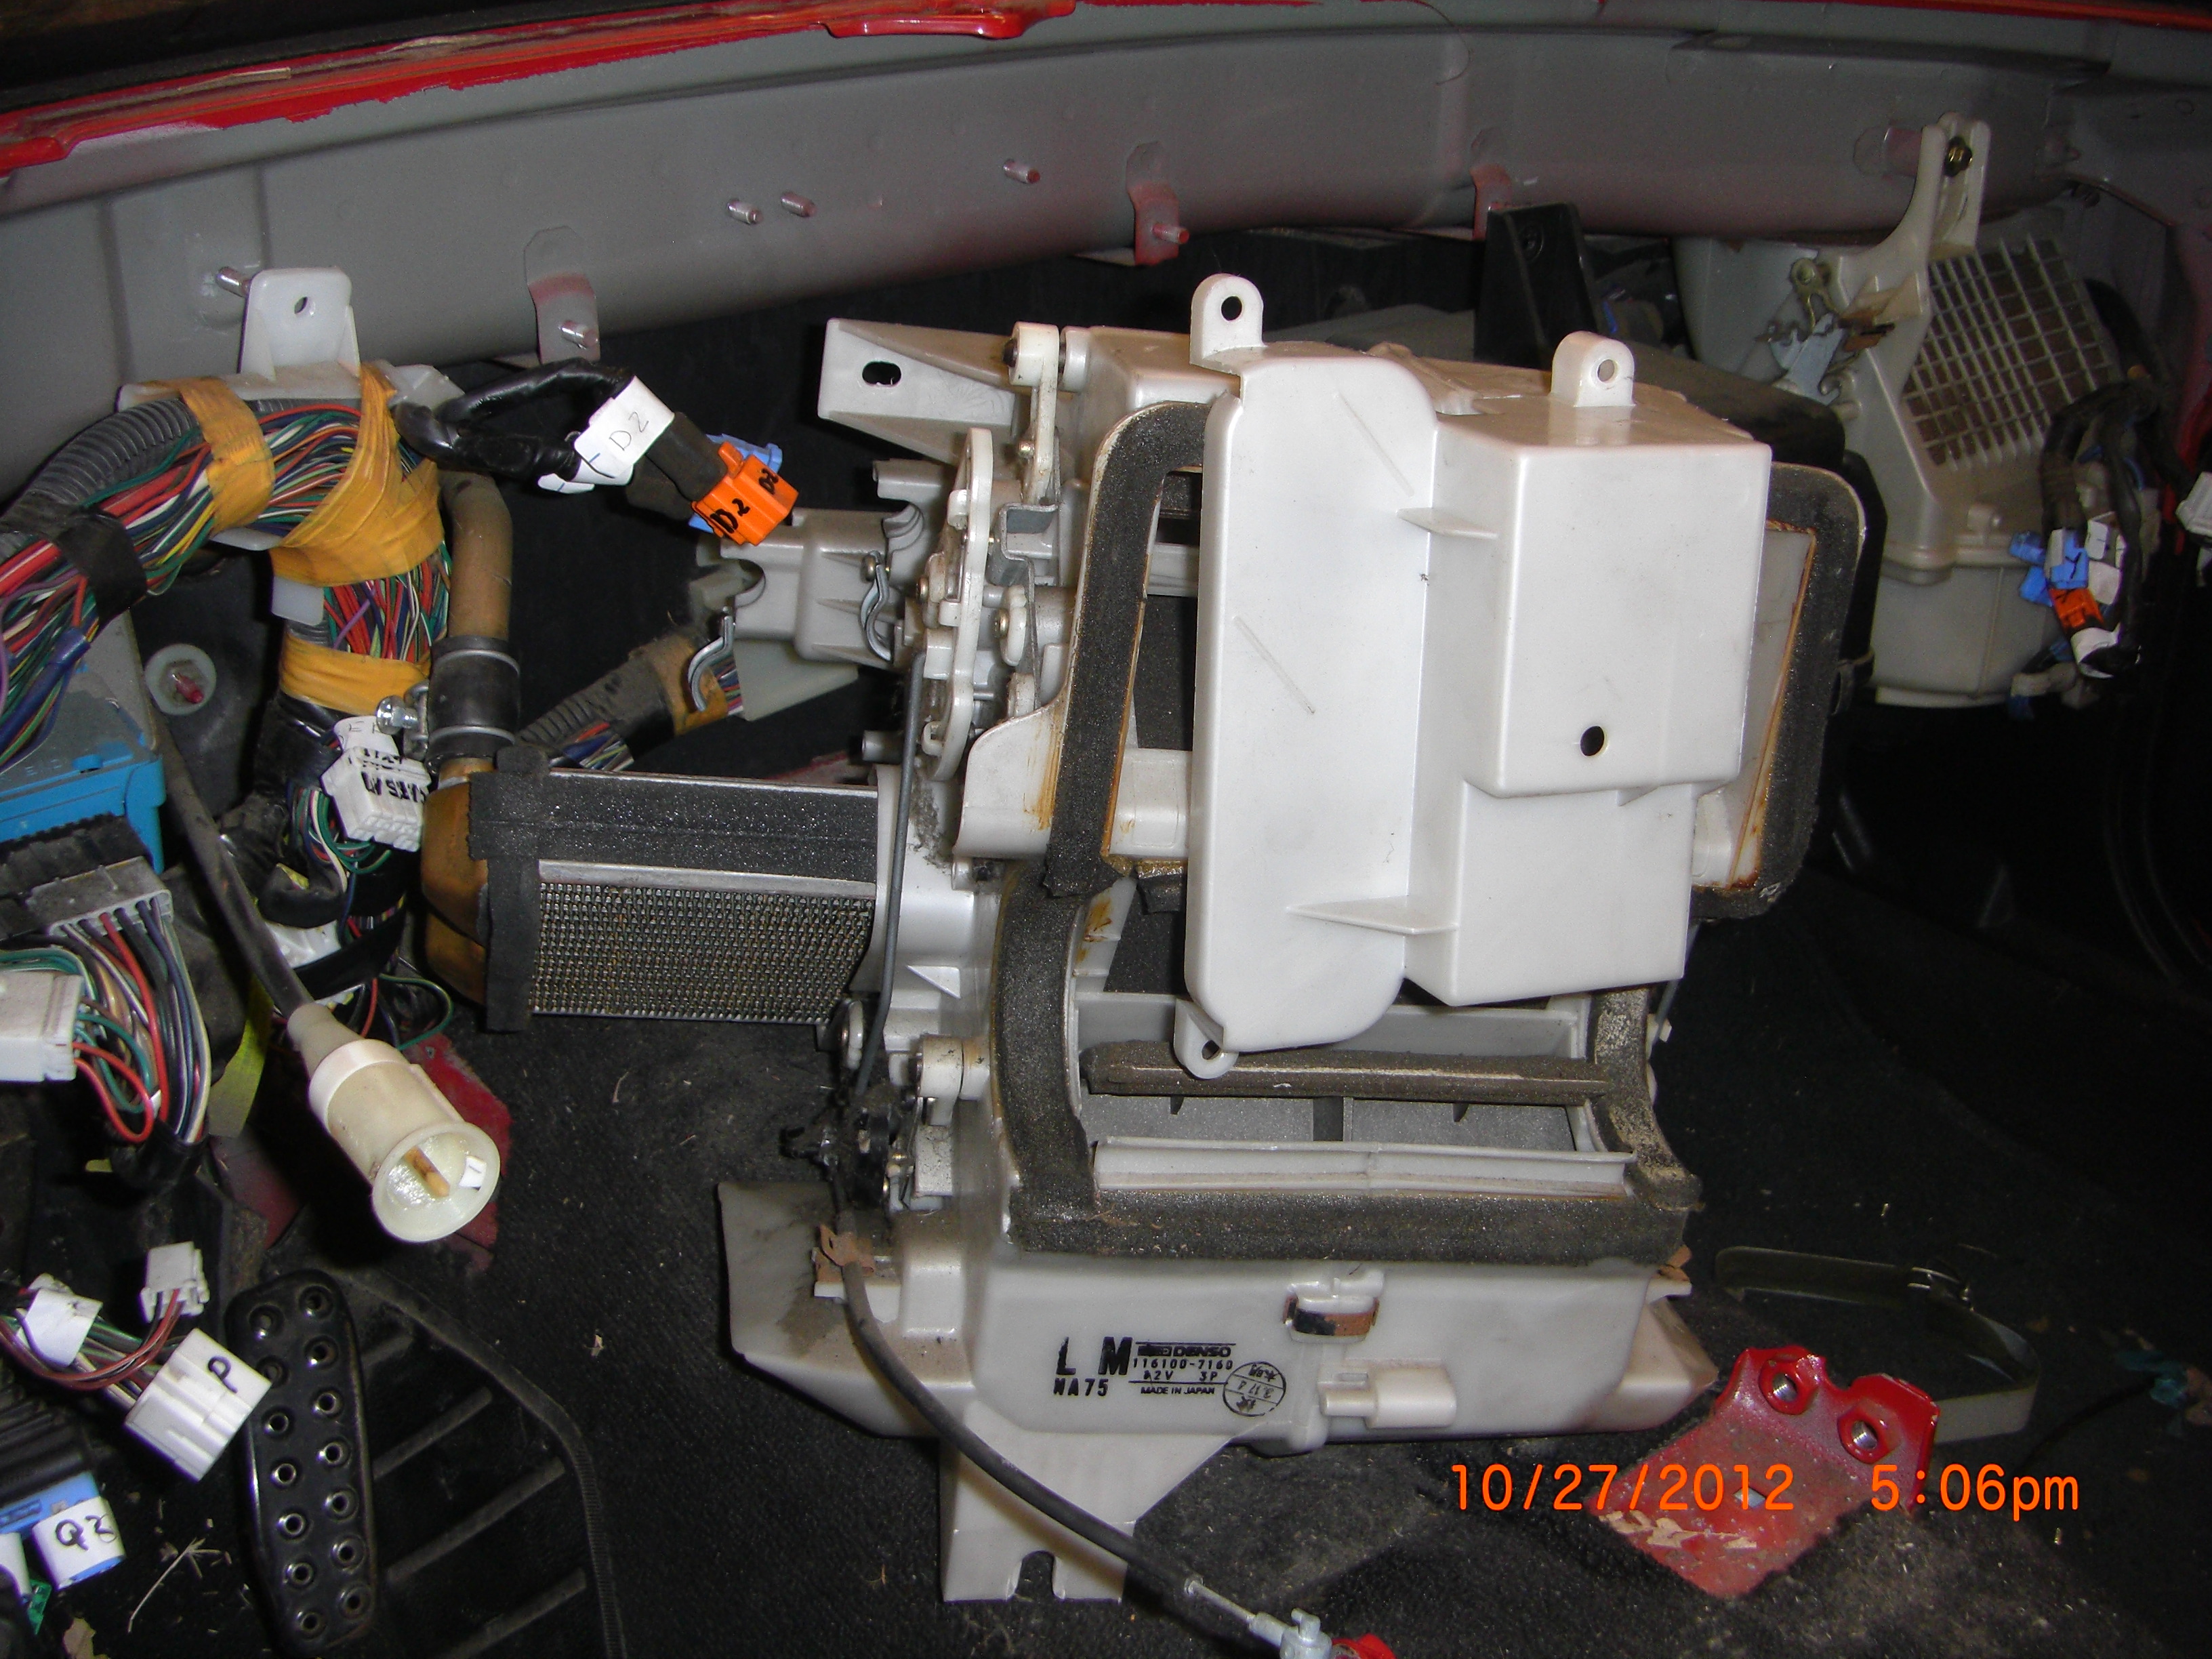
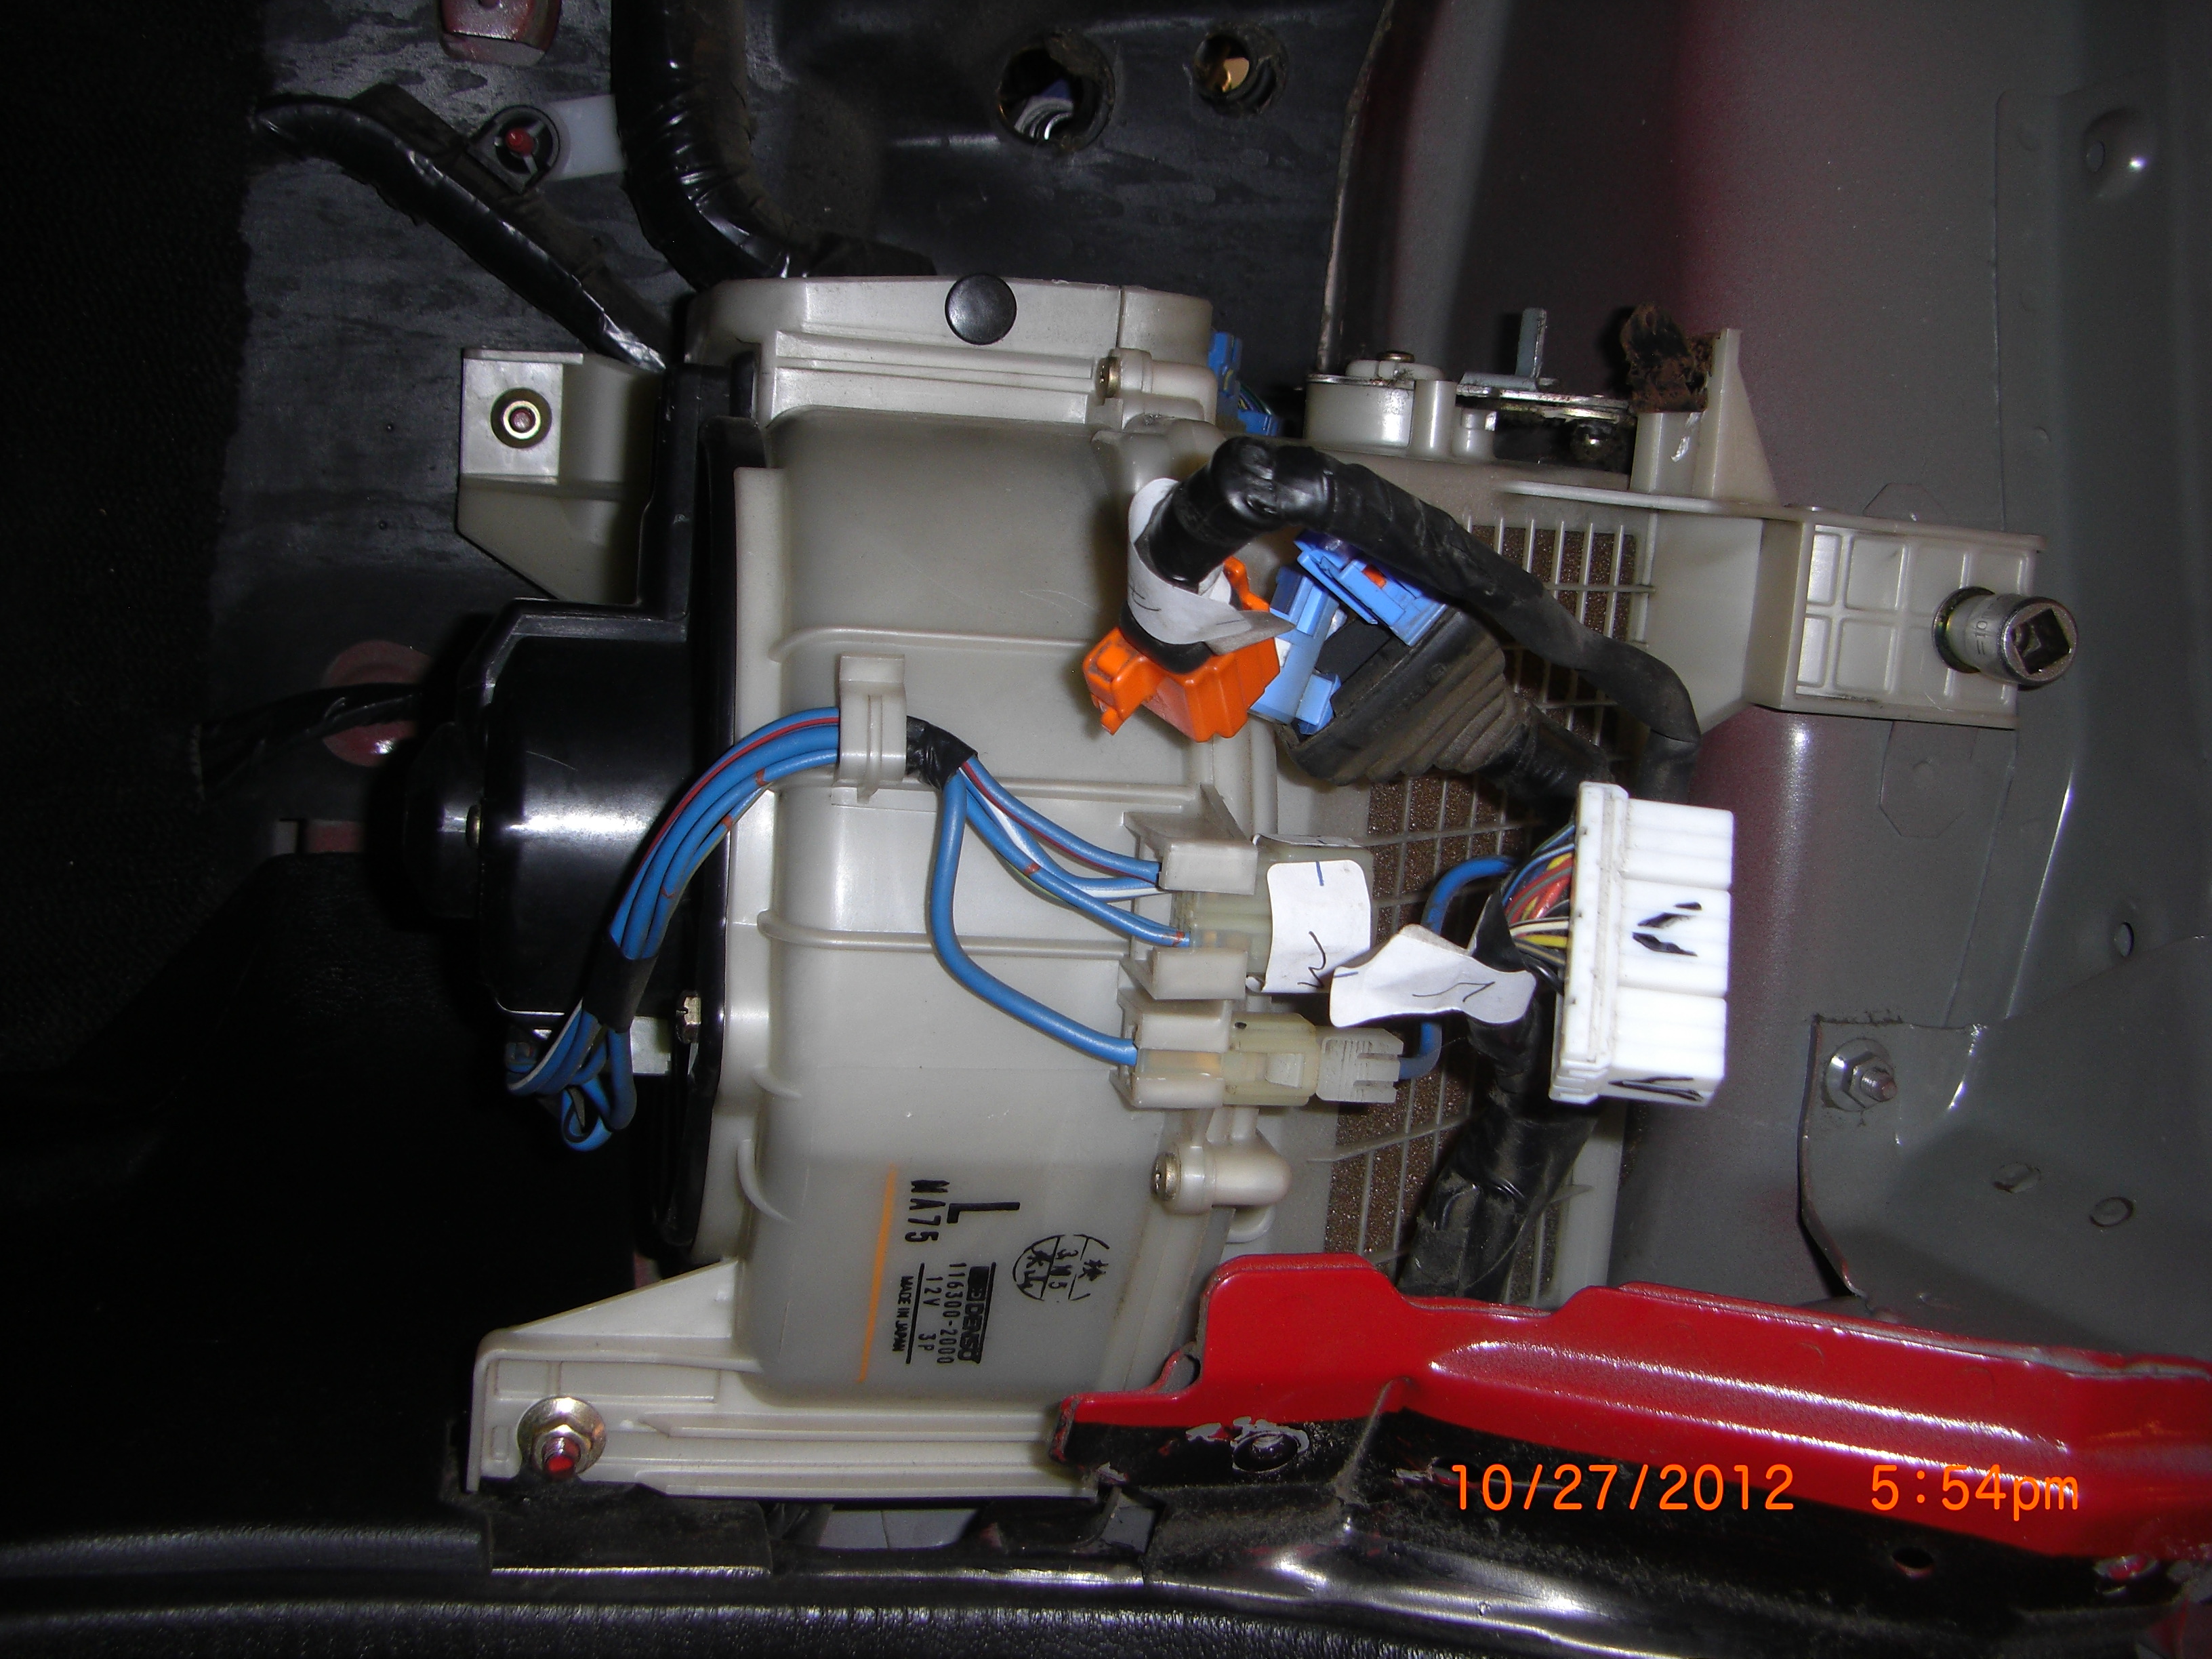
Continuing where we left off. The plan is to strip the fire wall to gain full access to the wiring harness in front of the firewall. To do so we need to remove the heater control mixing box that contains the heater core, the AC condensing unit and then the blower fan box. We start with by unclamping the heater core vent clamps, then using a 10 mm socket remove 2 upper nuts and 1 bottom. Pull the box forward. You will need to angle to allow access to remove the plastic side cover located by the core’s supply and return lines, remove the 2 Phillips screws and pull off cover. Now angle, see pic above, the core housing and pull and wiggle to facilitate separation from the core element and put mixing box in the discard pile. Next up we remove the condenser unit. Open hood and at rear firewall we need to disconnect the AC supply and return lines from unit. I should note if your system is charged to appropriately remove the refrigerant. I disconnect the top line first using a 17mm wrench on the inner but and ¾ on outer and moved out of the way to get access at lower line and using 1” inner and 1 1/8” wrench for outer this line was quickly disconnect. Now from inside the car use 10 mm socket remove condenser housing retaining nuts .Unsnap and remove duct clamp. Pull housing forward and remove the condensation drain hose,

see pic, remove unit from car and put in the pile. Finally we remove the blower fan. Use a 10 mm socket remove 1 upper top bolt and 1 nut located lower right and another nut located lower rear left
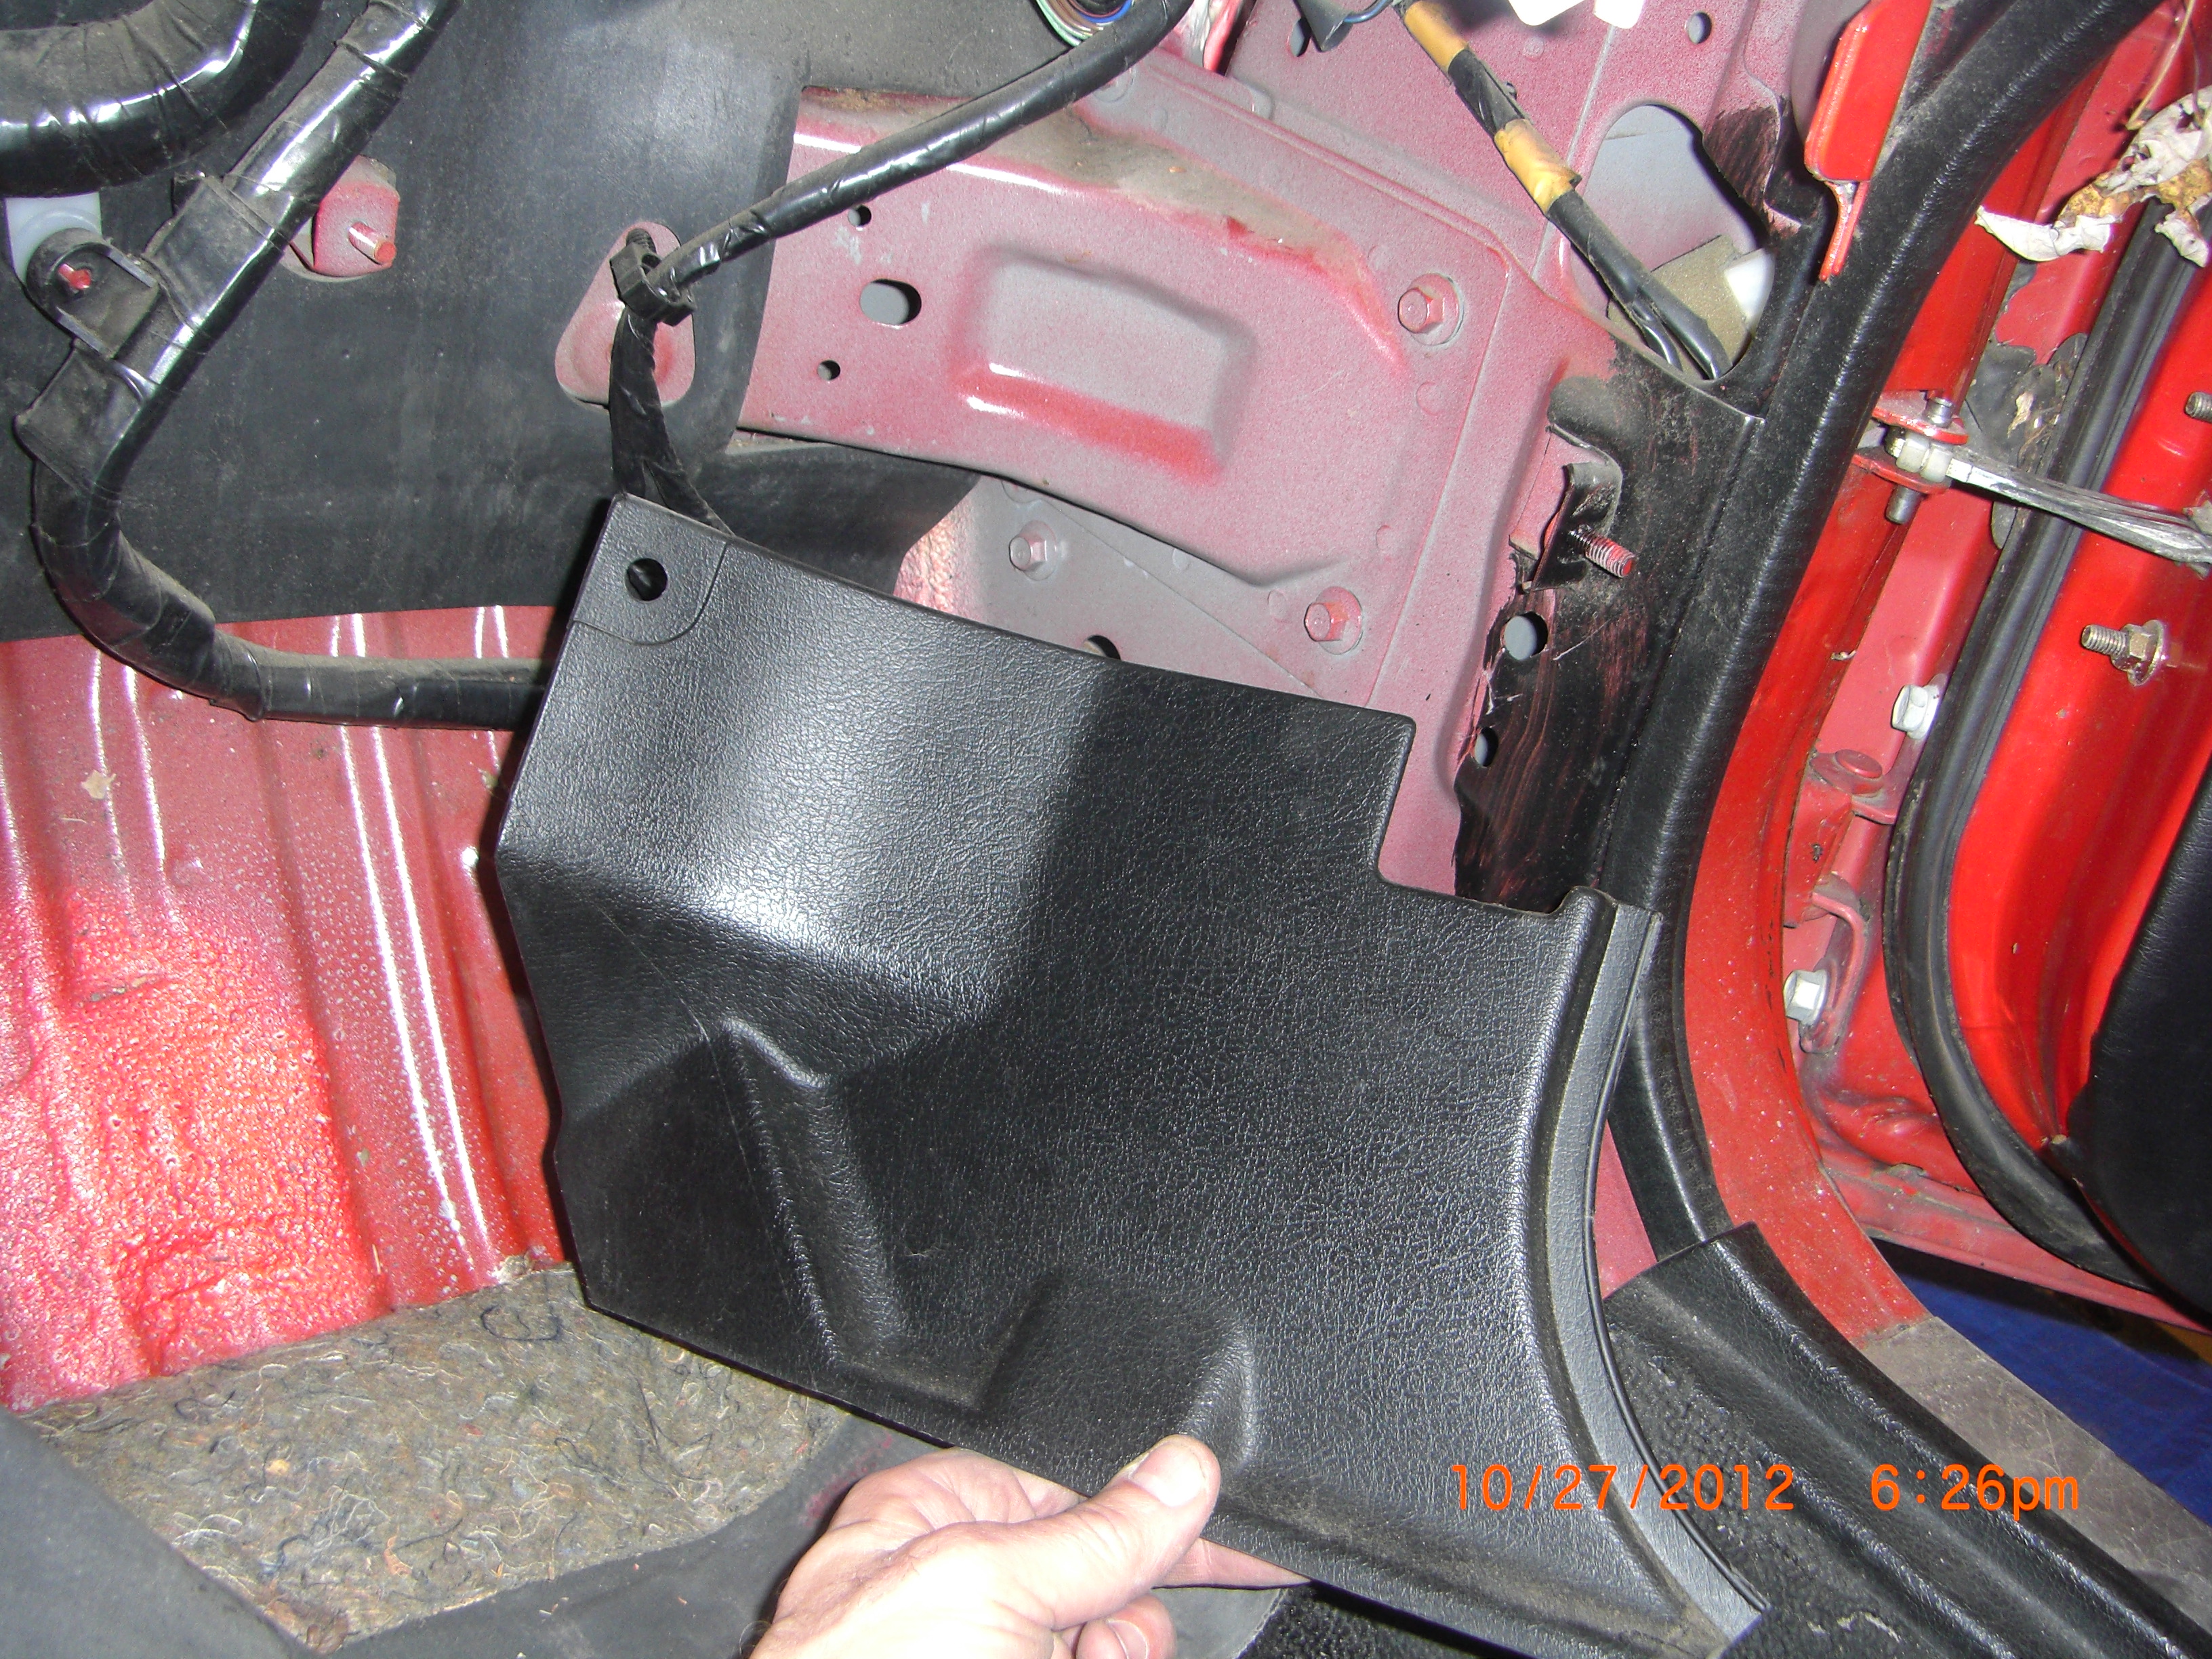
. Make sure wiring harness is unplugged (and tagged for future reference) and pull forward and put in the pile. Now we have excellent accessibility to the wiring harness at the fire wall. It is obvious it continues under the carpeting. So I will now remove the carpeting. First I removed the lower drivers and passenger foot well plastic scuff panel by just prying off. Then I removed the plastic and metal door sills, 4 screws each.
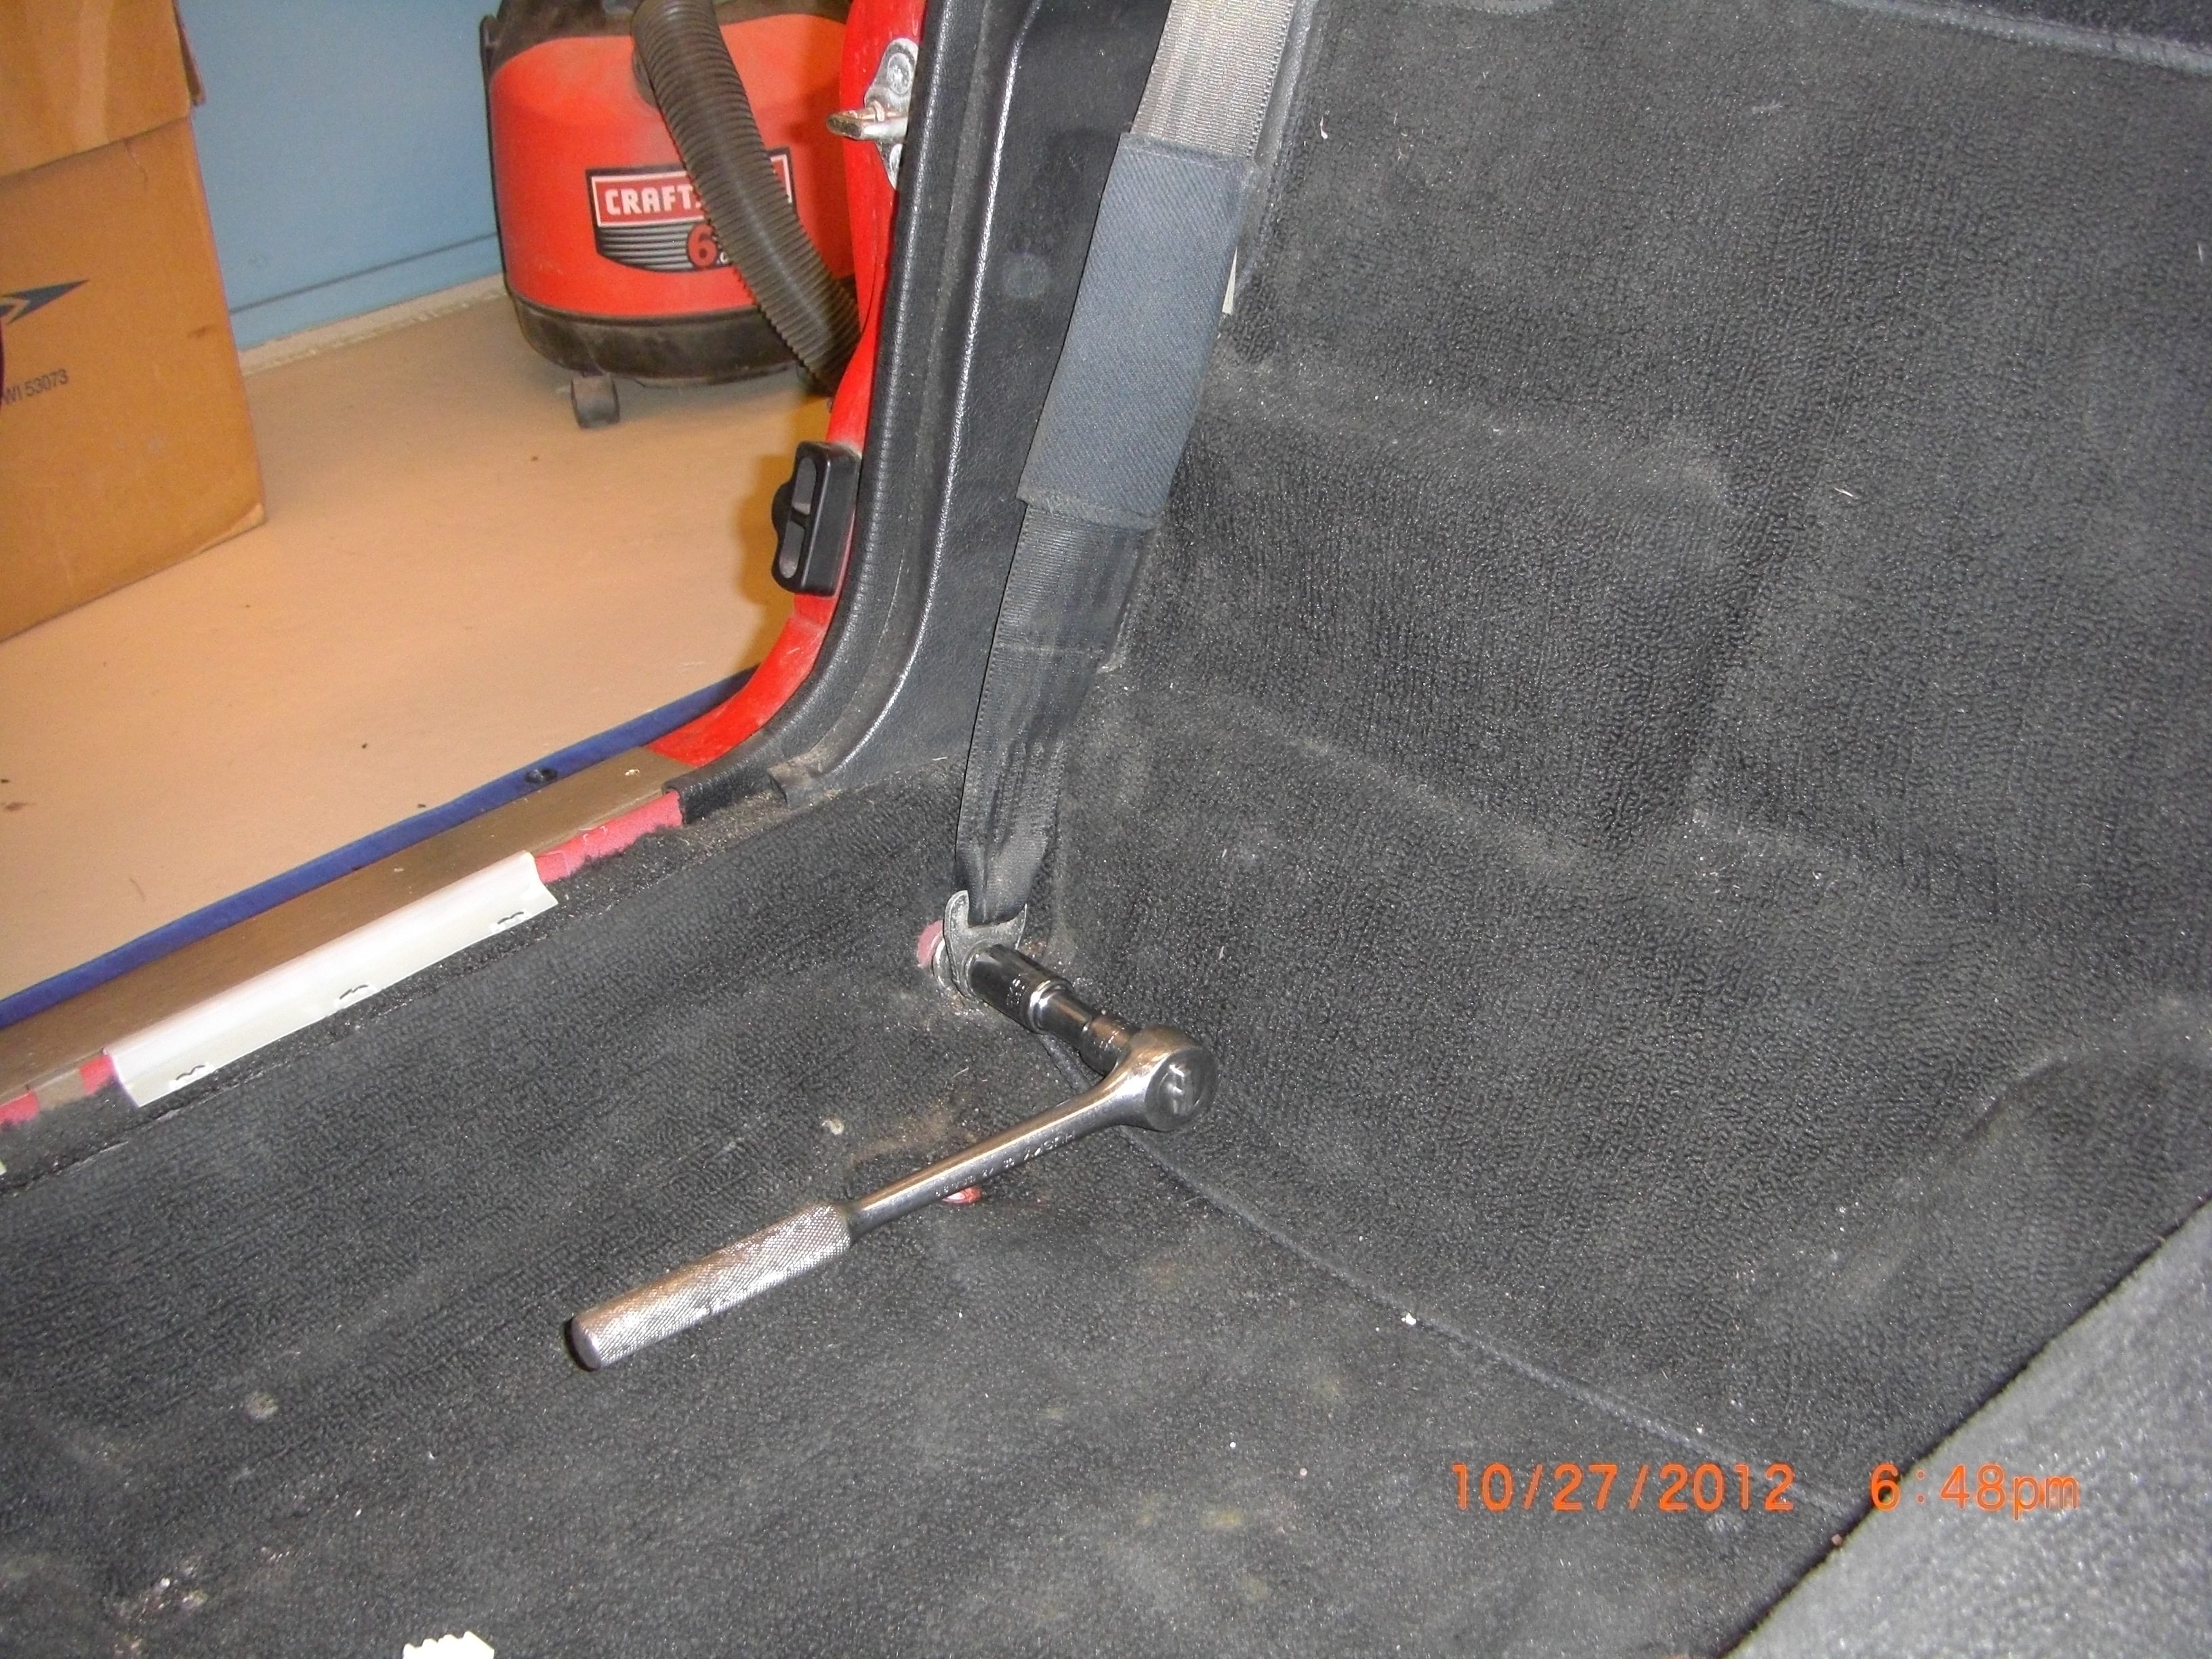
I then removed the seat lap belt retainer harness using 17 mm socket for passenger side and oddly enough a 16 mm for the drivers side. Remove the shoulder belt retaining bolts next.
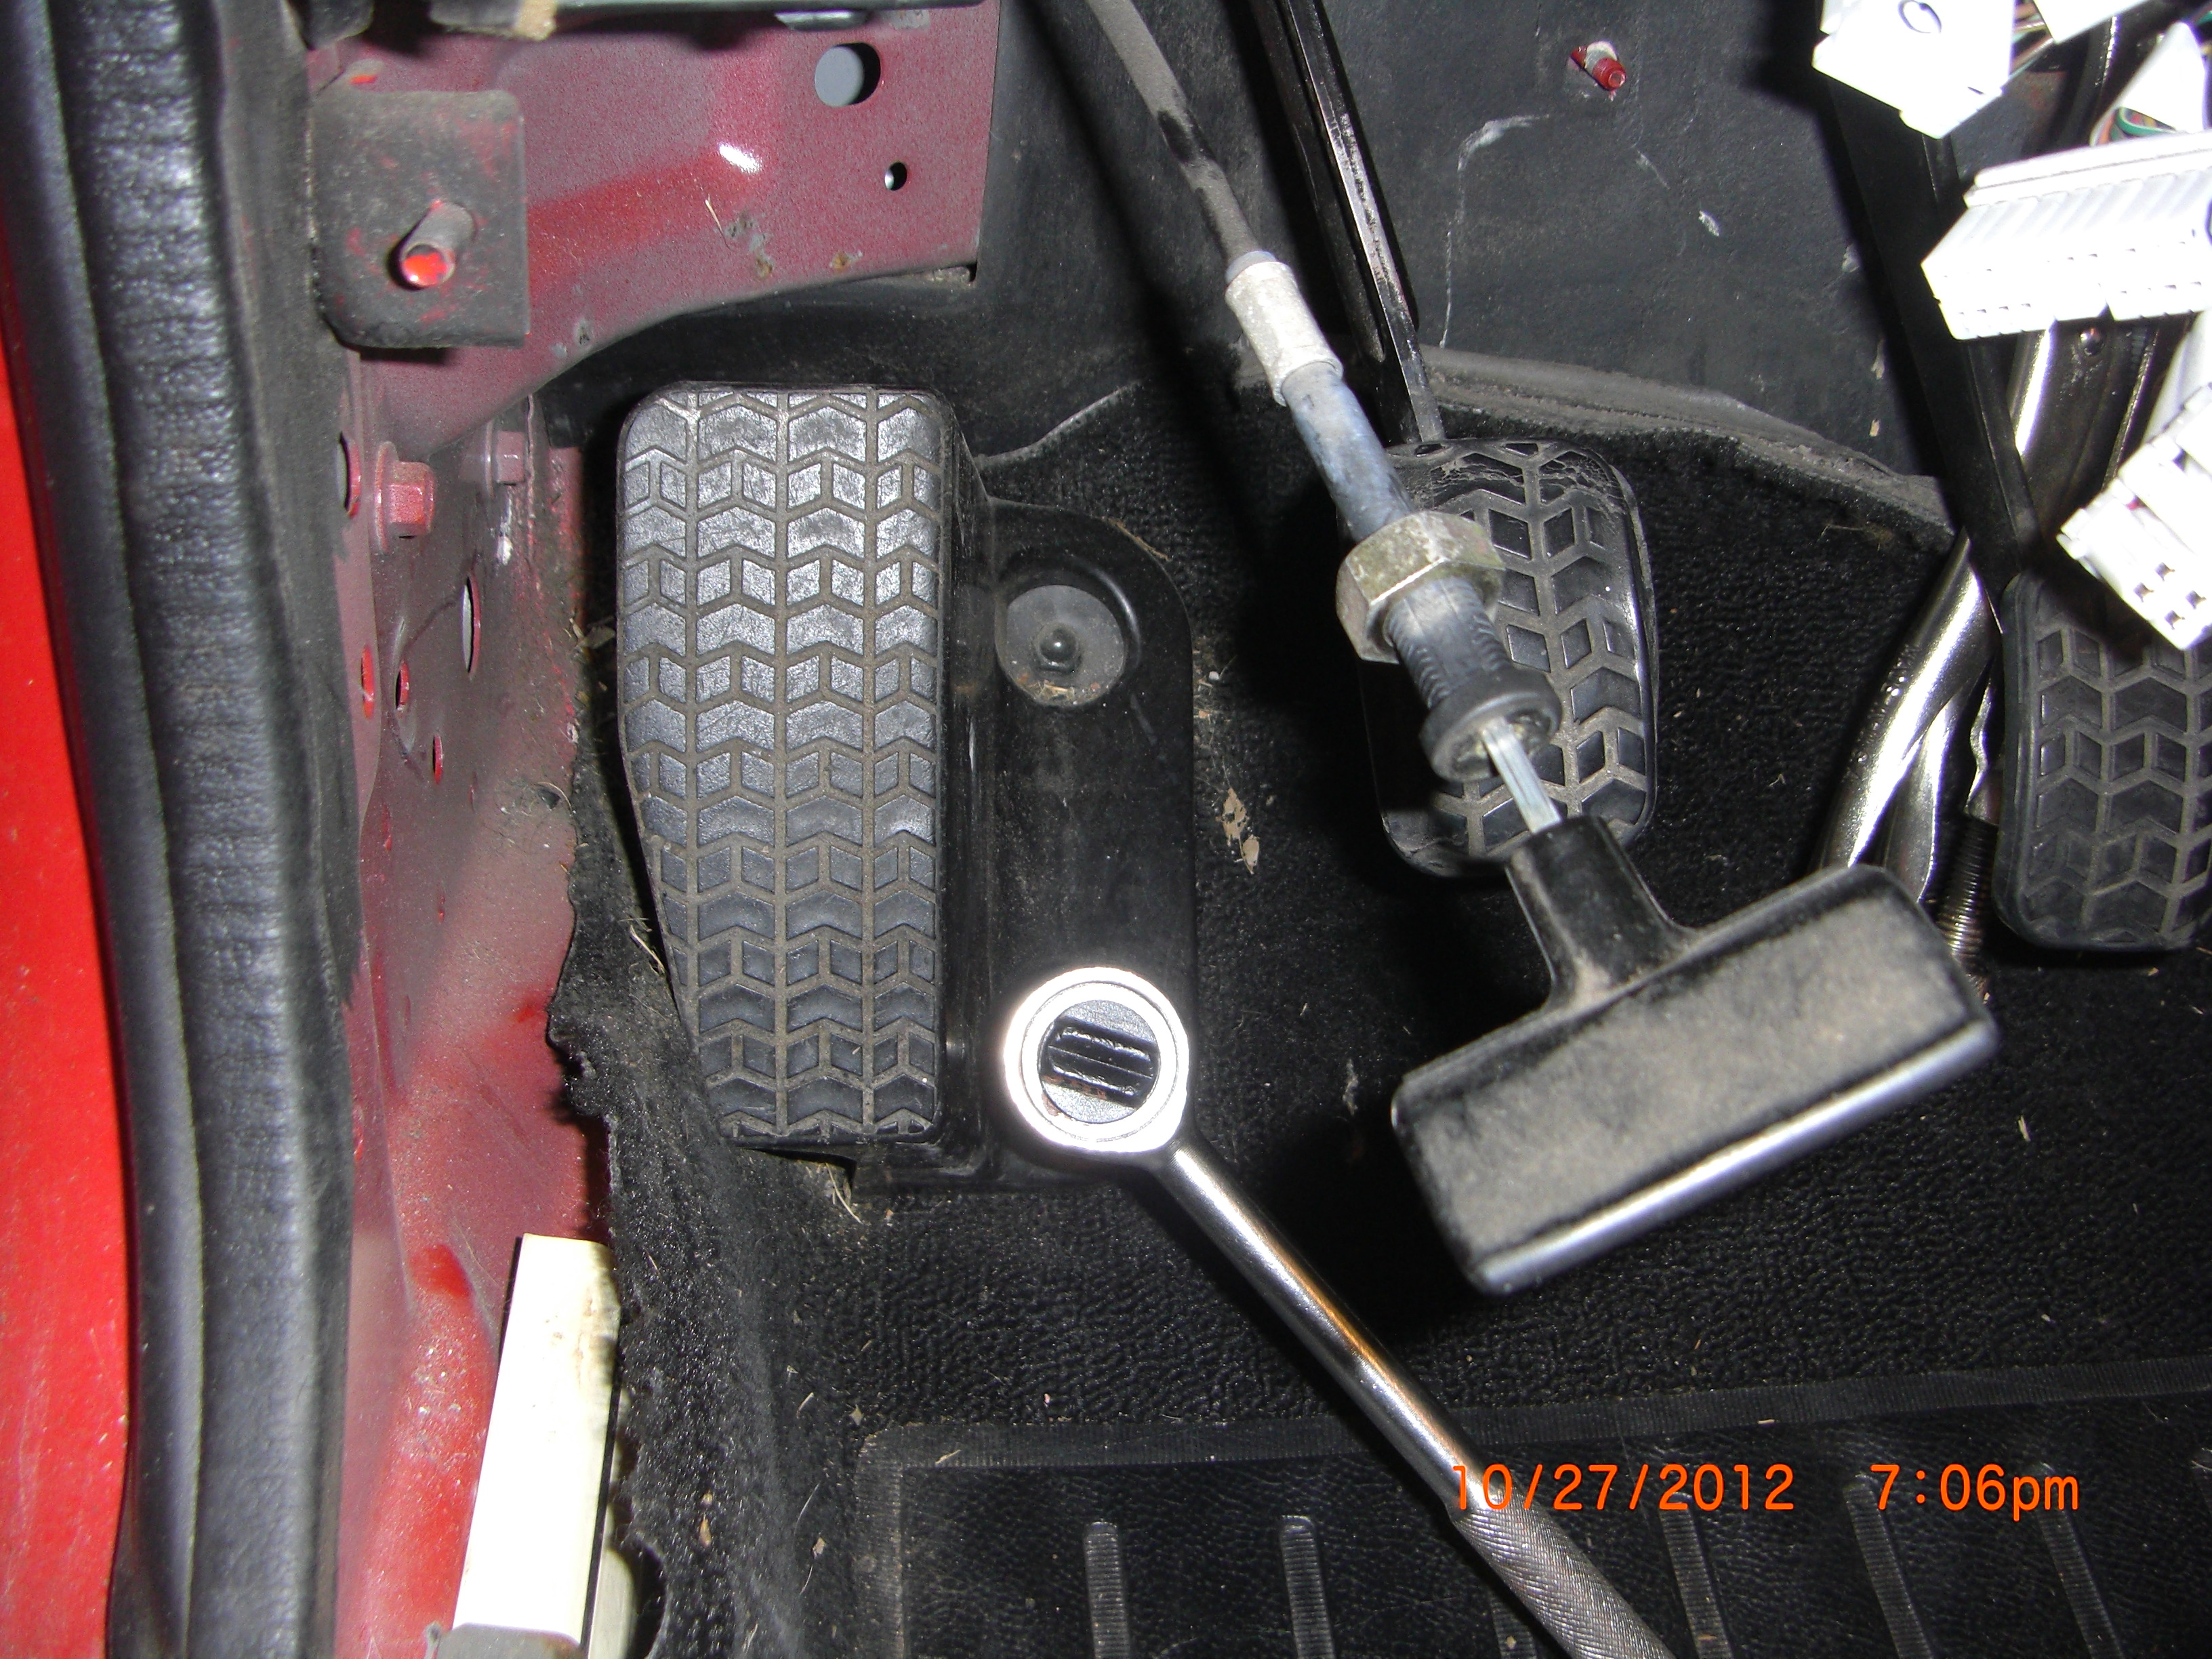
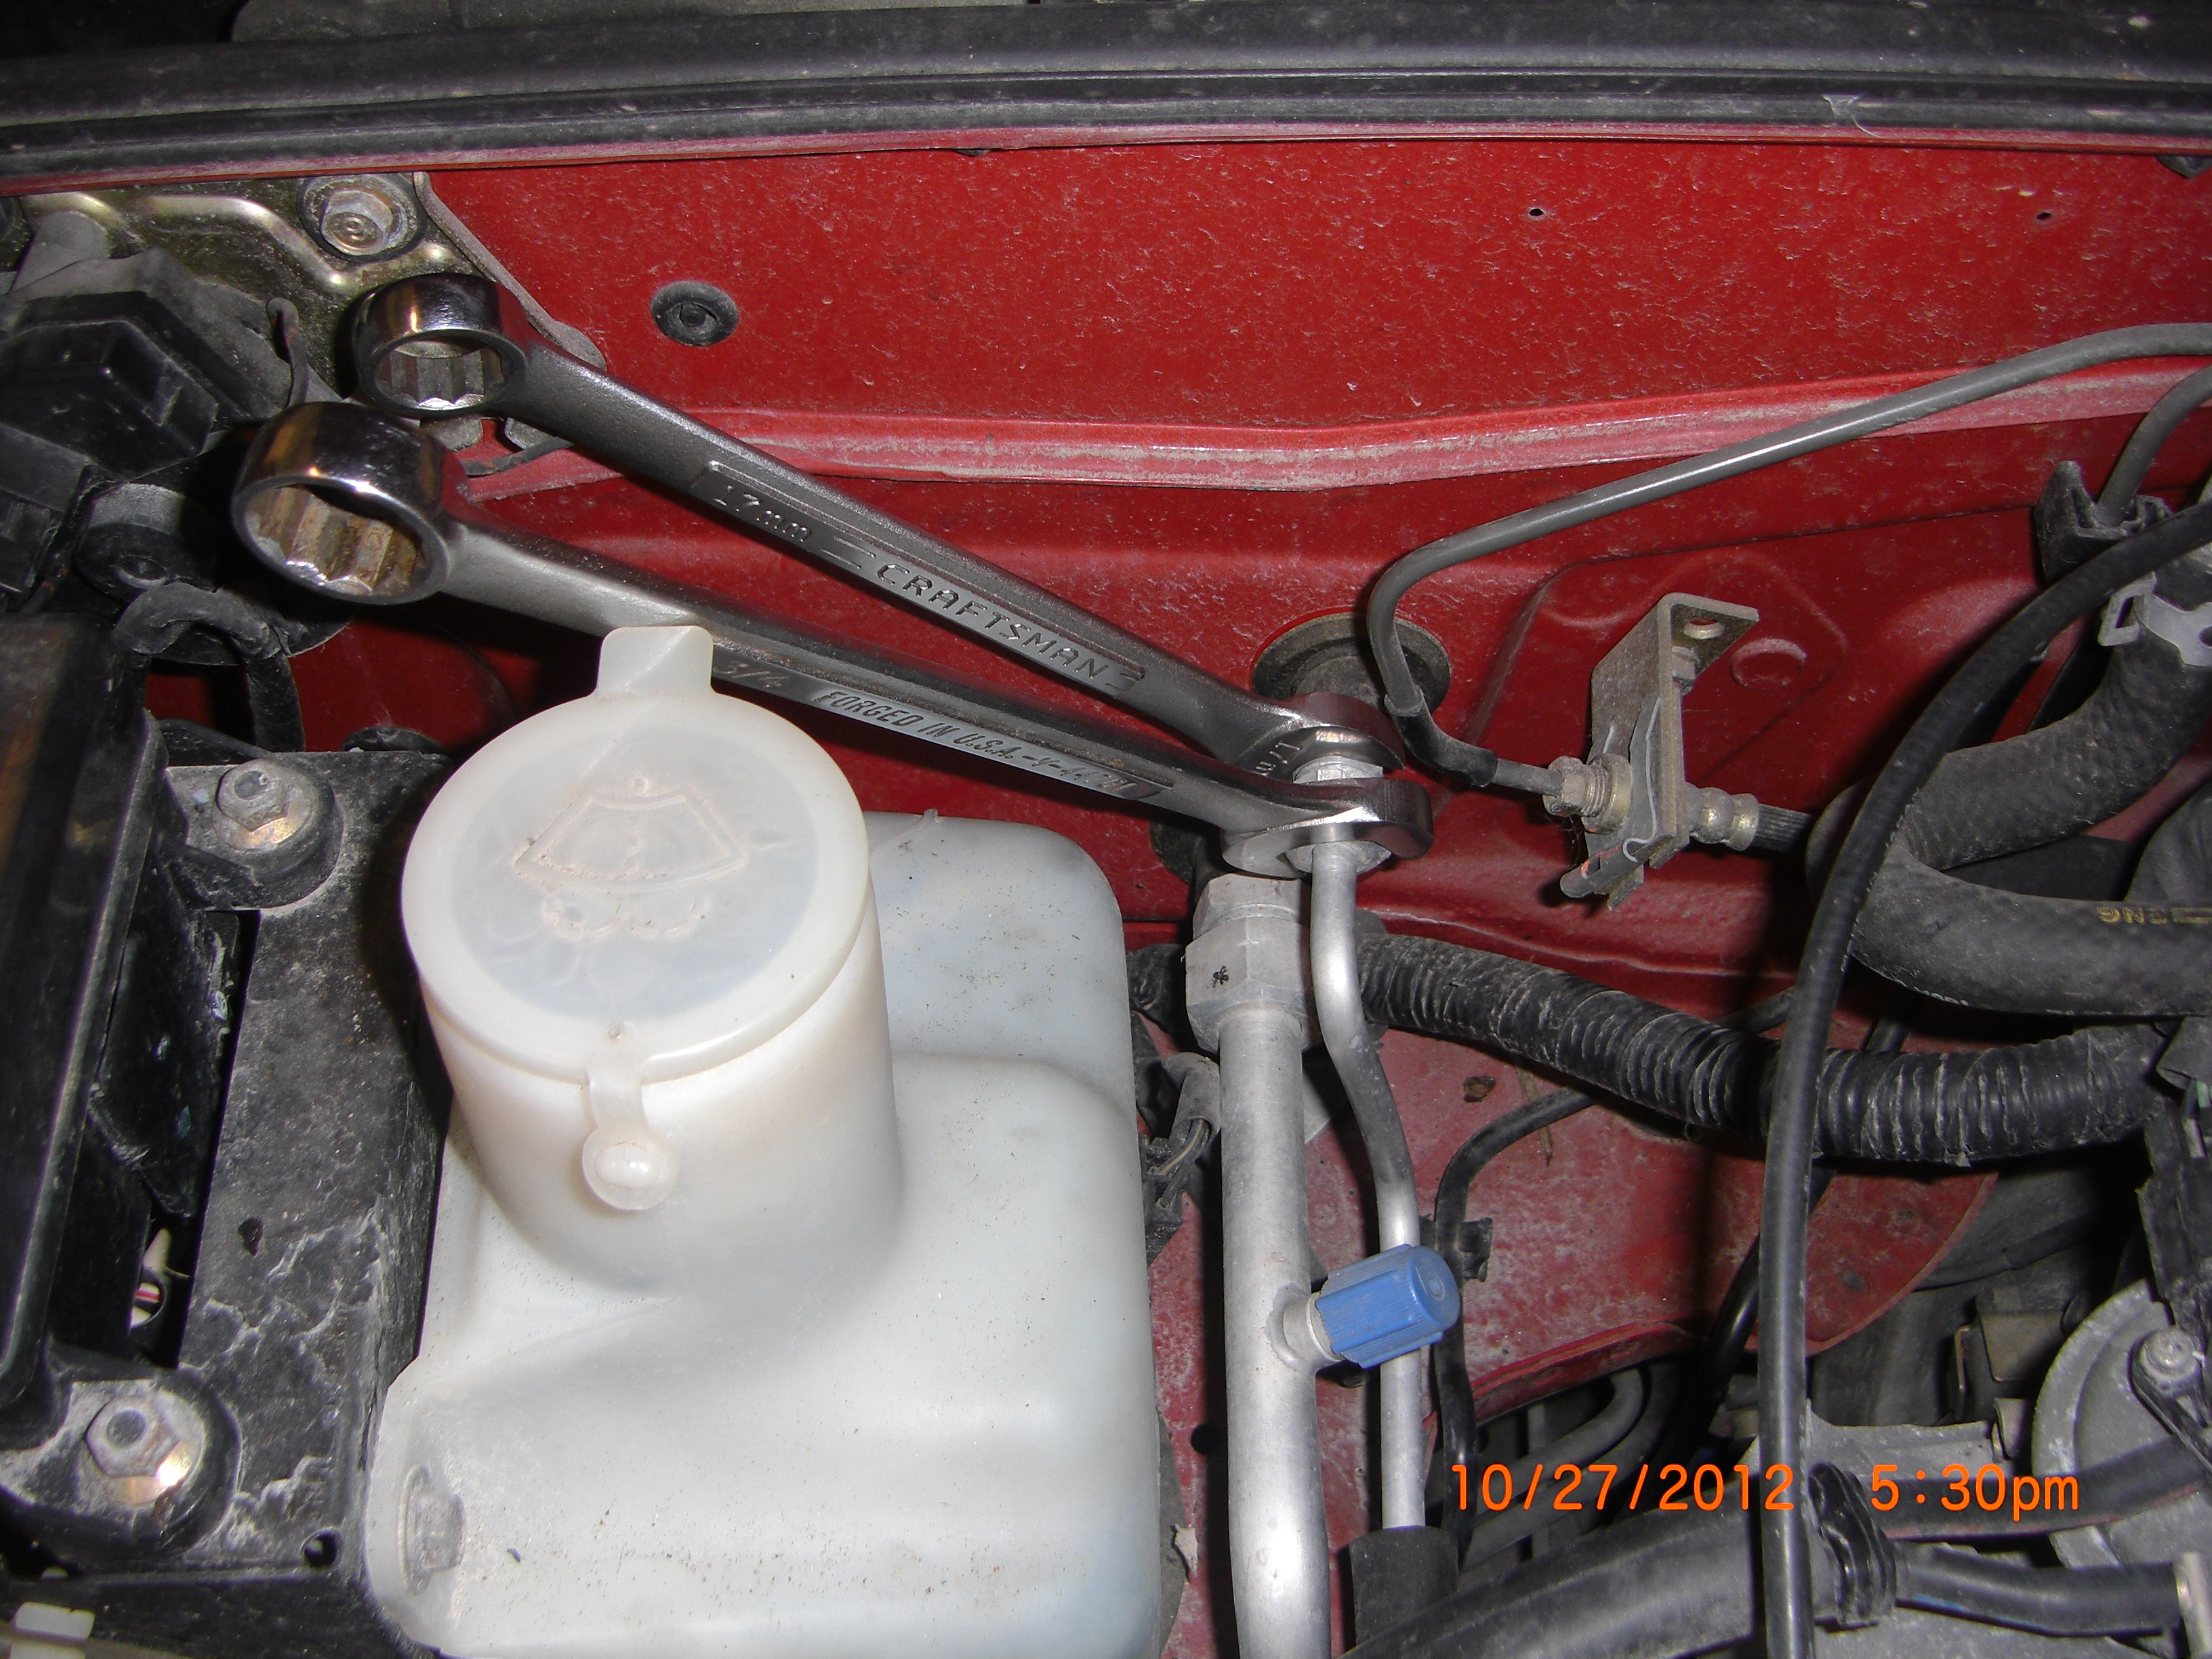
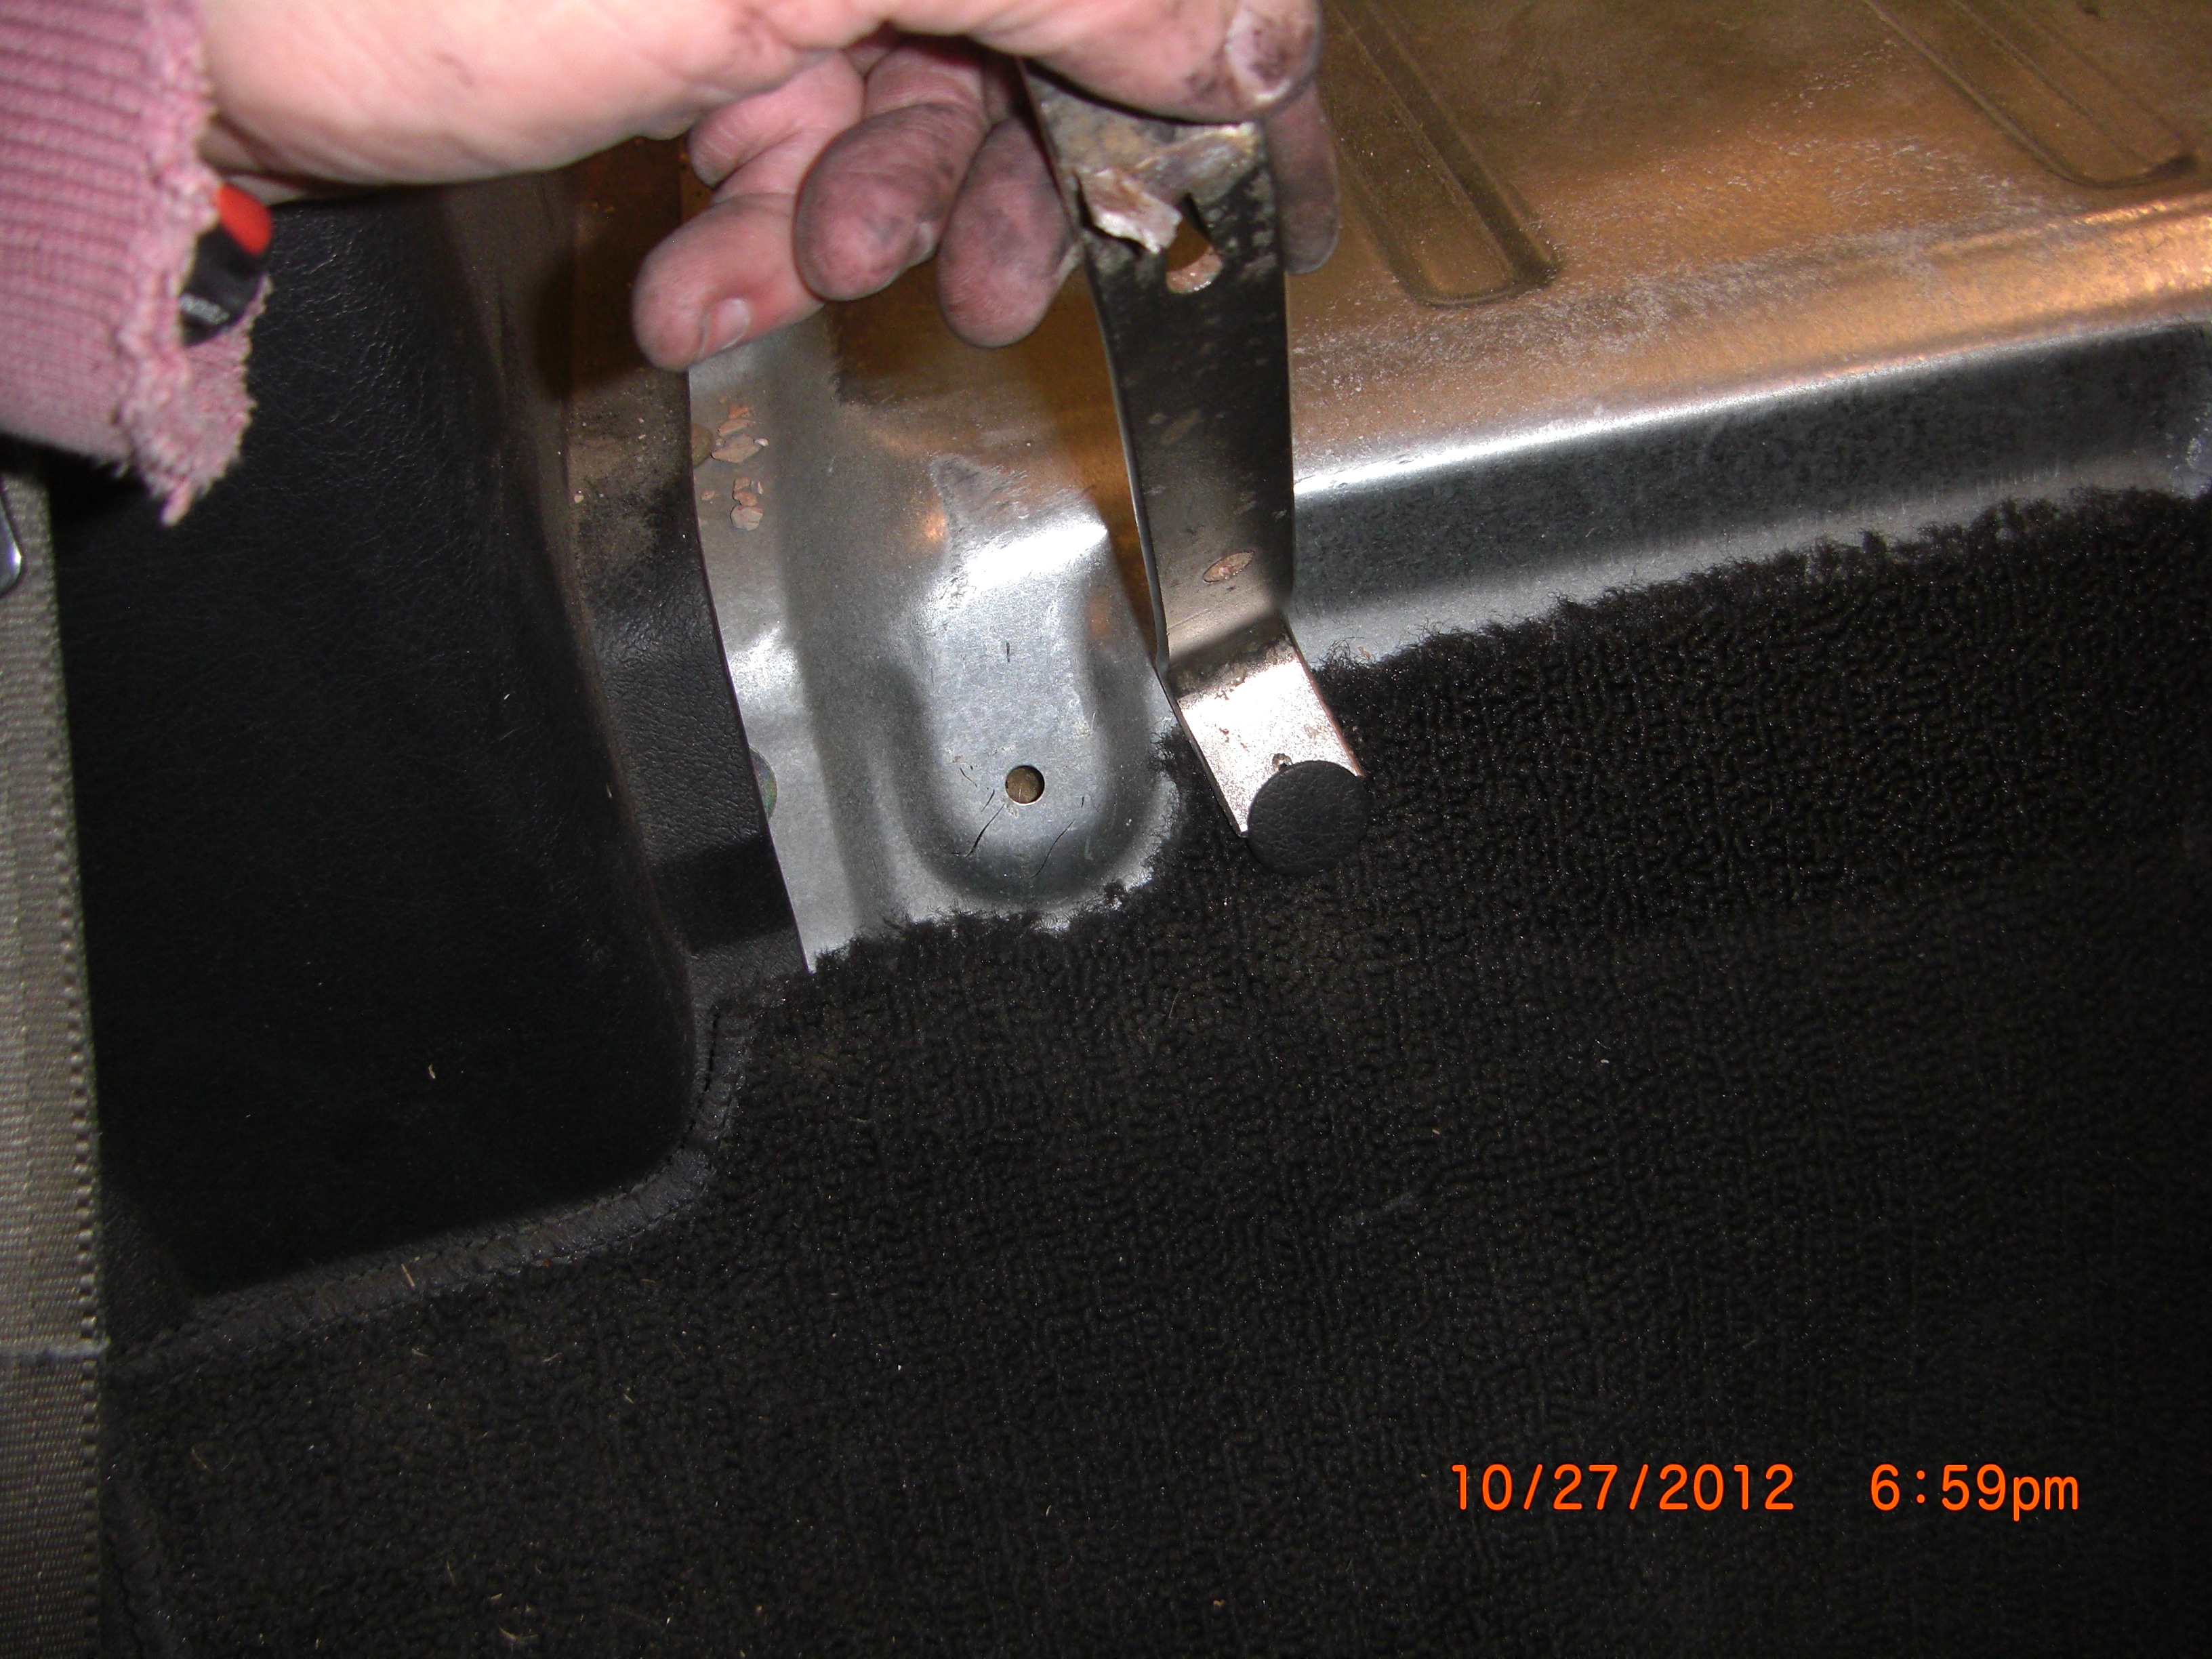
Now using a 10 mm socket remove the 2 bolts that secure the clutch rest. Now we are all clear to remove the carpeting. The carpeting is typically held in position by ½”dia. plastic headed one way push on speed nuts. If you want to save the carpet you should remove these by prying off under the head of fastener, see pic,
otherwise you will tear carpeting, I do not plan to reuse the carpeting and must admit to pulling and yanking as my primary method of removal. Start by removing the carpeting by the rear window that covers the fuel tank.
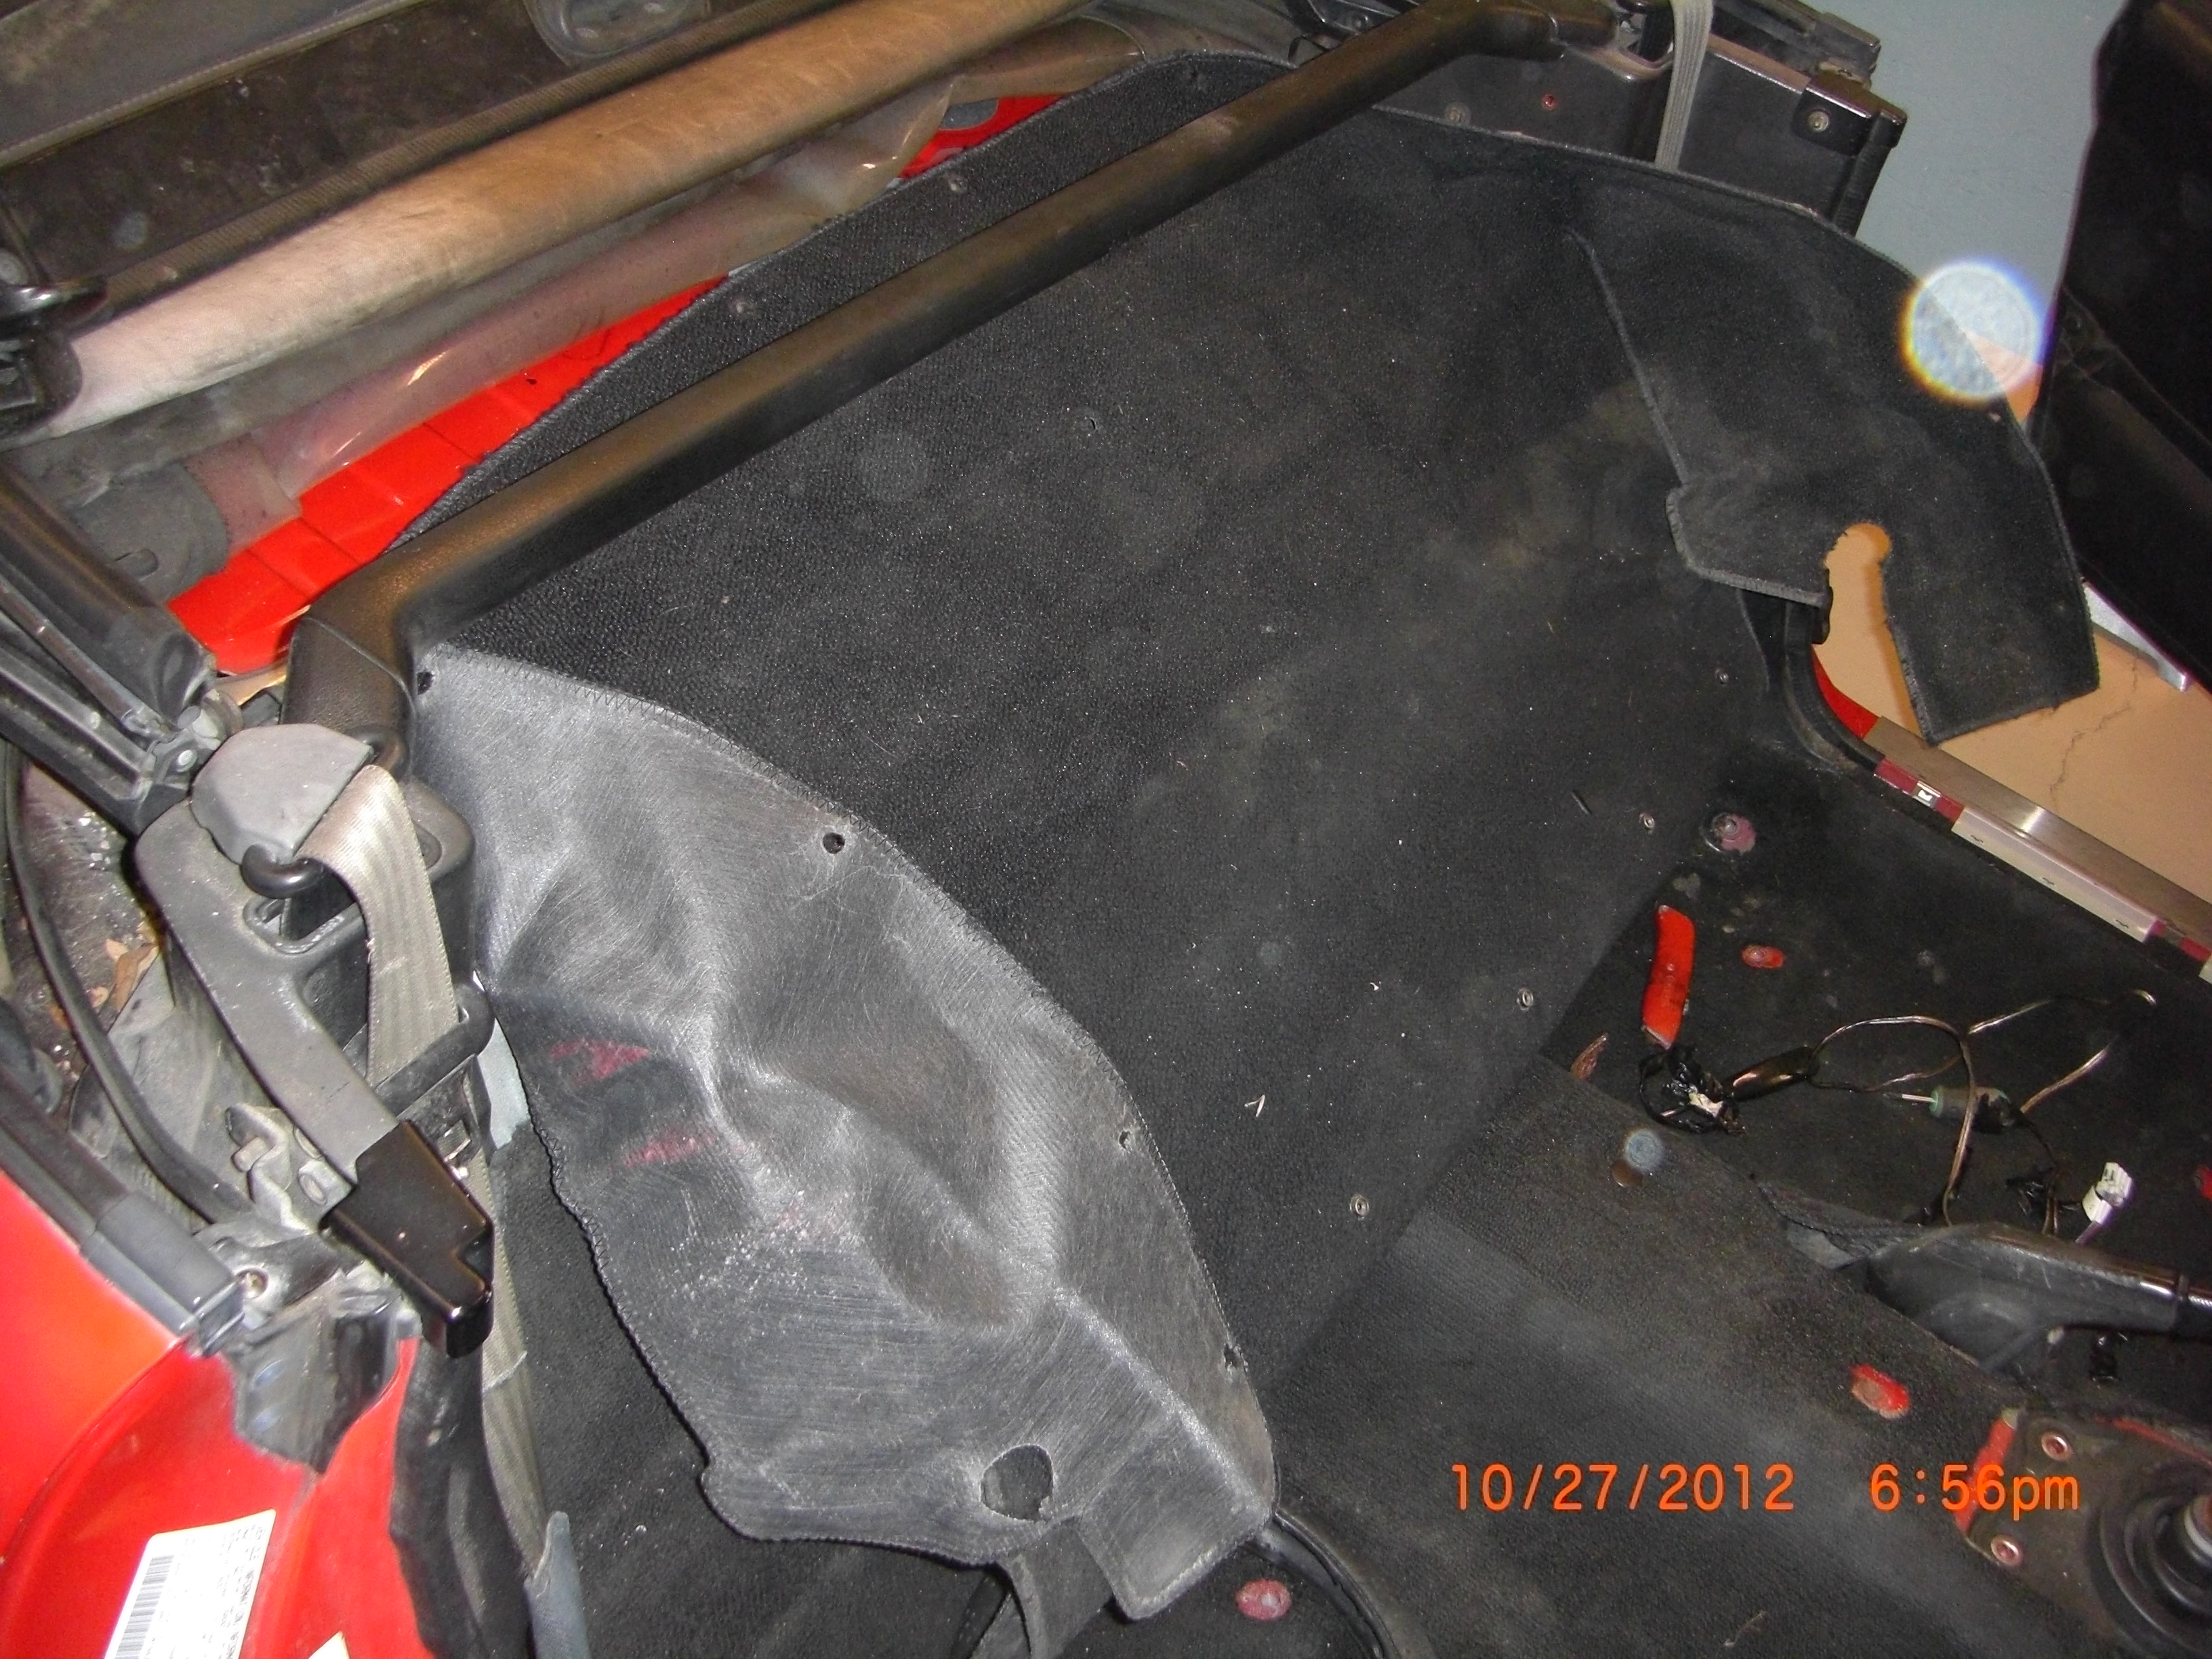
Then I remove the carpeting that is behind the seats. Then after making sure all wires are fed thru the floor carpeting you can simply grab it from the rear and pull back and up and lift to remove and put in the pile. As you have already observed you have exposed the location of the Power Control Module that hides behind the passenger seat carpeting and it’s associative harness. see pic.

Now this PCM and harness is a keeper we will need for the VortX. So this segment went very quickly taking only about 2 hours to remove all the parts that are in this pile, see pic,
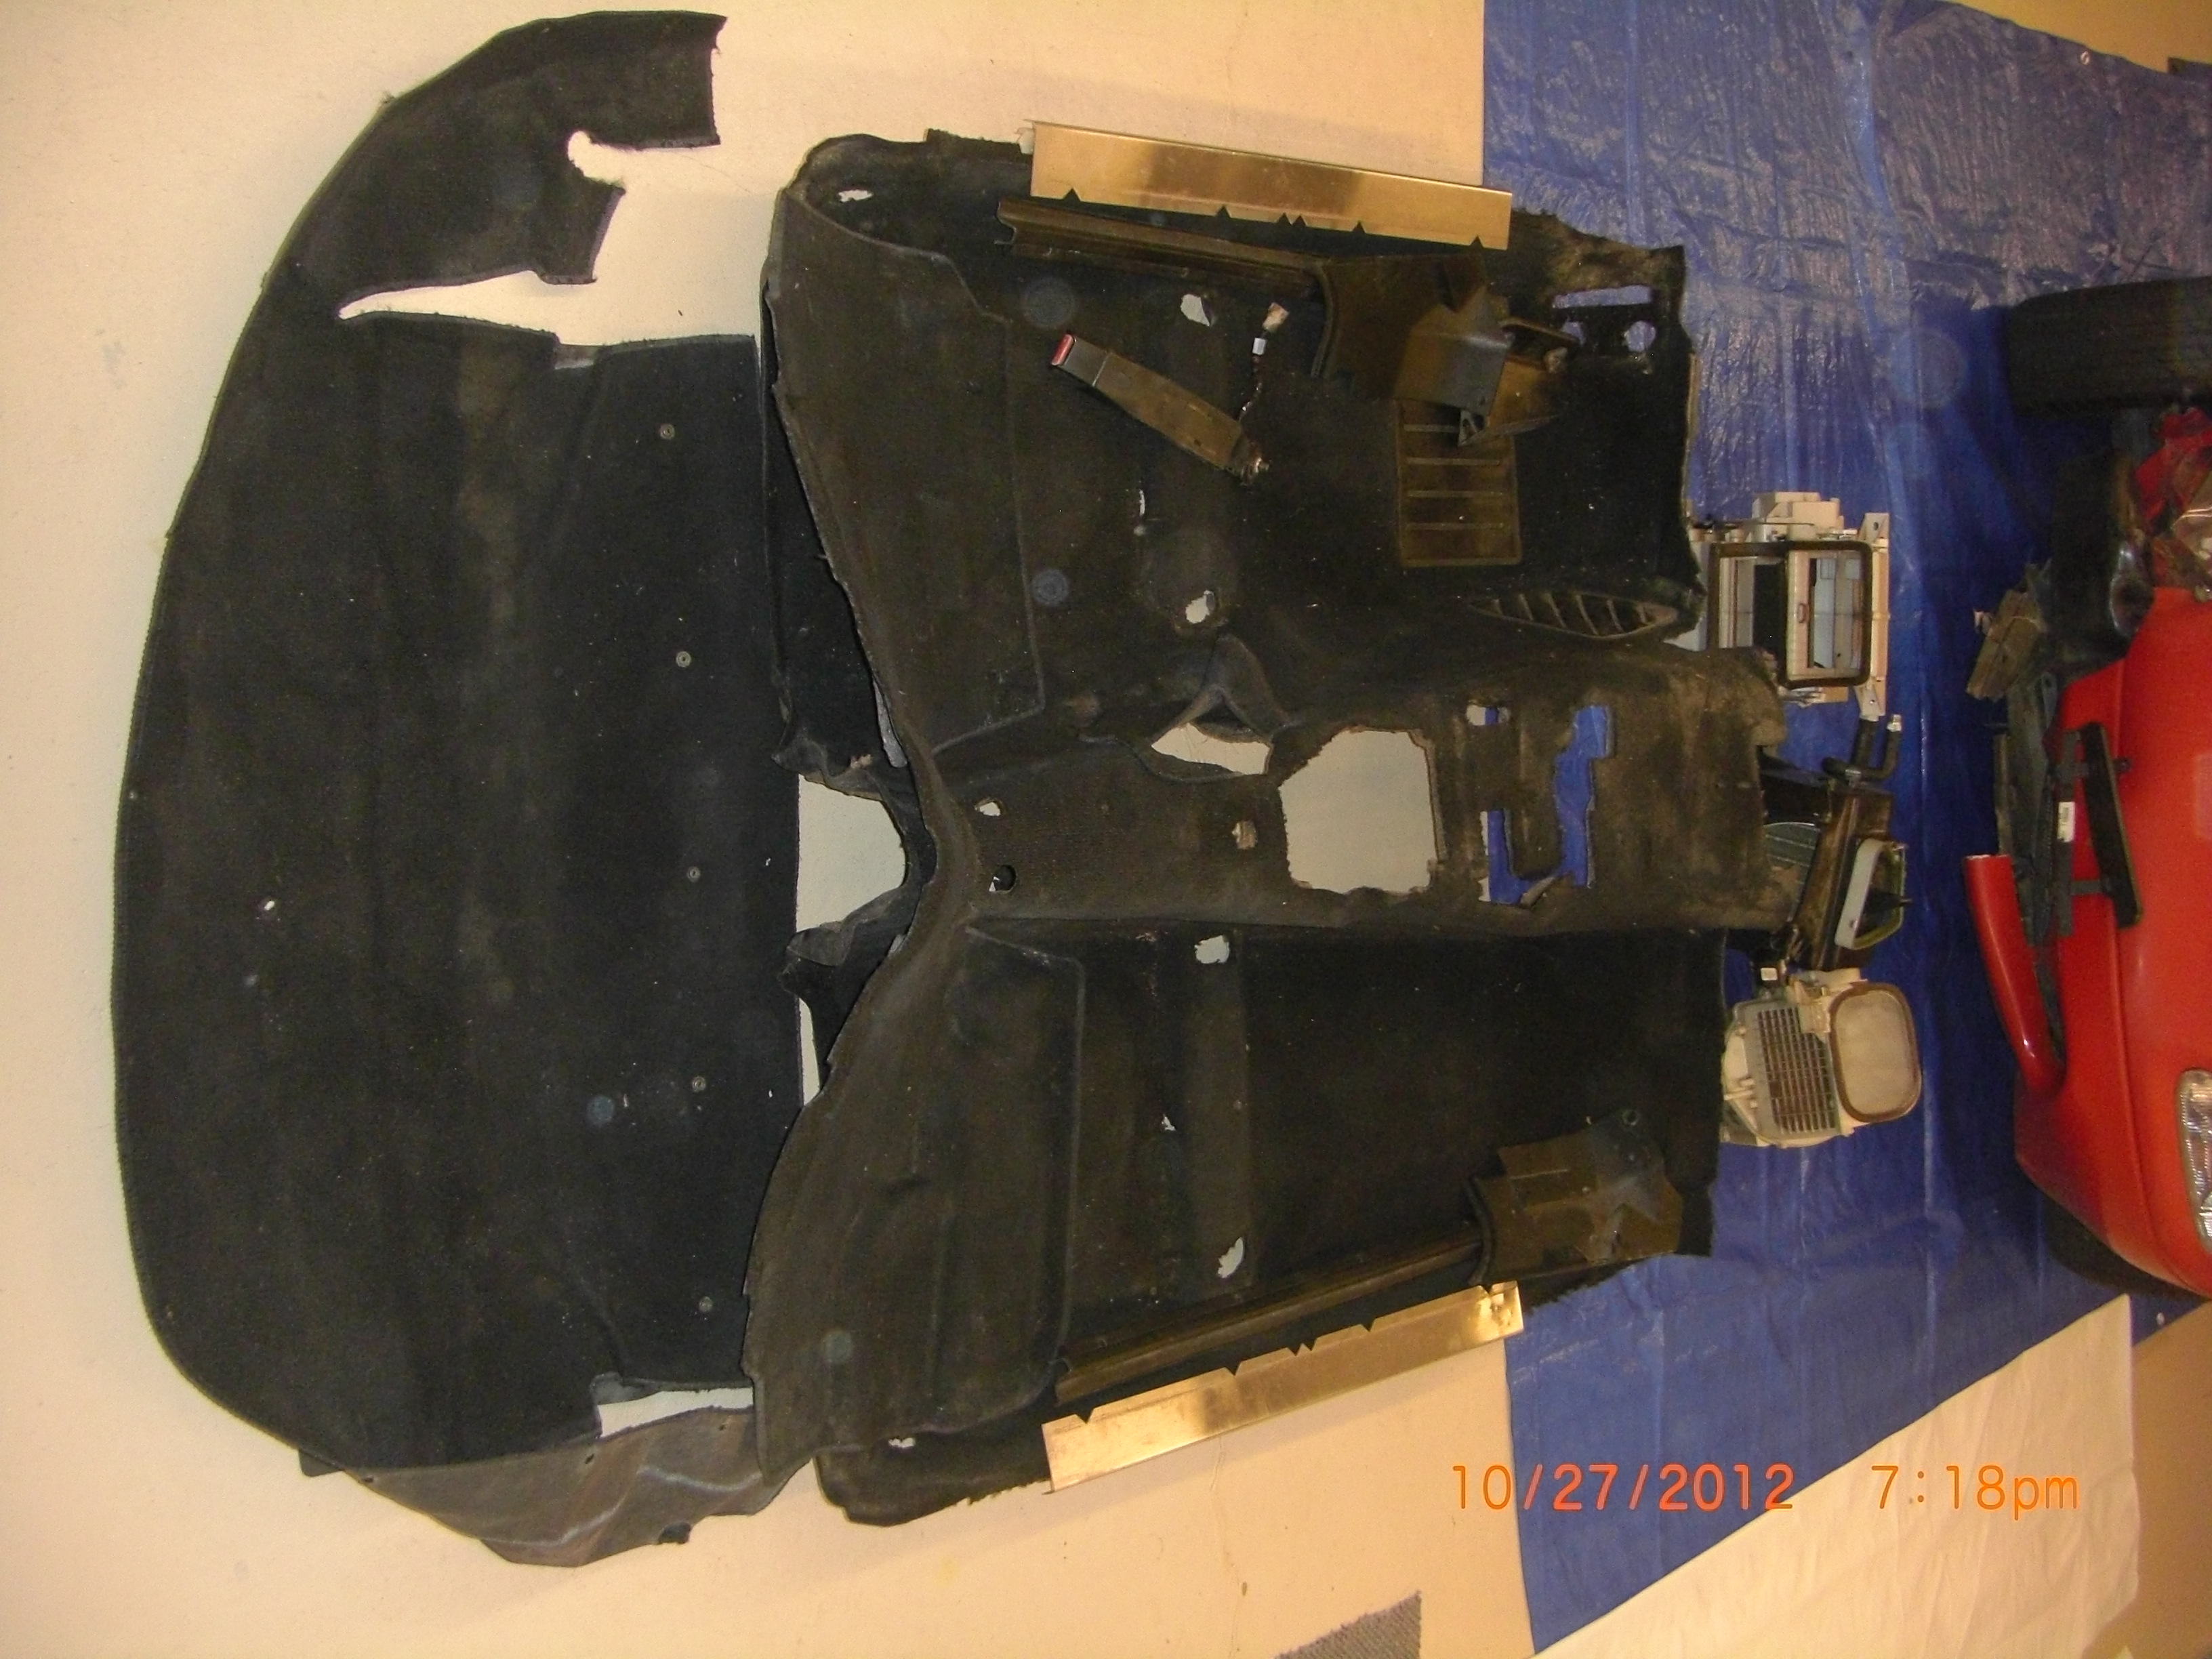
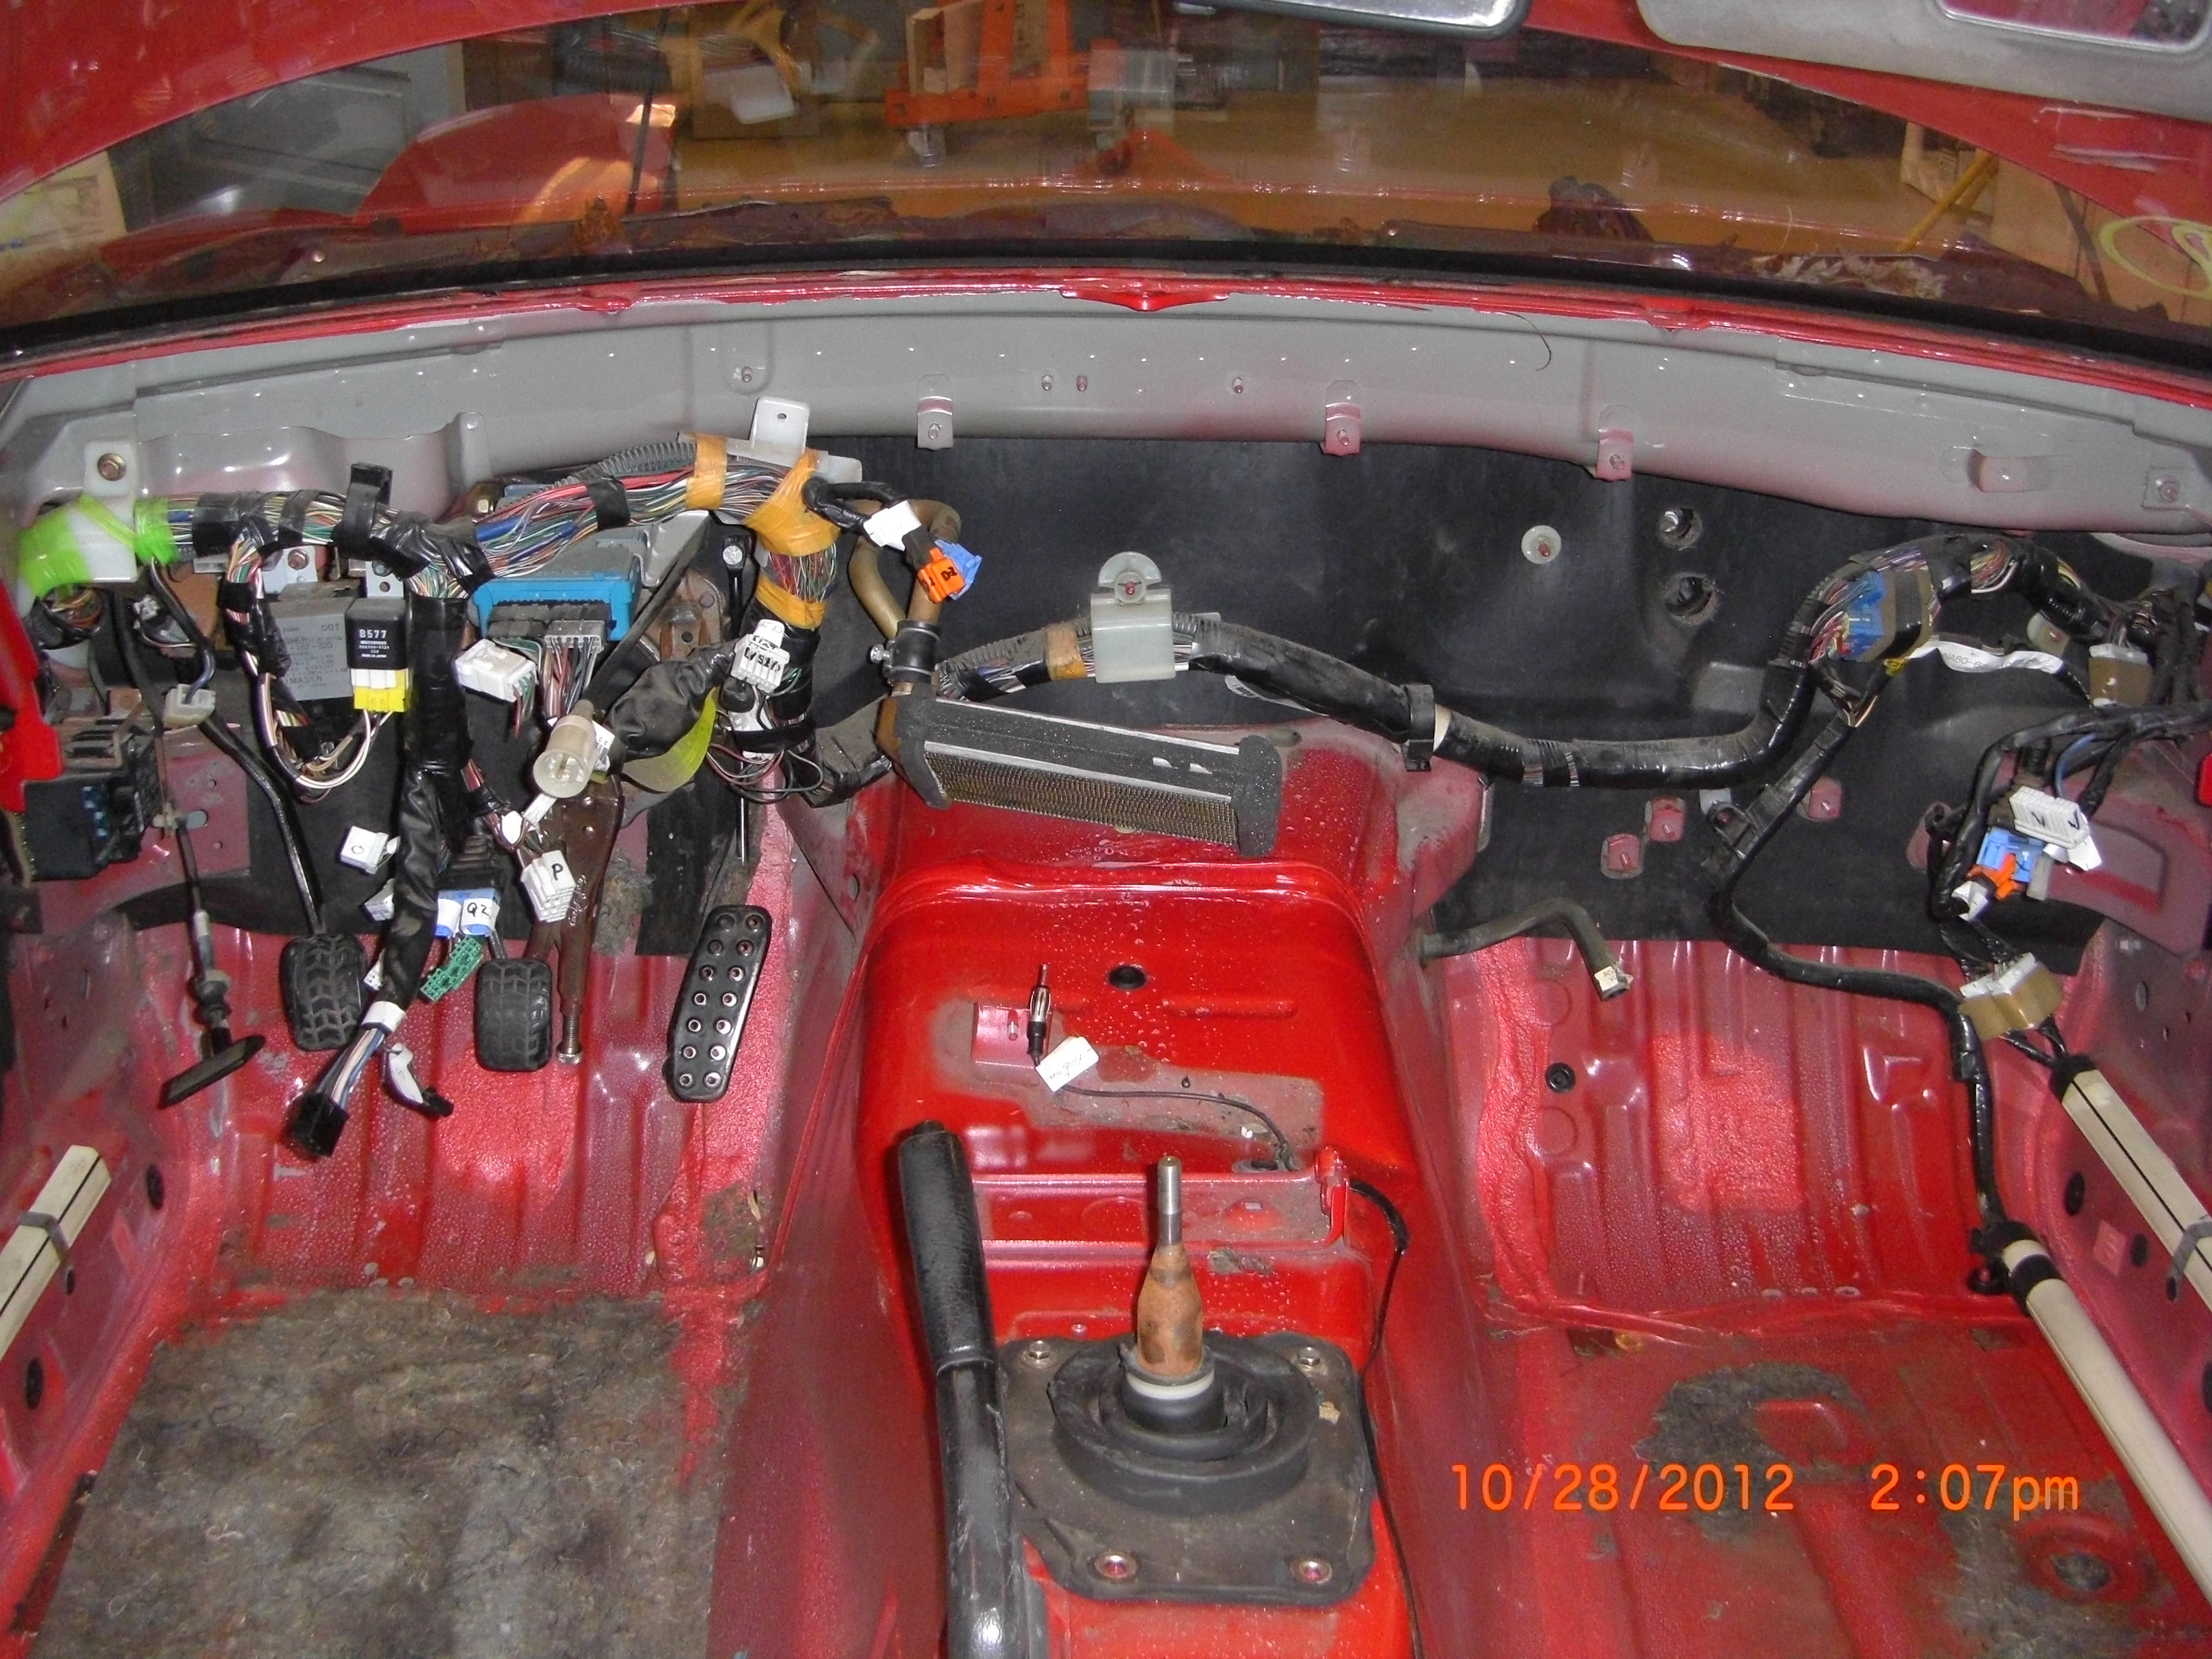
none of which are needed for the VortX but many can be listed on e-bay.And a pic of our naked and exposed wireharness at firewall.
What’s next? Note sure. Need to study a bit. What I absolutely recommend and I consider mandatory is purchasing the Enthusiast’s Workshop manual for the Mazda MX-5 Miata 1.8L There is also an addition for the 1.6L. I purchased mine at Amazon. The author is Rod Grainger and Pete Shoemark published by Veloce Publishing. For the 1.8L the ISBN # is 978-1-845840-90-7 The UPC# is 6-36847-04090-1. I will later get the numbers for the 1.6L manual. I will post this info on Reference page when I get a chance. That went pretty easy, So far I have a total of 9 hours in donor.