

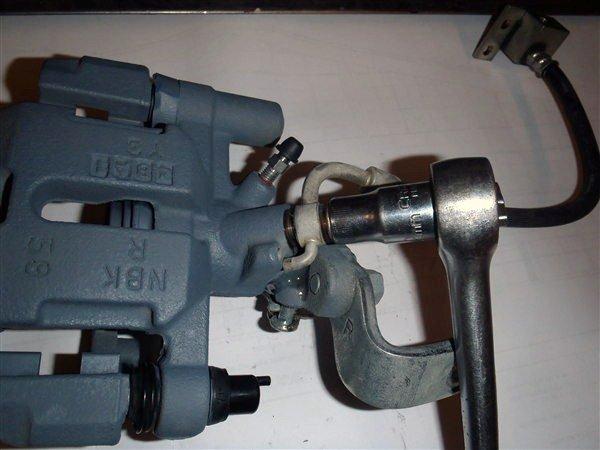
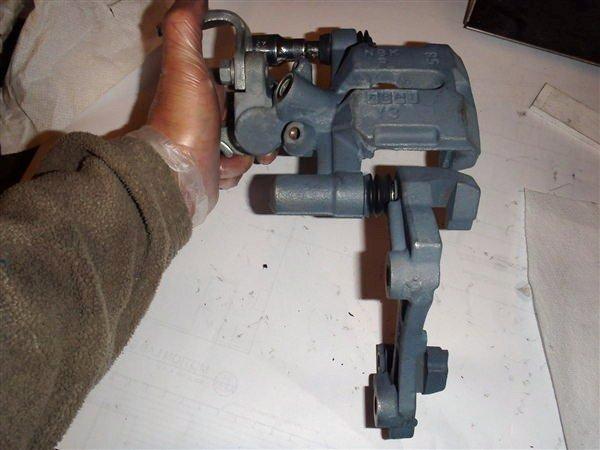
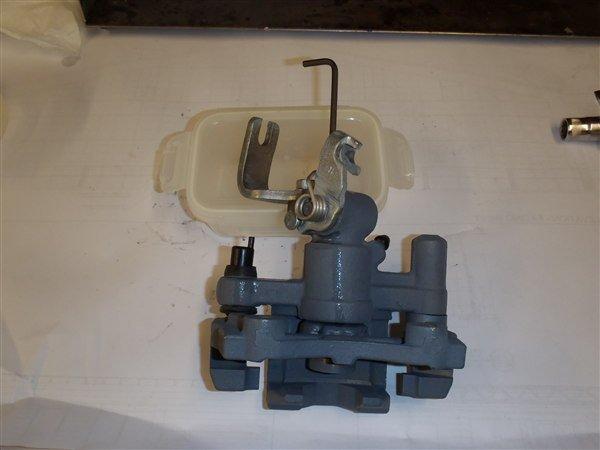
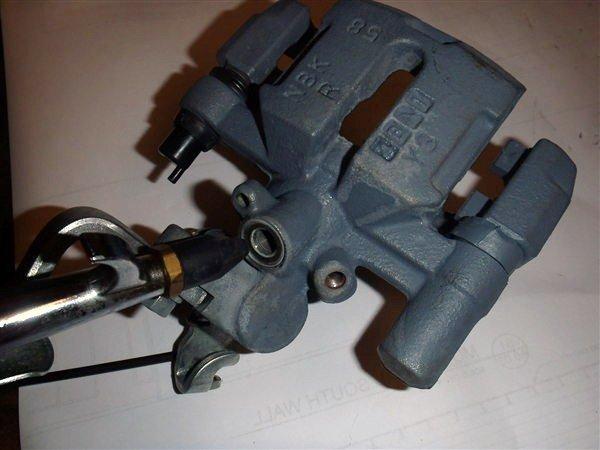
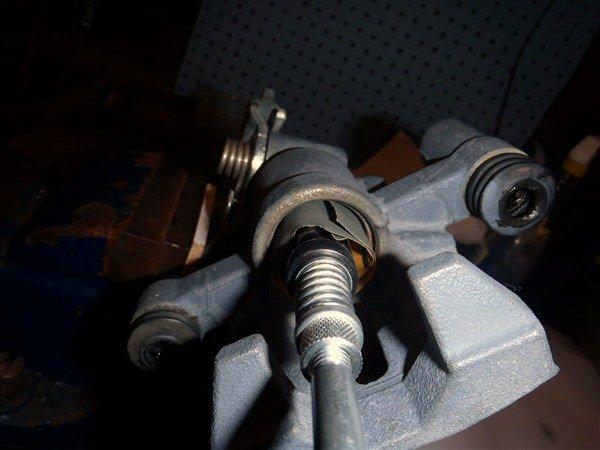
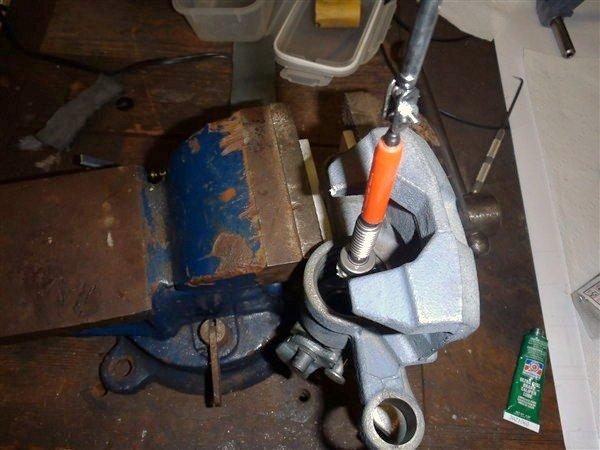
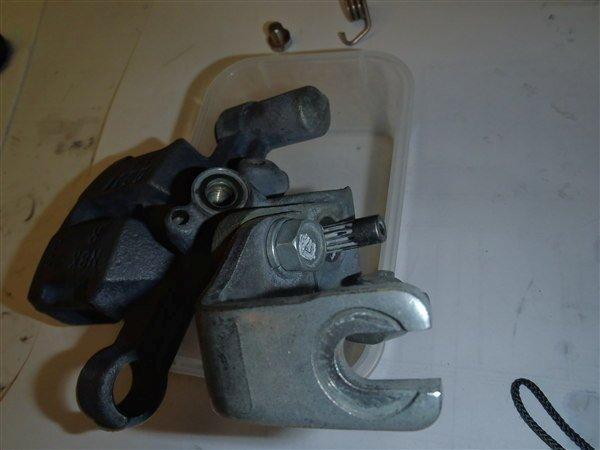
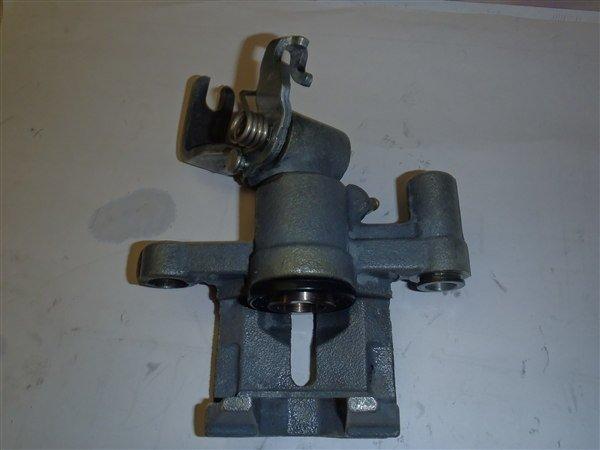
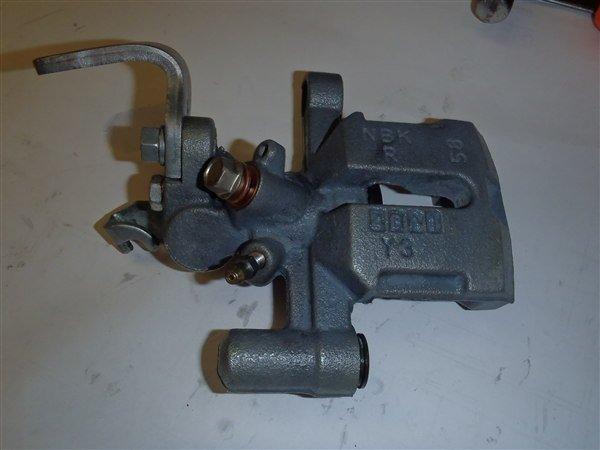
I now turn my attention to rebuilding the rear calipers. Since rebuilt rear calipers typically cost from $70.00 to $120.00 or more there is much savings(incentive) to rebuild your own calipers, provided the donor calipers do not have pitted bores and are suitable cores for rebuild. I priced at AutoZone the rear caliper rebuild kits, they will only set you back about $15.00 for both calipers and Miata OEM part # NAY1-26-46ZB will set you back about $34.00.I have noticed some builders are a bit reluctant to take on rebuilding the rear calipers due to the rears having the e-brake mechanism. This is not a good reasnon to fear this job (with the right pliers).
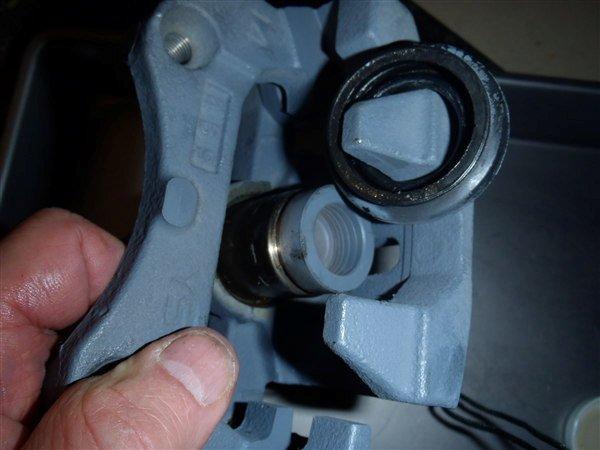
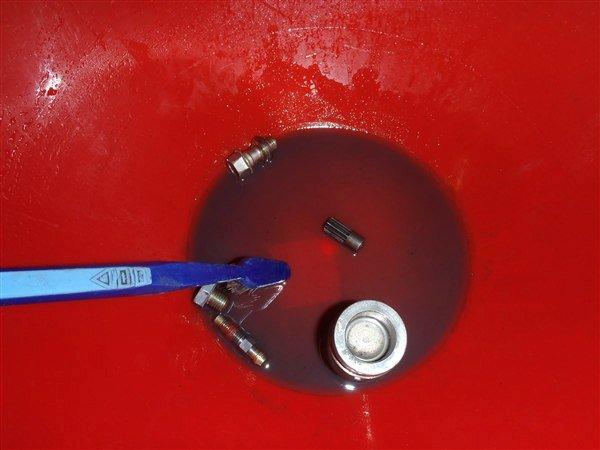
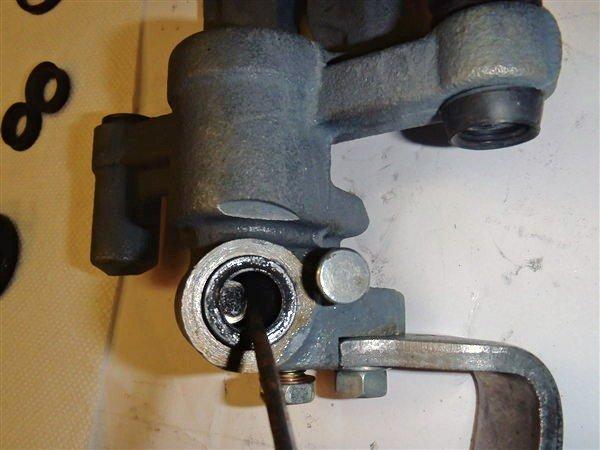
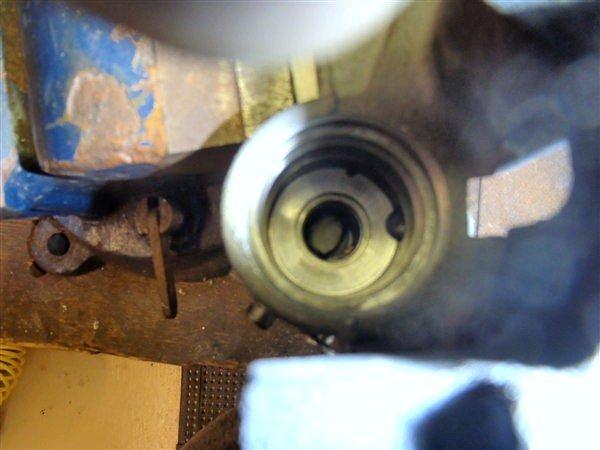
Refer to the enthusiast manual page 9:14 section 18 and 19. You will soon discover they cheated and did not do a complete rebuild! In the manual they did not remove the c-clip and remove the adjuster screw to replace the o-ring. Possible they did not have the correct c-clip pliers. The o-ring on the adjuster screw is what separates the caliper hydraulics from the emergency brake mechanism. If you remove the e-brake adjuster’s cover bolt and there is the presence of brake fluid then you must replace the 0-ring seal, you do not have a choice.
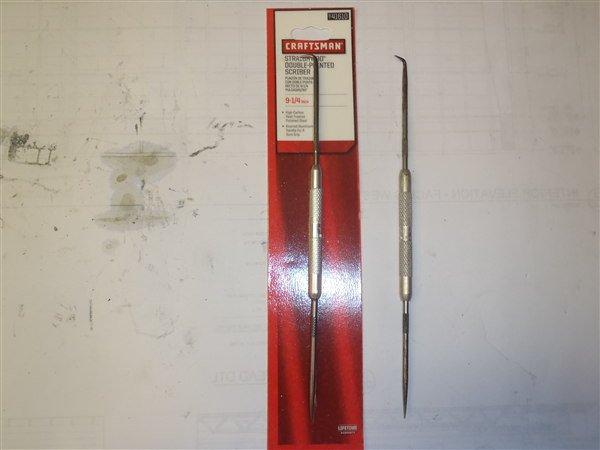
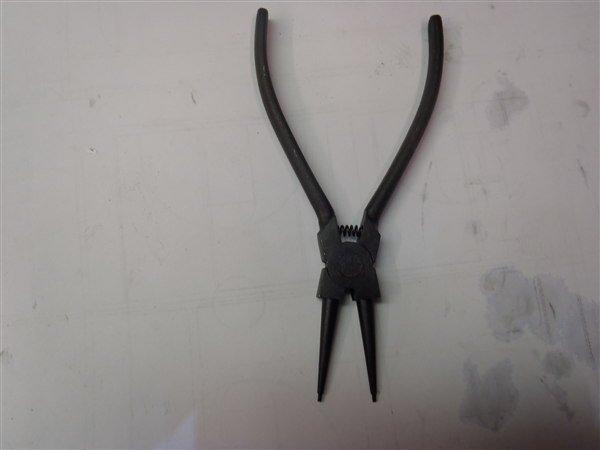
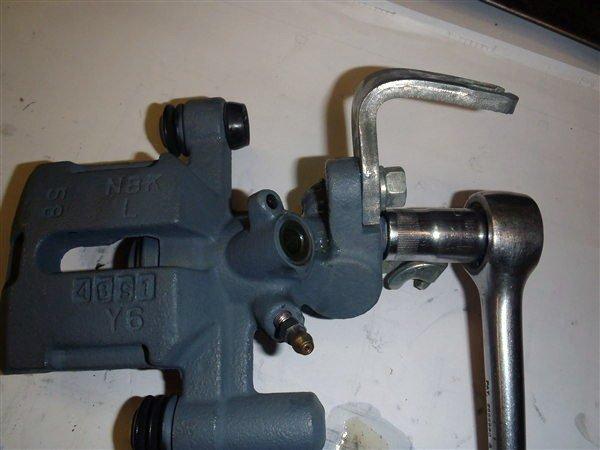
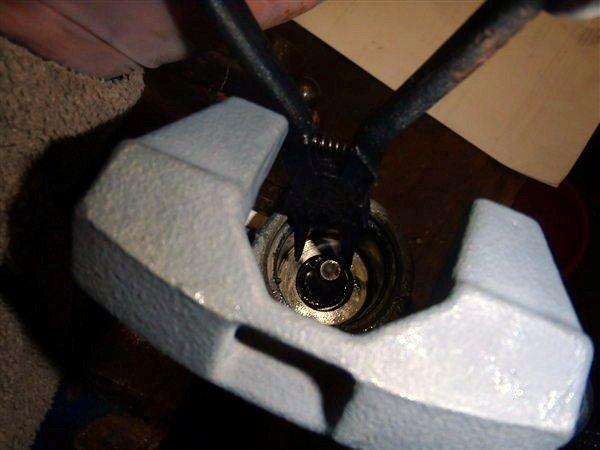
If all is dry you could possible elect to just remove the hex adjuster screw and clean and repack its bore with fresh grease like in the manual, but since the rebuild kit comes with the o-ring and new lever arm seals why not use them? This is not hard to do provide you have suitable C-clip pliers. I almost took the easy way out too. A few years ago I bought a c-clip pliers set that I forgot I had in my tool box. I bought these thinking the day will come I may need them, that day is today. You need C-clip pliers with a min of 2 inches from pivot point to end of pliers, more would help. So just plan ahead and buy some before you start this job, you possible could use 2 picks to insert the c-clip, I tried this as I used the 2 pick method to remove the C-Clip (worked OK for removal) but realized I was in trouble as I could not get clip in position with the two pick method, though it may be possible with more time and frustration. That is when I found my pliers, hurray! I am in business. With these pliers I inserted the clip first time in less than a minute. So with the correct C-clip pliers do not fear rebuilding the rear calipers.
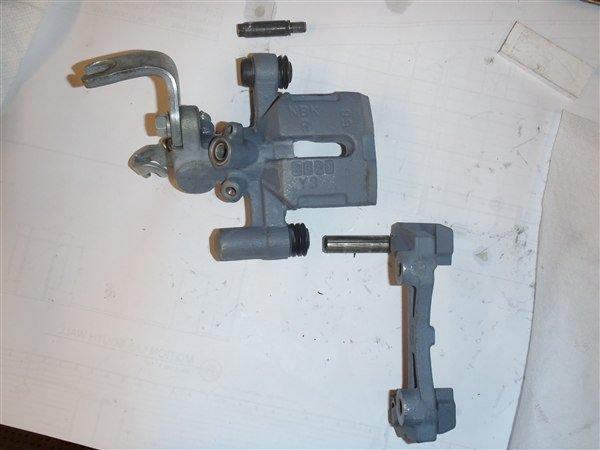
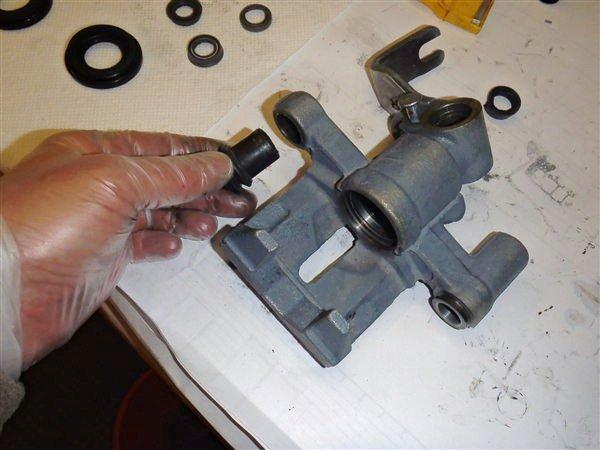
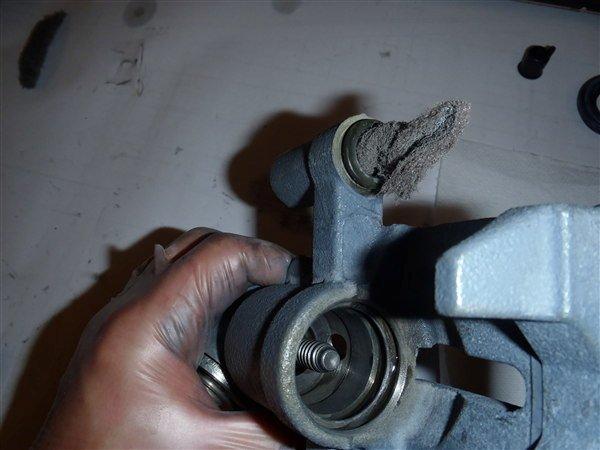
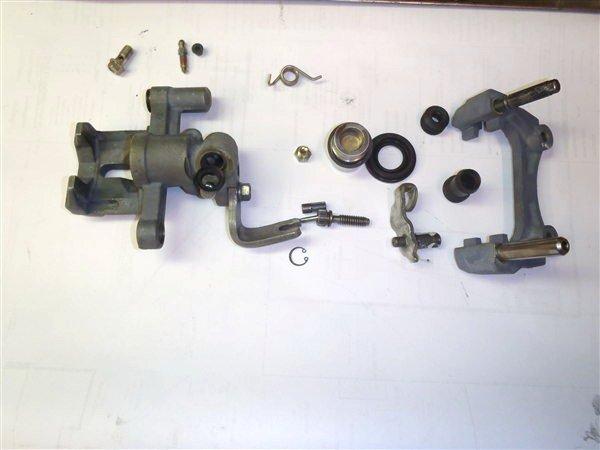
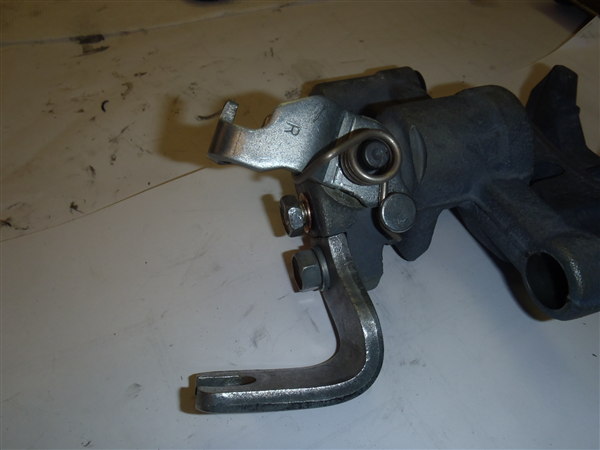
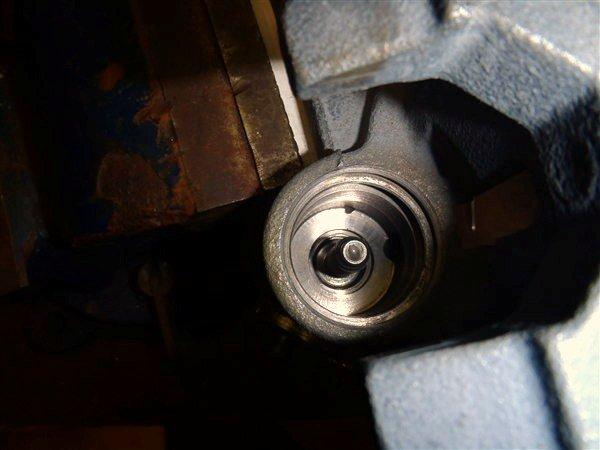
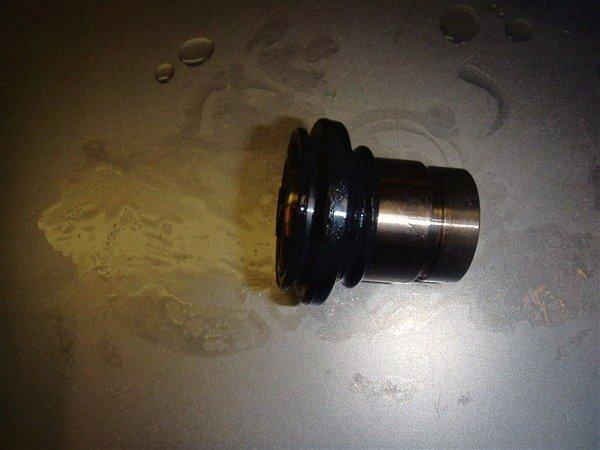
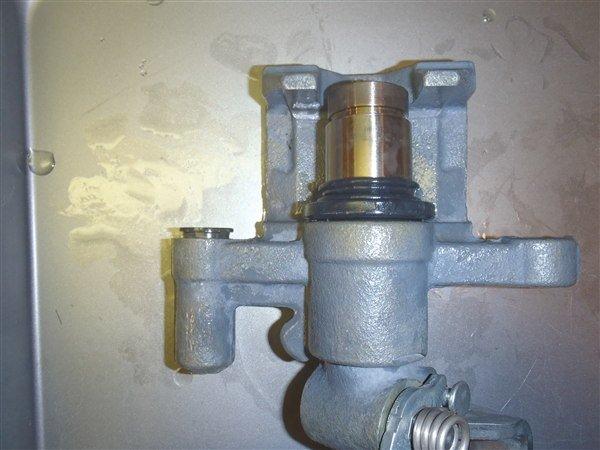
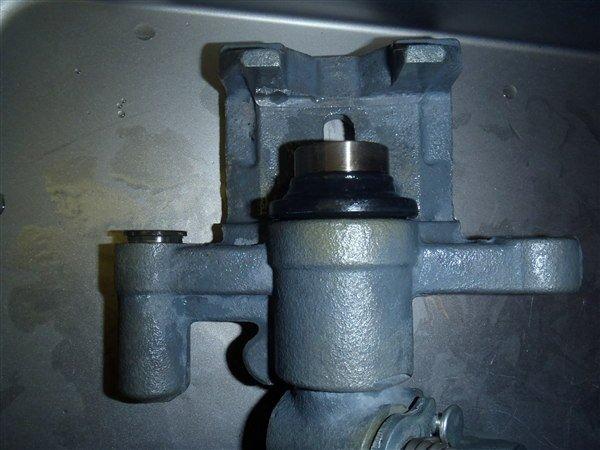
What is important to know is that the lever arm and its dust seal can not be removed until after C-clip and adjuster bolt is removed. But it is important to know that the first part to install in the caliper is the seal and the lever arm as you must do this first before install of adjuster screw and connector link (the hot dog) or you will have to remove the C-clip and start over.
As a good pre requisite please review this link Parking brake operation
This is an excellent article by Lance Schall, after reading this you should be ready, provided you have your pliers. I will present the rebuild in gallery format up to install of new pin bushing as I want paint first, so let’s get started. Rememeber to clean your parts typically after any polish or use of hone.


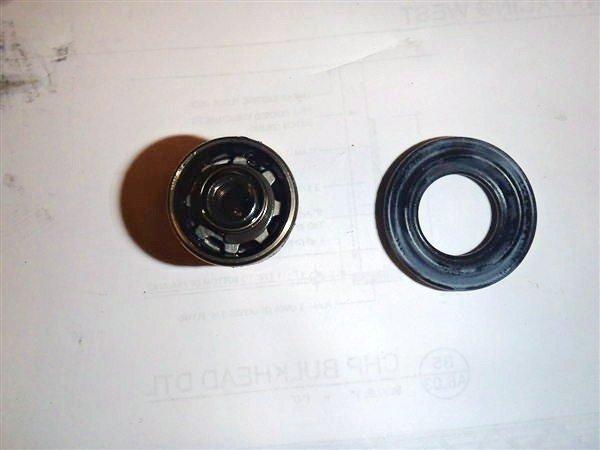
discard the old boot

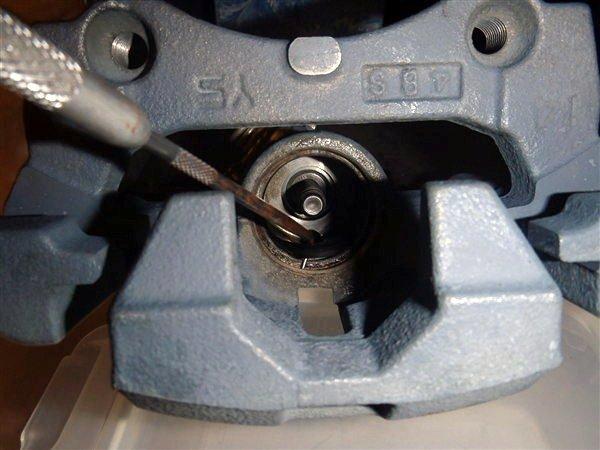

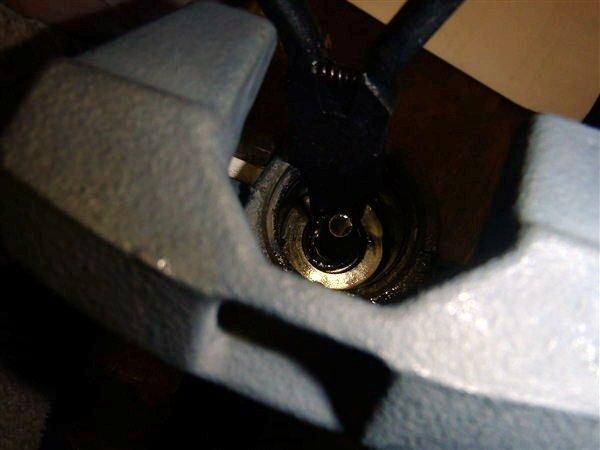
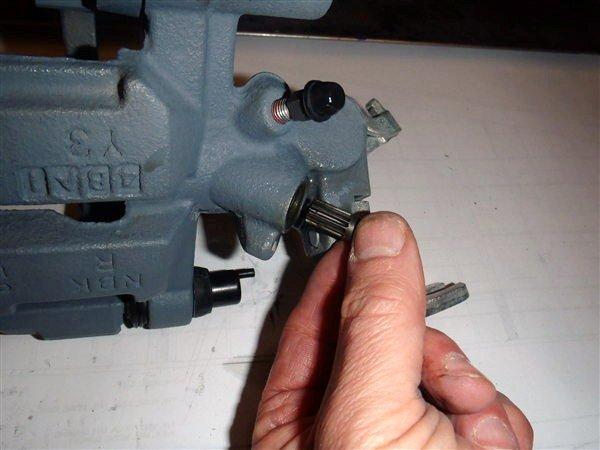
easy with right plier
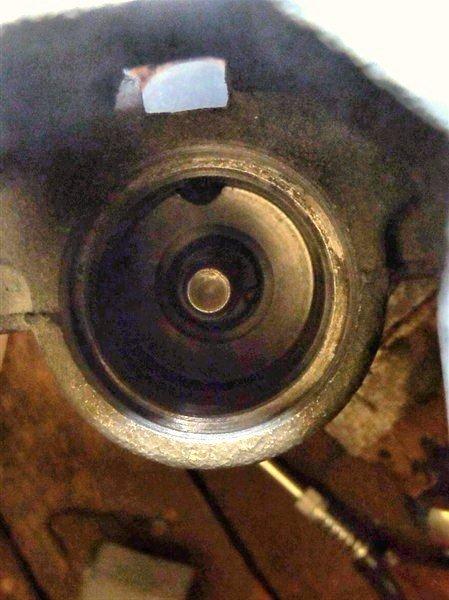
O-ring and hot dog

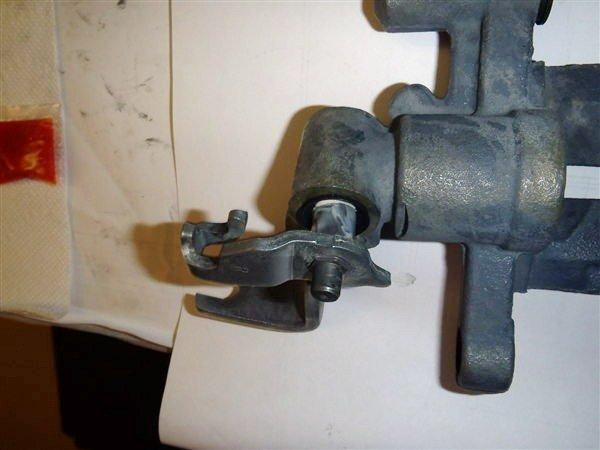
p brake lever arm
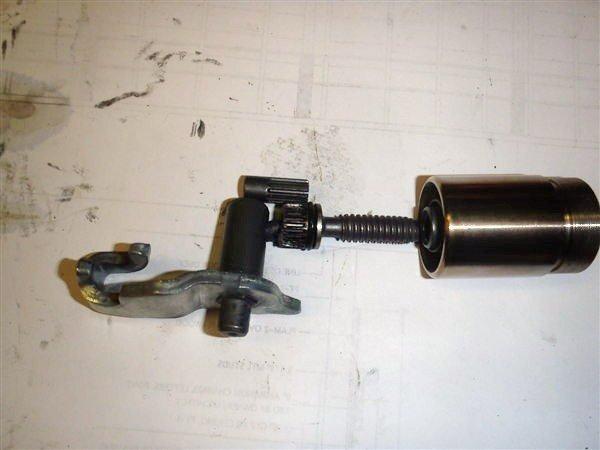
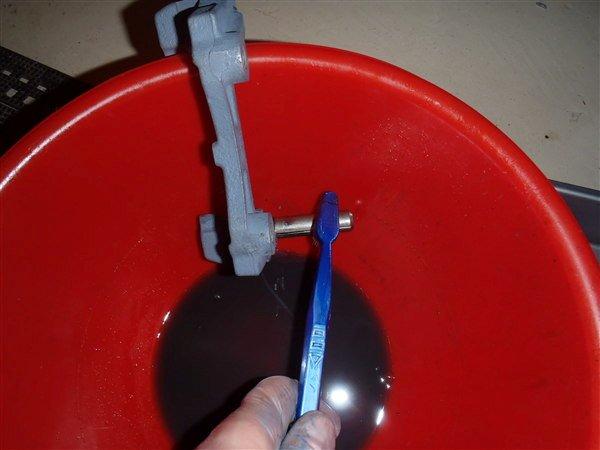
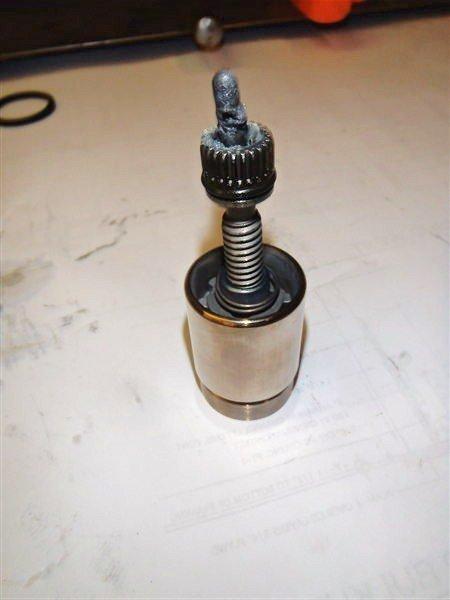
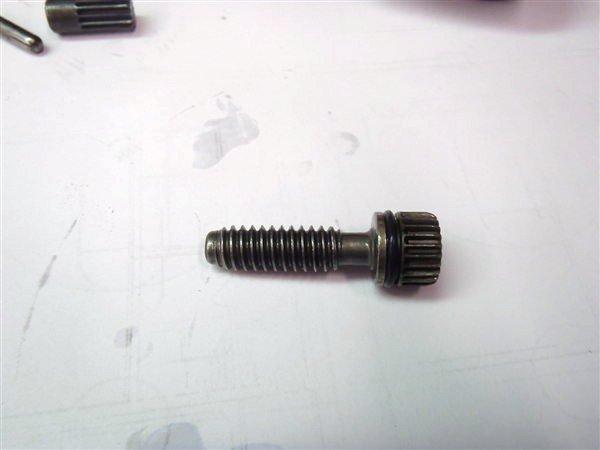
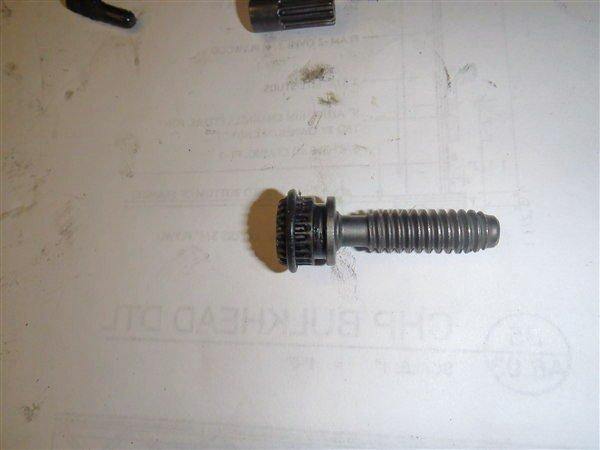
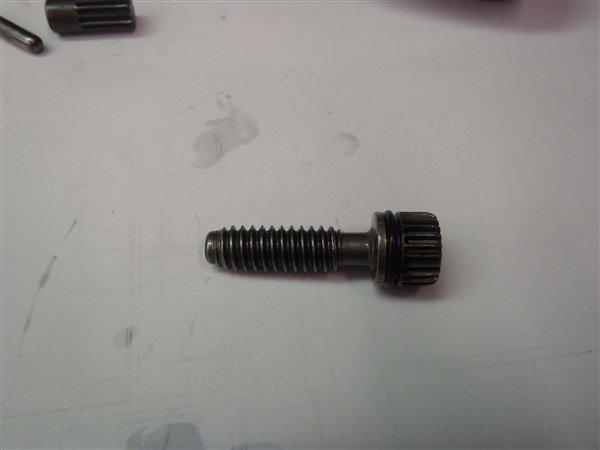
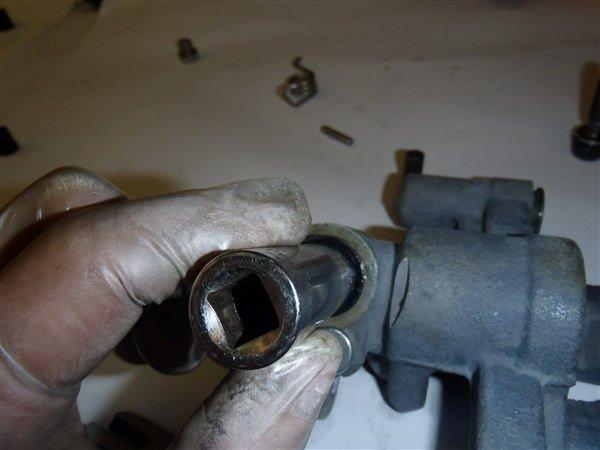
hot dog,adjuster screw with o-ring & piston
and discard
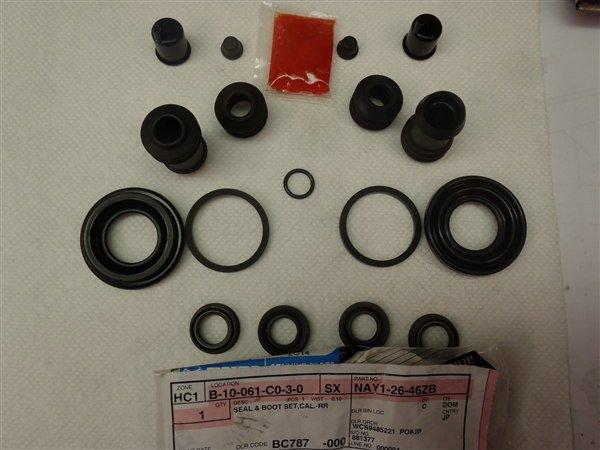
rebuild kit
for assembly
to assist seat of seal

below the o-ring
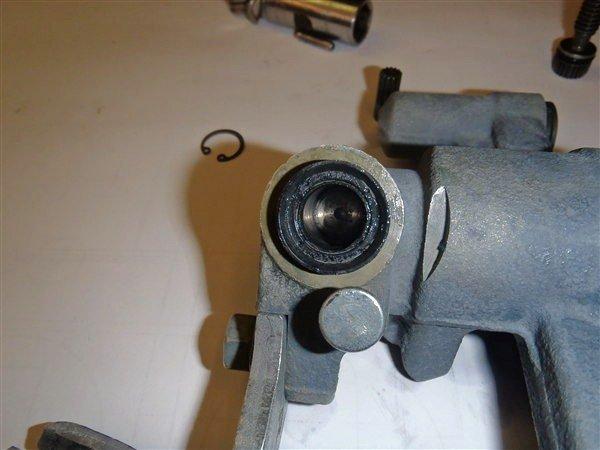
you have installed the new seal
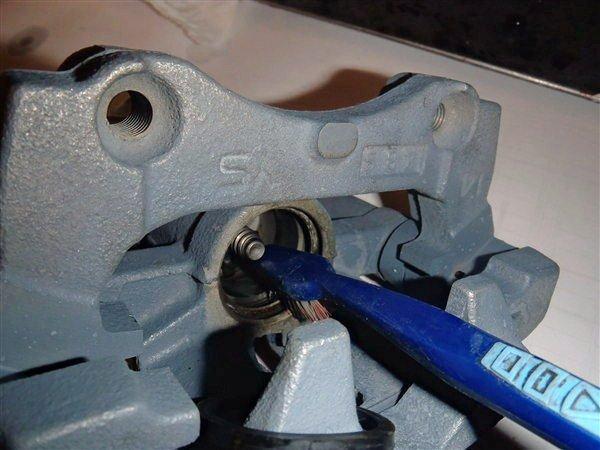
and install the hot dog(retainer link)
pocket is positioned to receve hot dog
the adjuster bolt and hot dog into
position
to seat O-ring seal
easy with right plier
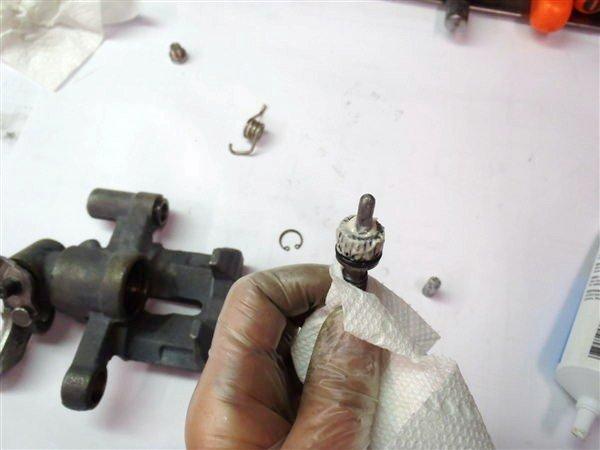
insert adjuster hex scew

loosing the hex adjuster,
will remove later for piston install

square seal and boot
for easiest install
in caliper groove

and continue to retract with 6mm wrench
…..